


7301119-100
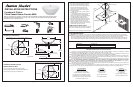
China Vessel Above-Counter 0960
Freedom of Choice
- 1 -
Recommended Tools
Roughing-in Dimensions
Thank you for selecting our products. To help insure that the installation process will proceed smoothly, please
read these instructions carefully before you begin. Also, review the recommended tools list; carefully unpack
and examine your new plumbing fixture.
Channel Locks
Drill
Level
Basin Wrench
Tubing Cutter
10'
Tape Measure
Hacksaw
INSTALLATION INSTRUCTIONS
15-3/4"
(400mm)
8"
(203mm)
31"
(787mm)
SUGGESTED
1-1/4" O.D. TAILPIECE
1-1/4" O.D. WASTE
FINISHED FLOOR
SUGGESTED
SUPPLIES
AS REQ'D
17"
(432mm)
10-3/4"
(273mm)
12-7/8"
(327mm)
6-1/2"
(165mm)
TAILPIECE
COUNTERTOP
(BY OTHERS)
*
*
*
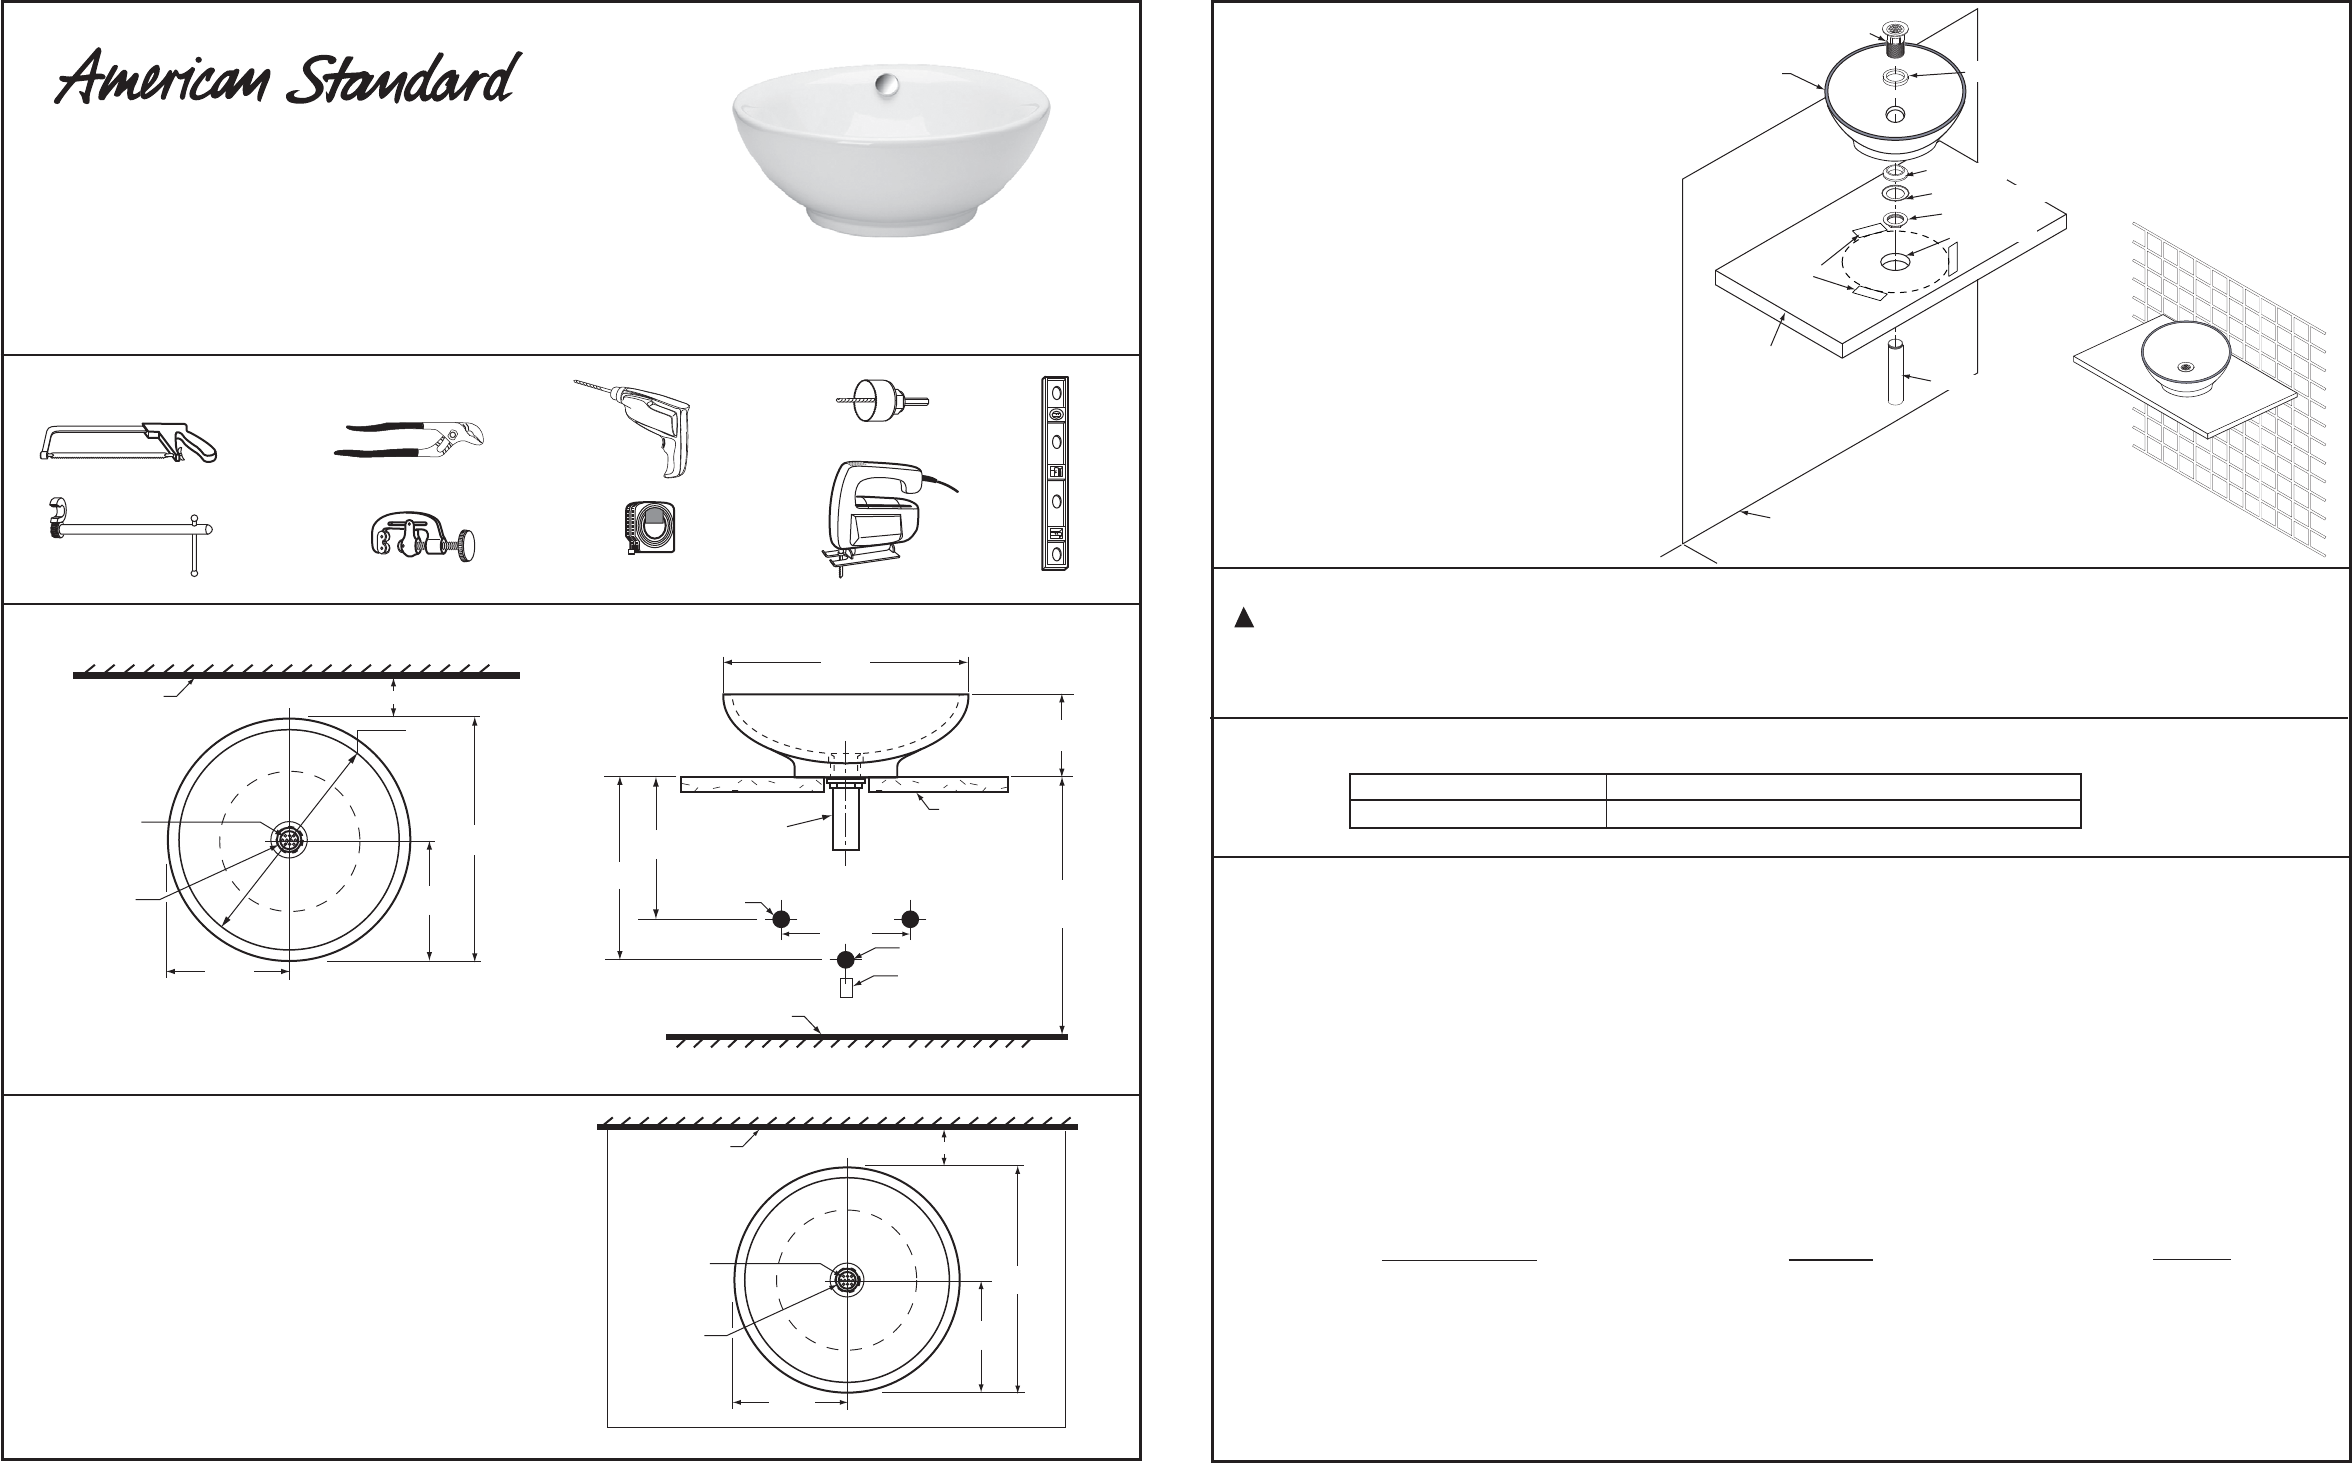
Cut a 2-1/2" (64mm) hole in the counter surface,
allowing sufficient distance to the finished wall based on
faucets choosen (Deck mount or Wall mount).
PREPARE COUNTERTOP FOR
INSTALLATION OF SINK
FINISHED WALL
1-3/4" DIA. STD.
DRAIN OUTLET
17"
(432mm)
8-1/2"
(216mm)
8-1/2"
(216mm)
OPTIONAL
GRID
DRAIN
12/07
7301119-10012/07
FINISHED WALL
1-3/4" DIA. STD.
DRAIN OUTLET
17"
(432mm)
8-1/2"
(216mm)
8-1/2"
(216mm)
OPTIONAL
GRID
DRAIN
- 2 -
INSTALL SINK
COMPLETION OF INSTALLATION
FINISHED
FLOOR
FINISHED
WALL
MASKING TAPE
SINK
GRID DRAIN
BODY (1)
COUNTER SURFACE
(TYPICAL)
Install faucet and fittings, trap, and connect to supply and
drain stub in accordance with manufacturer's directions.
Water test unit, check for leakage and correct as needed.
CARE AND MAINTENANCE
REPAIR PARTS LIST
738990-002A Overflow Cap
738989-0002A Chrome Grid Drain
CAUTION: Do not over-tighten. The nut on the drain should be finger tightened and then turned no more than one additional turn. In most cases,
depending upon the drain chosen, plumbers putty or a series of rubber gaskets will be used to create a water tight seal. Over tightening also tends to
press out or dislodge plumbers putty or distort rubber gaskets. The result could be a leaky drain and an overstressed point in the china.
Do not use harsh abrasives or caustic cleaners to clean fixture surfaces. A mild detergent, warm water, and a soft cloth will remove normal dirt and
soap accumulations from fittings and surfaces. Rinse thoroughly after cleaning and polish with a soft dry cloth to restore original luster of material.
FOAM SEAT WASHER (2)
Saber Saw
Hole Saw
!
In the United States:
American Standard Inc.
P.O. Box 6820
Piscataway, New Jersey 08855
Attention: Director of Consumer Affairs
For residents of the United States, warranty
information may also be obtained by calling
the following toll free number: (800) 442-1902
www.americanstandard-us.com
In Canada:
American Standard
2480 Stanfield Rd.
Mississauga, Ontario
Canada L4Y 1S2
Toll Free: (800) 387-0369
www.americanstandard.ca
In Mexico:
Customer Service Manager
Ideal Standard, S.A. de C.V.
Via Morelos #330
Col. Santa Clara
Ecatepec 55540 Edo. Mexico
www.americanstandard.com.mx
AMERICAN STANDARD ONE-YEAR LIMITED WARRANTY
If inspection of this American Standard plumbing product, within one year after its initial installation, confirms that it is defective in materials
or workmanship, American Standard will repair or, at its option, exchange the product for a similar model.
This limited warranty does not apply to local building code compliance; since local building codes vary considerably, the purchaser of this
product should check with a local building or plumbing contractor to insure local code compliance before installation.
This warranty shall be void if the product has been moved from its initial place of installation; if it has been subjected to faulty maintenance,
abuse, misuse, accident or other damage; if it was not installed in accordance with American Standard's instructions; or if it has been modified in a
manner inconsistent with the product as shipped by American Standard.
American Standard's option to repair or exchange the product under this warranty does not cover any labor or other costs of removal or
installation, nor shall American Standard be responsible for any other incidental or consequential damages attributable to a product
defect or to the repair or exchange of a defective product, all of which are expressly excluded from this warranty. (Some states or
provinces do not allow the exclusion or limitation of implied warranties, so this exclusion may not apply to you.)
This warranty gives you specific legal rights. You may have other statutory rights that vary from state to state or from province to province, in
which case this warranty does not affect such statutory rights.
For service under this warranty, it is suggested that a claim be made through the contractor or dealer from or through whom the product was
purchased, or that a service request (including a description of the product model and of the defect) be sent to the following address:
TAIL PIECE (6)
LOCK NUT (5)
GASKET RETAINING WASHER (4)
GASKET SEAL (3)
CUTOUT 2-1/2”
The sink is mounted and secured on the countertop
by the silicone. Install sink and drain as follows:
1. Place sink on counter surface, lining up the drain
hole in the sink with drain hole cutout in the
counter surface. Using masking tape, mark 3
points around base of sink to mark sink location.
2. Install drain supplied:
a) Place foam seat washer (2), directly under the
grid drain body (1).
b) Drop grid drain body through drain hole of sink.
c) From underneath the sink, slide gasket (3),
retainer (4), and lock nut (5) onto the threaded grid
drain body and tighten snugly into position.
d) Install tail piece (6) into grid drain body (1).
3. With the location marked, pick up sink, turn it over,
and apply a bead of adhesive-sealant to bottom of
sink base. Place the sink down onto counter
surface using marks as a guide. Remove excess
adhesive-sealant around base of sink. Form a fillet
of sealant with a wet finger or sponge.