


16
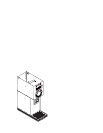
Location:
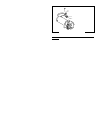
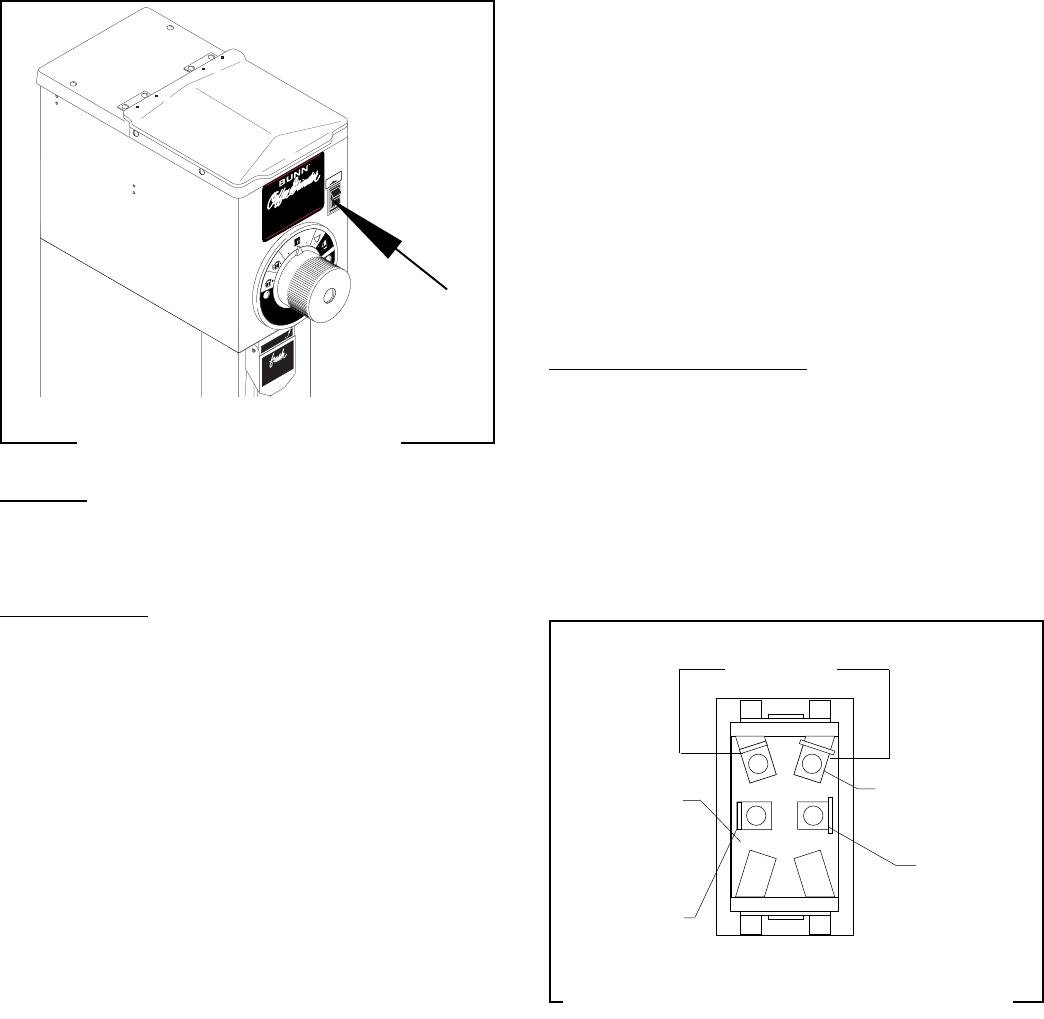
The Off/On/Start switch is located in the up-
per front wrapper above and to the right of the grind
selector knob (left side when viewed from rear).
Test Procedure:
1. Disconnect the grinder from the power source.
2. Check the voltage across the black wire on the
Off/On/Start switch and the white wire or the red/
black on the relay coil with a voltmeter. Connect
the grinder to the power source. The indication
must be:
a. 120 volts ac for two wire 120 volt models.
b. 230 volts ac for two wire 230 volt models.
c. 240 volts ac for two wire 240 volt models.
3. Disconnect the grinder from the power source.
If voltage is present as described, proceed to #4.
If voltage is not present as described, refer to the
Wiring Diagrams and check the grinder wiring har-
ness.
4. Remove all four wires from the switch.
5. Check for continuity across the two 1/4" termi-
nals when the switch is held in both the “ON”
(center) and “START” (lower) positions. Conti-
nuity must not be present across these termi-
nals in the “OFF” (upper) position.
SERVICE (cont,)
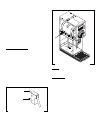
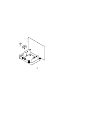
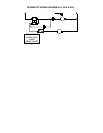
FIG. 11 OFF/ON/START SWITCH TERMINALS
P606
WHI/RED
WHI/RED to
Relay 7
BLK to
Cordset
WHI/VIO to
Bag Sensor
Switch
WHI/VIO to
Relay 6
If continuity is present as described, proceed to #6.
If continuity is not present as described, replace the
switch.
6. Check for continuity across the two 3/16" termi-
nals when the switch is held in the “START”
(lower) position. Continuity must not be present
across these terminals in the “OFF” (upper) or
“ON” (center) positions.
If continuity is present as described, the Off/On/Start
switch is operating properly, reconnect the four wires.
If continuity is not present as described, replace the
switch.
Removal and Replacement:
1. Remove all wires from the switch terminals.
2. Compress the clips inside the front wrapper and
gently push the switch through the opening.
3. Push the new switch into the opening and spread
the clips to hold the switch in the hood.
4. Refer to Fig. 11 when reconnecting the wires.
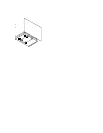
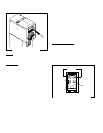
OFF/ON/ START SWITCH
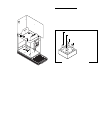
CLEANING LEVERCLEANING LEVER
GROUND
COFFEE
1. Select the desired grind.
2. Lift the lid and pour coffee beans into the hopper.
3. Slip bag under the chute. Rest the bag on the tray.
4. Press the start switch.
5. Flip the cleaning lever a few times as dispensing slows.
6. Remove the bag. The grinder will stop automatically.
STOP
T
U
R
K
ISH
S
P
E
C
I
A
L
R
E
G
P
E
R
C
E
L
E
C
P
E
R
C
A
U
T
O
M
A
T
I
C
D
R
I
P
F
I
N
E
E
S
P
R
E
S
S
O
FIG.10 OFF/ON/START SWITCH
P1724