


23
CARE AND MAINTENANCE
BURNERS
For proper lighting and performance keep the burners
clean. It is necessary to clean the burners if they do
not light even though the igniter clicks, if there has
been a severe boil over, or when the flame does not
burn blue. Be certain all burner knobs are in the OFF
position before attempting to clean the burners. The
burners have been designed for ease in cleaning.
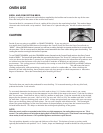
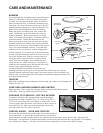
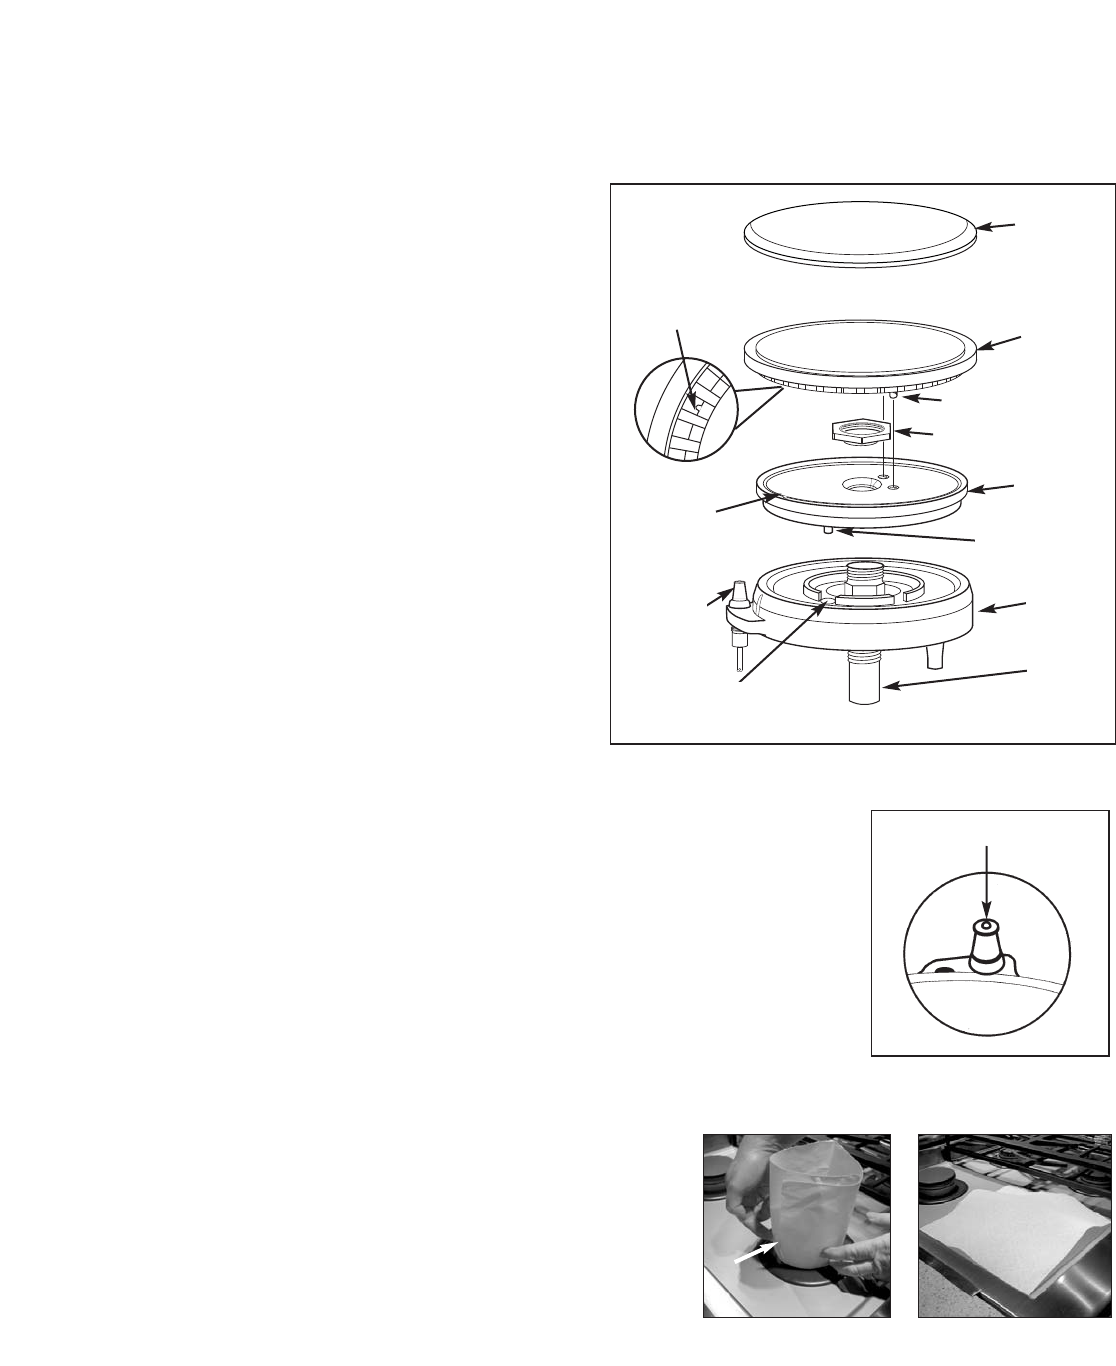
When the grates and burners are cool, remove the
grate. The burner cap and the brass port ring can
easily be lifted off. Wash these parts in hot soapy
water, rinse and dry thoroughly. The burner caps are
porcelain enamel. Follow the directions on the
previous page that were given for the burner grates.
A bristle brush can be used to clean out the toothed
burner ports, if necessary. Disassembly of the simmer
ring is not recommended, however, it may become
necessary to do so if the ports remain clogged after
normal cleaning. If it is necessary to disassemble the
simmer ring from the base, remove the hex nut at the
top of the simmer ring. Clean the simmer ring with
hot soapy water using a soft wire or plastic bristle
brush, then dry thoroughly. Re-assemble the parts
using the hex nut. After cleaning, it is important to
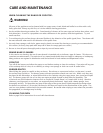
make sure the locating pin on the bottom side of the
simmer ring is properly aligned with the
corresponding hole in the base and that the two
locating pins (see insert-Fig.13) on the bottom side of the brass port ring are
properly aligned with the locating notch and center holes on the top side of the
simmer ring. Incorrect alignment will produce a potentially dangerous flame and
poor burner performance.
IGNITERS
Wipe with a rubbing alcohol dampened cotton swab. Be careful not to damage the
igniter (see Fig. 14).
SUMP AREA AROUND BURNERS AND IGNITERS
Remove grates. With a warm wet sponge, apply a soap that will release grease
(like Dawn). Clean up soiled area around the sump.
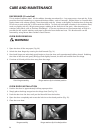
FOR HARD TO CLEAN SOIL, USE THIS METHOD:
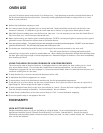
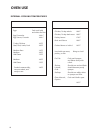
If residue is still left, make a paper collar around the burner
and igniter and tape it together (Fig. 15). Spray “Easy Off” or
“SOS” oven spray using the cool method on soiled area. Cover
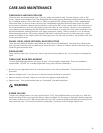
it with a paper towel and leave it on the area at least 4 hours or
overnight (Fig. 16). With a warm moist sponge, remove the
oven spray and soil. Dry with a soft cloth.
CONTROL KNOBS - OVEN AND COOKTOP
These are die-cast metal with plastic grips and can be cleaned in
hot, soapy water. To remove the knobs from the control panel,
grasp the knob and pull straight towards you and away from the range. Wash, do not soak. Rinse and dry
thoroughly. It is important to replace these knobs on the correct gas valve on the control panel. The cooktop
has a setting for “Simmer”. The oven control knob has temperatures on them and a “Broil” setting.
Fig. 14
IGNITER (KEEP CLEAN)
CAP
MAIN
BURNER
PORT RING
BURNER
BASE
SIMMER
RING
ELECTRODE
VENTURI
LOCATING
NOTCH
LOCATING PIN
HOLE INSIDE
BRASS RING
LOCATING PIN
LOCATING
HEX NUT
Fig. 13
LOCATING PIN
Fig. 15
Fig. 16
TAPE