


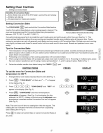
Setting Oven Controls
• Food Categories (Meats/Cakes/Breads)
• Roasting Instructions for Meat Pad
Setting the Food Categories Features
The MEATS @, CAKES _ and BREADS @ pads in
the Food Categories feature are used when cooking certain food items.
These pads have been designed to give optimum cook performance for the
foods selected in each category.
The MEATS pad combines a cook cycle with the convection fan and element to roast meats and poultry. Preheating is not
necessary for meats and poultry. Heated air circulates around the food from all sides, sealing injuices and flavors. Foods are
crispy brown on the outside while staying moist on the inside.
The CAKES pad provides a preheat with a gentle cycling of heat giving cakes more volume and allowing delicate foods to
cook more evenly.
The BREADS pad adds a preheat feature to the bake cycle to thoroughly heat the oven from top to bottom to give more
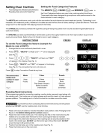
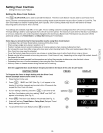
evenly browned foods. Refer to Fig. 4 for foods to cook in each category.
INSTRUCTIONS PRESS DISPLAY
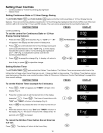
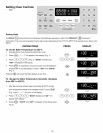
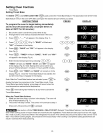
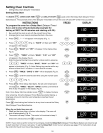
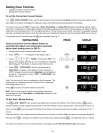
To set the Food Categories feature (example for
Meats to cook at 350°F):
1. Arrange interior oven racks and place food in oven.
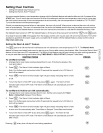
2. Press _. "MEATS" will flash and ,,...o,, will be displayed
(See Fig. 1).
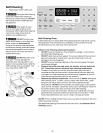
3. Press _ @ @. "MEATS" will flash and "350 °''
will appear in the display (See Fig. 2).
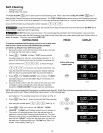
4. Press _. "MEATS" and "350 °'' will appear in the
display
(See Fig. 3). The convection fan icon will come on.
Press _ to stop Convection Roast at any time.
G
GG@
@
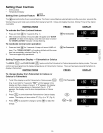
foods to be .......................................................................................................................................................................................................................
cooked in each Meat Cakes
Poultry Brownies
Pies (fresh & frozen)
Baked Custards
Fig. 4 Cheesecake
Breads
Rolls
Biscuits
Muffins
Combread
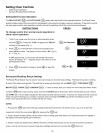
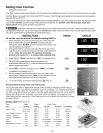
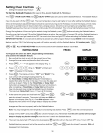
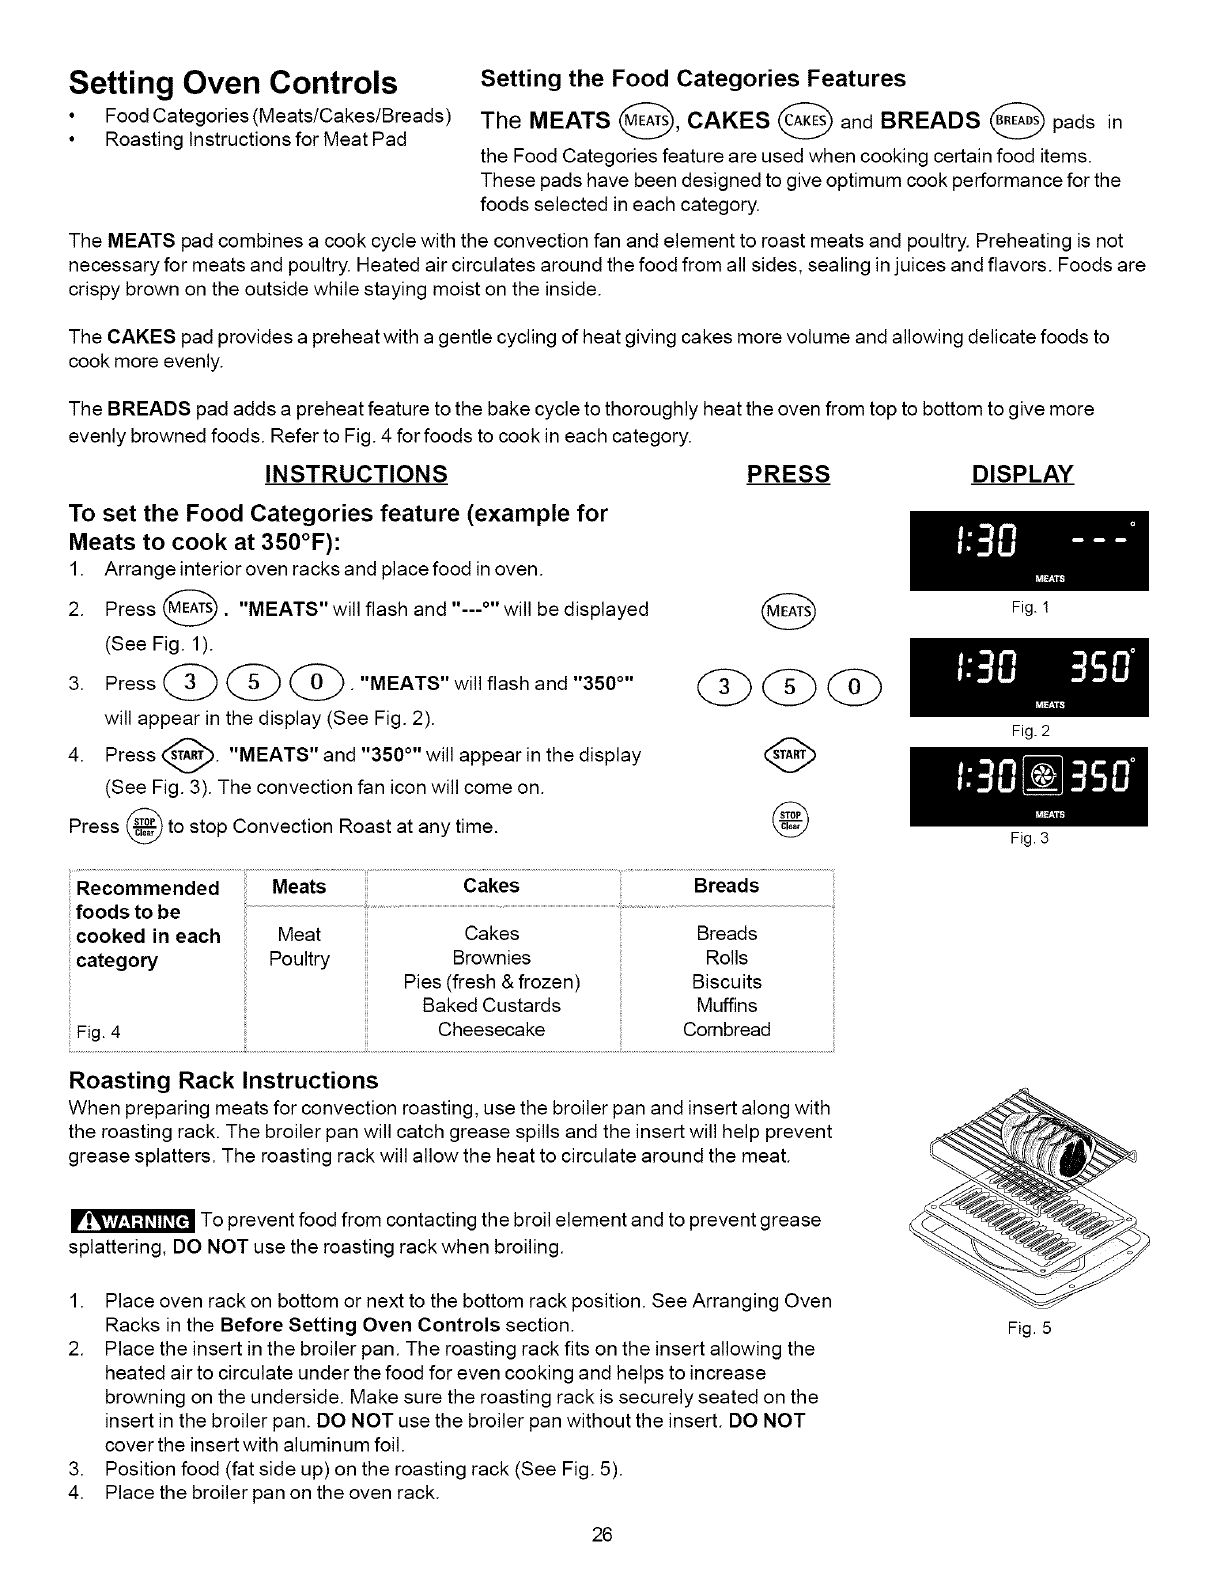
Roasting Rack Instructions
When preparing meats for convection roasting, use the broiler pan and insert along with
the roasting rack. The broiler pan will catch grease spills and the insert will help prevent
grease splatters. The roasting rack will allow the heat to circulate around the meat.
To prevent food from contacting the broil element and to prevent grease
splattering, DO NOT use the roasting rack when broiling.
1. Place oven rack on bottom or next to the bottom rack position. See Arranging Oven
Racks in the Before Setting Oven Controls section.
2. Place the insert in the broiler pan. The roasting rack fits on the insert allowing the
heated air to circulate under the food for even cooking and helps to increase
browning on the underside. Make sure the roasting rack is securely seated on the
insert in the broiler pan. DO NOT use the broiler pan without the insert. DO NOT
cover the insert with aluminum foil.
3. Position food (fat side up) on the roasting rack (See Fig. 5).
4. Place the broiler pan on the oven rack.
26
Fig. !
Fig. 2
Fig. 3
Fig. 5