


8. Turn on the burner. If the burner does not light, check
cap alignment. If the burner still does not light, do not
service the sealed burner yourself. Contact a trained
repair specialist.
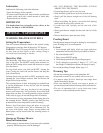
NOTE: If a gas burner burns with an uneven orange
flame, reposition the burner cap so it sits flat on the
burner housing. If burner lights slowly, have your gas
service person check the gas pressure to the appliance.
If a top burner flame has been adjusted too low, the
electronic ignitor may start to spark. Readjust flame until
ignitor stops sparking.
When cleaning around the surface burner, use care. If
cleaning cloth should catch the ignitor, it could damage it,
preventing ignition.
If surface burner does not light, check if ignitor is broken,
soiled or wet. If clogged, clean the small port beneath the
ignitor using a straight pin.
Wipe acid or sugar spills as soon as the cooktop has cooled
as these spills will discolor the porcelain.
See Cleaning Guide – Page 28.
OVEN VENTING
-
GAS TOP MODELS
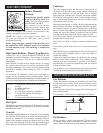
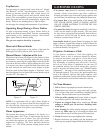
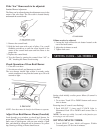
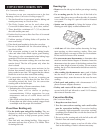
The Oven Vent
Hot air and moisture
escape from the oven
through a vent in the
center rear of the
cooktop. Do not block
the vent. Poor baking/
roasting and bad
combustion can result.
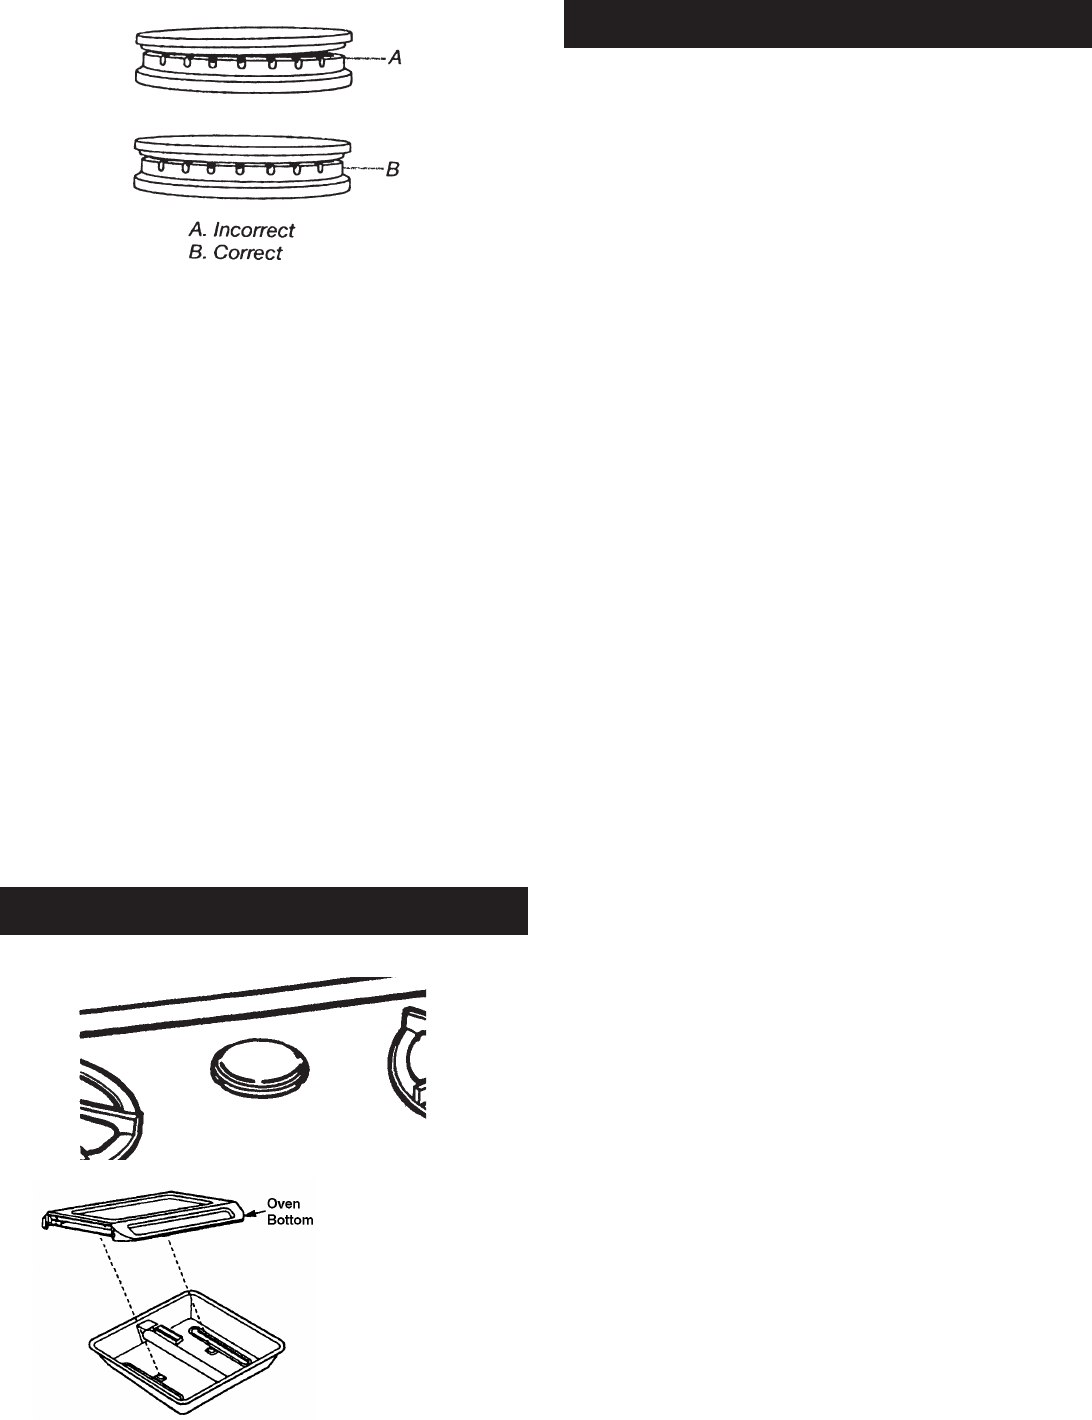
The oven bottom must
be in place for burner
to bake properly on
model 1956.
GAS SUPPLY SYSTEM
Gas and Electrical Supplies
Before connecting to the supply systems, be sure that
the installation conforms with the local codes or, in the
absence of local codes, with the National Fuel Code,
ANSI Z223.1 latest edition or in Canada, CAN/CGA B149
installation codes. See page 4 for electrical requirements.
Gas Piping to Range
The gas supply piping to the range should be 3/4” pipe
which is then reduced to 1/2” at the regulator. With
“LP” gas, the size of the piping to the range should be
determined by your gas fitter.
When connecting pipe to the die cast regulator fitting, use
two wrenches. Excess pressure or tightening the pipe too
tight can cause the regulator to crack, resulting in a gas
leak or a possible fire or explosion.
Make sure that if flexible connectors are used in
connecting the appliance to the gas supply, they are AGA
and/or CGA approved. Poorly designed connectors can
be a source of gas leaks. Even if AGA/CGA approved
flexible connectors are used, the customer should be
cautioned against kinking or damaging the connection
when moving or cleaning the range. This could cause a
gas leak.
Manual Shutoff
Install a manual shutoff valve in the gas line, in an
accessible location, near the unit. Know where the gas
valve is so you can shut off the gas to the range quickly.
Suitable pipe thread sealant must be used which is
approved for use with “LP”/Natural gas. Be sure to use
this thread sealant on all pipe connections.
Pressure Testing
The appliance, and its individual shutoff valve must be
disconnected from the gas supply piping system during
any pressure testing of that system at test pressures in
excess of 1/3 psig (3.5kPa).
The appliance must be isolated from the gas supply piping
system by closing its individual manual shutoff valve
during any pressure testing of the gas supply system at
test pressures equal to or less than 1/2 psig (3.5kPa).
The gas supply pressure for checking the regulator setting
shall be at least one inch w.c. above manufacturer’s
specified manifold pressure.
Gas Leak Testing
After the final gas connection has been made, all the
top burner valves should be closed and the gas supply
and manual shutoff turned on. All connections in the
gas supply line and in the range should be tested with
soap suds or electronic sniffer for leaks. If a leak is
present, bubbles will appear. The leak should be stopped
11