


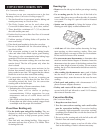

If the “low” flame needs to be adjusted:
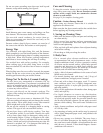
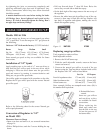
Standard Burner Adjustment
The flame can be adjusted using the adjustment screw in the
center of the valve stem. The valve stem is located directly
underneath the control knob.
1. Remove the control knob.
2. Hold the knob stem with a pair of pliers. Use a small
flatblade screwdriver to turn the screw located in the
center of the control knob stem until the flame is the
proper size.
3. Replace the control knob.
4. Test the flame by turning the control from “LO” to
“HI,” checking the flame at each setting.
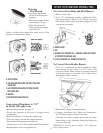
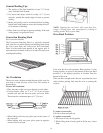
Check Operation of Oven Broil Burner
1. Close the oven door.
2. Set selector to broil, and thermostat to broil.
The oven burner should light within 8 seconds, under
certain conditions it may take the burner up to 50 to 60
seconds to light.
NOTE: Oven door must be shut for broil burner to operate.
Adjust Oven Broil Burner Flame (if needed)
Look through oven window to check broil burner for
proper flame. This flame should have a 1/2” (1.3 cm) long
inner cone of bluish-green, with an outer mantle of dark
blue, and should be clean and soft in character. No yellow
tips, blowing or lifting of flame should occur.
If flame needs to be adjusted:
1. Loosen the lock screwon the air shutter located at the
rear of the broil burner.
2. Adjust the air shutter as need.
3. Tighten lock screw.
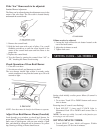
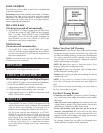
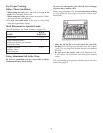
SETTING CLOCK – ALL MODELS
Setting clock initially or after power failure (if control is
flashing)
1. To set time: Touch UP or DOWN button until correct
time is shown.
Resetting time (if control is not flashing)
2. Push SELECT 5 times until CLOCK light is
illuminated. Push UP or DOWN until correct time is
shown.
NOTE: You must act within 3 seconds or the function you
are trying to set will cancel.
SETTING MINUTE TIMER:
1. Touch SELECT once. 00:00 will appear. Within
3 seconds press UP for time in minutes.
14