


26
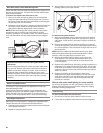
Important information to know about glass shelves
and covers:
Do not clean glass shelves or covers with warm water when
they are cold. Shelves and covers may break if exposed to
sudden temperature changes or impact, such as bumping.
Tempered glass is designed to shatter into many small,
pebble-size pieces. This is normal. Glass shelves and covers
are heavy. Use both hands when removing them to avoid
dropping.
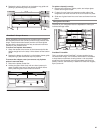
Shelves and Shelf Frames
The shelves in your refrigerator are adjustable to meet your
individual storage needs.
Storing similar food items together in your refrigerator and
adjusting the shelves to fit different heights of items will make
finding the exact item you want easier. It will also reduce the
amount of time the refrigerator door is open and save energy.
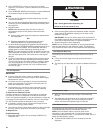
Shelf Height Adjustment
Shelf height can be adjusted by changing the adjustable shelf
mounts between their vertical and horizontal positions.
1. Carefully lift the shelf off the shelf mounts and turn the flipper
to the desired orientation.
2. Repeat for remaining shelf mounts.
3. Apply pressure to the top of the shelf to ensure the shelf is
properly seated on the shelf mounts.
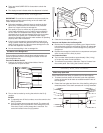
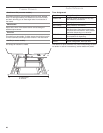
To remove and replace shelves:
1. Make sure adjustable shelf mounts are in the lower position
before removing shelves. Also doors will need to be open at
a 90˚ angle. If open wider, it will make it harder to remove the
shelves.
2. Remove the middle shelf or top shelf by lifting it up and out
of the shelf supports. Then pull the shelf forward and tilt down
to a vertical position. Turn the shelf at an angle and pull out of
the refrigerator.
NOTE: Remove middle shelf first before removing top shelf.
Infinity slide glass shelves should be pushed back in. When
tilted up, make sure glass does not slide to front.
3. Remove the bottom shelf by lifting it up and out of the
shelf supports. Then pull the shelf forward and tilt up to
a vertical position. Turn the shelf at an angle and pull out
of the refrigerator.
4. Replace the middle and top shelves by putting the shelf in the
refrigerator at an angle with the shelf front down. Lift the front
of the shelf up and slide in until rear shelf drops into the shelf
supports. Lower the front of the shelf and make sure that the
shelf is in position.
5. Replace the bottom shelf by putting the shelf in the
refrigerator at an angle with the shelf up. Lift the front of the
shelf down and slide in until rear shelf drops into the shelf
supports. Lower the front of the shelf and make sure that
the shelf is in position.
Shelves with under-shelf lighting (on some models)
By moving LED lighting to a new spot under the shelves, this
leading-edge technology improves interior refrigerator lighting
and aids in locating storage items.
Pull-Out Tray
To remove and replace the pull-out tray:
1. Pull the tray to the fully open position or when it stops.
2. Lift up and out of gliders toward the front of the refrigerator.
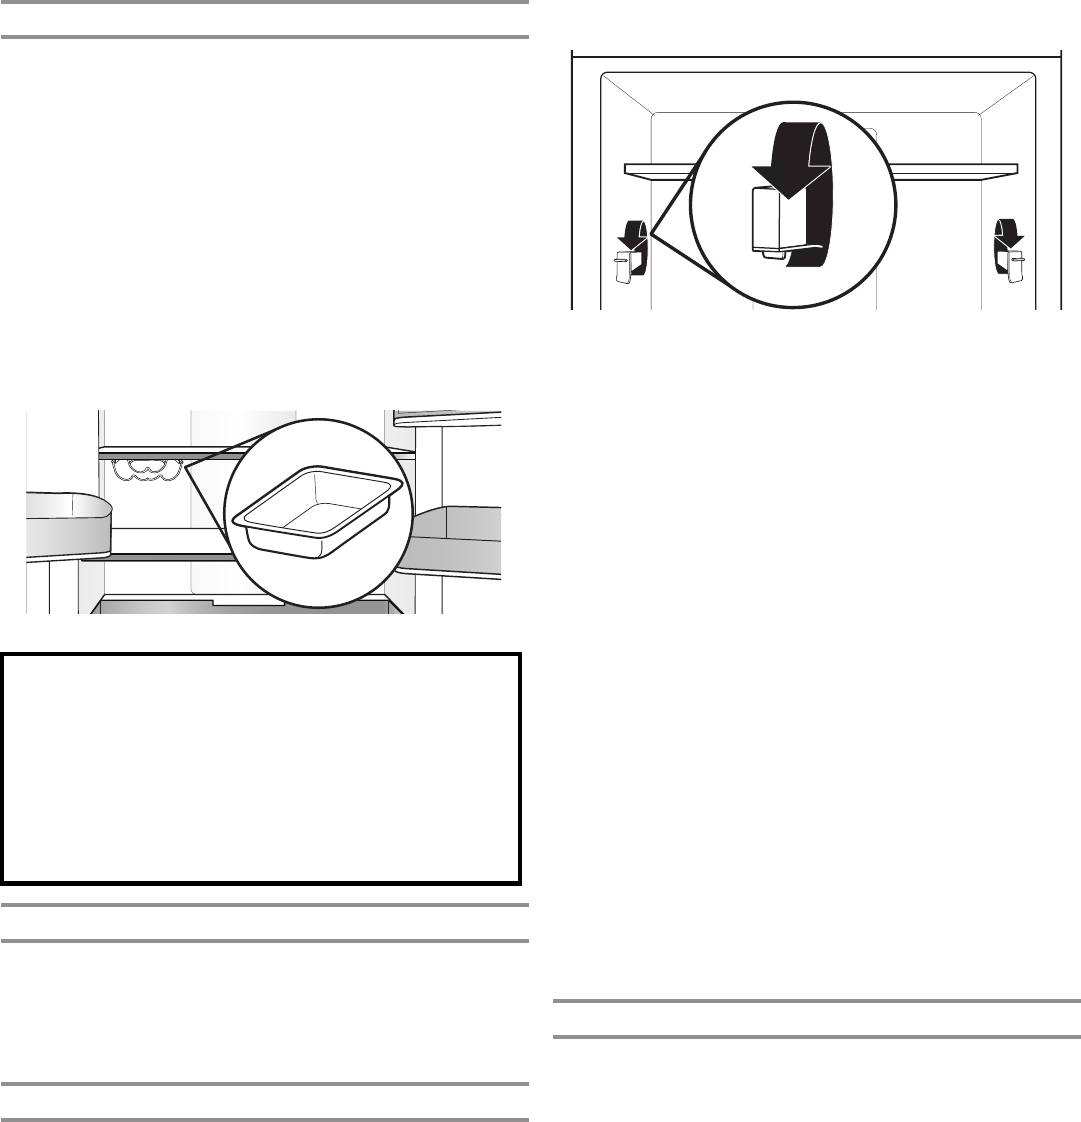
Wine Rack and/or Under Shelf Storage Pan
Under one shelf, there are brackets installed to the supports (one
bracket on each support). The wine rack or under-shelf storage
rests in these brackets.
To remove and replace the wine rack or pan:
1. Remove the wine rack/pan by lifting it up off the brackets.
Press the right-hand side of the rack inward until it is free of
its bracket. Lower the right-hand side slightly and disengage
the left-hand side from its bracket.
2. Replace the wine rack/pan by inserting the left-hand side into
its bracket. Press inward on the right-hand side until it will
slide past the bracket edge and set it into its bracket.
NOTE: Under shelf storage pan utilizes typically empty space
beneath the shelf to create a prep zone ideal for doughs,
desserts, casseroles, or marinating meats. The slide-out pan is
oven and dishwasher safe and easily transitions from fridge to
oven.