131313131313
IMPORTANT: The disposable water filter should be replaced at
least every 6 months. If the water flow to the water dispenser or
ice maker decreases noticeably before 6 months have passed,
replace the water filter more often.
Replacing the Water Filter
To purchase a replacement water filter, see Accessories.
IMPORTANT: Air trapped in the water system may cause water
and filter to eject. Always dispense water for at least 2 minutes
before removing the filter or blue bypass cap.
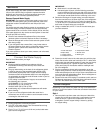
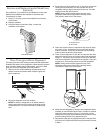
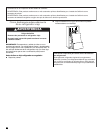
1. Turn filter counterclockwise to remove.
2. Remove sealing label from replacement filter and insert the
filter end into the filter head.
3. Turn the filter clockwise until it stops. Snap the filter cover
closed.
4. Flush the water system. See “Water Dispenser” or “Water and
Ice Dispenser.”
NOTE: The dispenser feature may be used without a water filter
installed. Your water will not be filtered. If this option is chosen,
replace the filter with the blue bypass cap.
REFRIGERATOR CARE
Cleaning
Both the refrigerator and freezer sections defrost automatically.
However, clean both sections about once a month to avoid
buildup of odors. Wipe up spills immediately.
IMPORTANT:
■ Because air circulates between both sections, any odors
formed in one section will transfer to the other. You must
thoroughly clean both sections to eliminate odors. To avoid
odor transfer and drying out of food, wrap or cover foods
tightly.
■ For stainless steel models, stainless steel is corrosion-
resistant and not corrosion-proof. To help avoid corrosion of
your stainless steel, keep your surfaces clean by using the
following cleaning instructions.
To Clean Your Refrigerator:
NOTE: Do not use abrasive or harsh cleaners such as window
sprays, scouring cleansers, flammable fluids, muriatic acid,
cleaning waxes, concentrated detergents, bleaches or cleansers
containing petroleum products on exterior surfaces (doors and
cabinet), plastic parts, interior and door liners or gaskets. Do not
use paper towels, scouring pads, or other harsh cleaning tools.
1. Unplug refrigerator or disconnect power.
2. Hand wash, rinse, and dry removable parts and interior
surfaces thoroughly. Use a clean sponge or soft cloth and
a mild detergent in warm water.
3. Clean the exterior surfaces.
Painted metal: Wash painted metal exteriors with a clean,
soft cloth or sponge and a mild detergent in warm water.
Rinse surfaces with clean, warm water and dry immediately
to avoid water spots.
Stainless steel: Wash stainless steel surfaces with a clean,
soft cloth or sponge and a mild detergent in warm water.
Rinse surfaces with clean, warm water and dry immediately
to avoid water spots.
NOTE: When cleaning stainless steel, always wipe in the
direction of the grain to avoid cross-grain scratching.
IMPORTANT:
■ Use recommended stainless steel cleaners and cloths
only. Damage to stainless steel finish due to improper use
of cleaning products, or using non-recommended
cleaning products, is not covered under the warranty.
■ Avoid exposing stainless steel appliances to caustic or
corrosive elements such as high salt, high moisture or
high humidity environments. Damage due to exposure
to these elements is not covered under the warranty.
4. There is no need for routine condenser cleaning in normal
home operating environments. If the environment is
particularly greasy or dusty, or there is significant pet traffic in
the home, the condenser should be cleaned every 2 to
3 months to ensure maximum efficiency.
If you need to clean the condenser:
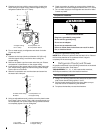
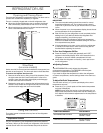
■ Remove the base grille.
■ Use a vacuum cleaner with a soft brush to clean the grille,
the open areas behind the grille and the front surface area
of the condenser.
■ Replace the base grille when finished.
5. Plug in refrigerator or reconnect power.
Changing the Light Bulb
IMPORTANT: The light bulbs in both the refrigerator and freezer
compartments of your new refrigerator use LED technology. If the
lights do not illuminate when the refrigerator and/or freezer door
is opened, call for assistance or service. See “Warranty” for
phone numbers.
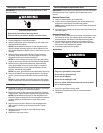
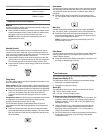
1. Unplug the refrigerator or disconnect power.
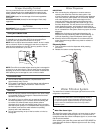
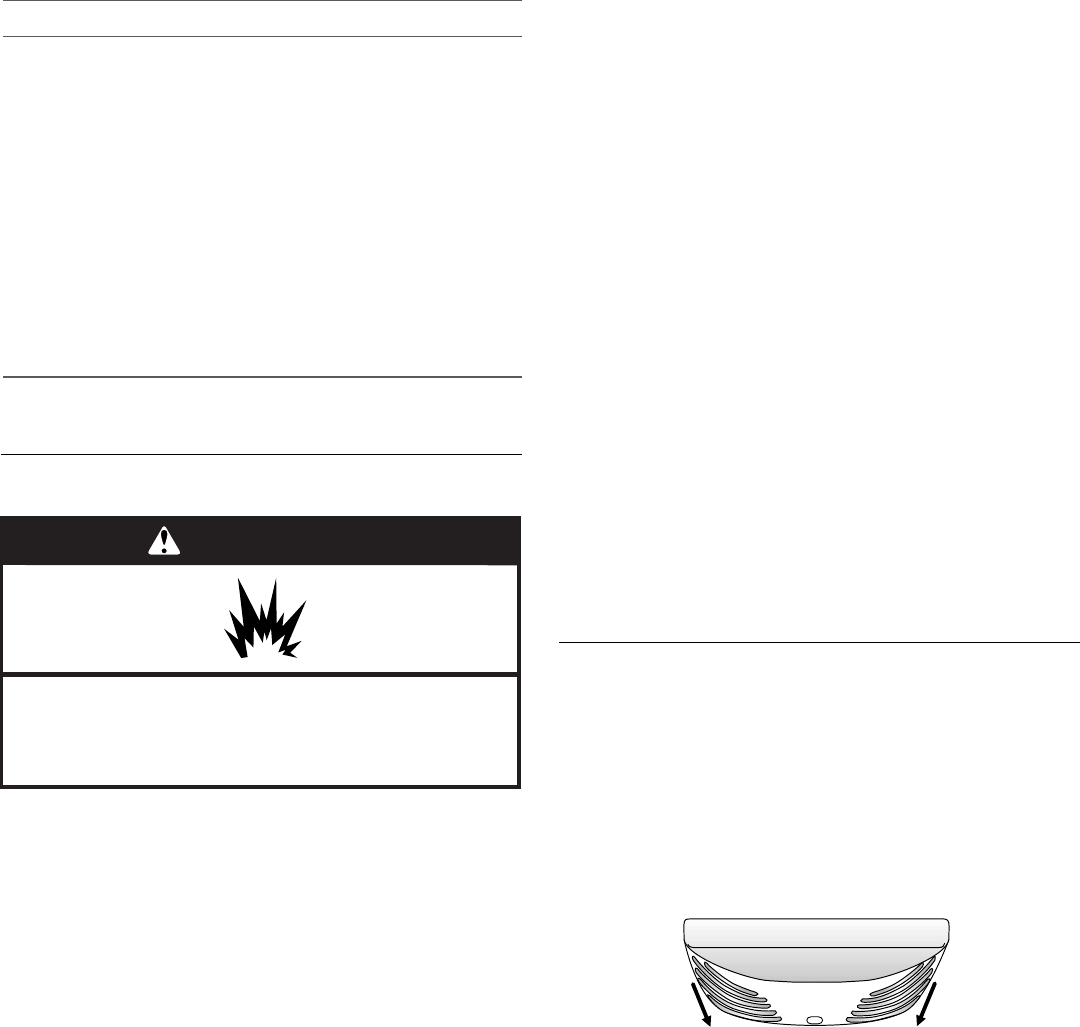
2. Remove the light shield (on some models).
■ Top of the refrigerator compartment - Slide the light shield
toward the back of the compartment to release it from the
light assembly.
3. Replace the burned-out LED bulb(s) with a bulb of the same
size, shape and wattage.
■ To replace the burned-out LED bulb with an LED bulb,
order Part Number W10565137 (3.6 watts).
NOTE: Some LED replacement bulbs are not
recommended for wet/damp environments. The
refrigerator and freezer compartments are considered to
be wet/damp environments. If using a brand of LED bulb
other than the recommended LED bulb, before
installation, read and follow all instructions on the LED
packaging.
■ If an incandescent bulb is used to replace an LED bulb,
use only incandescent bulbs for household appliances
with a maximum of 40 watts.
WARNING
Explosion Hazard
Use nonflammable cleaner.
Failure to do so can result in death, explosion, or fire.


