


INSTALLATION INSTRUCTIONS
9
Remove and Replace Freezer Drawer Front
Depending on the width of your door opening, it may be
necessary to remove the freezer drawer front to move the
refrigerator into your home.
IMPORTANT:
If the refrigerator was previously installed and you are moving
it out of the home, before you begin, turn the refrigerator
control OFF, and unplug the refrigerator or disconnect power.
Remove food from the freezer drawer.
Two people may be required to remove and replace the
freezer drawer front.
Tool Needed: ¹⁄₄" hex driver
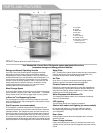
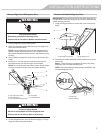
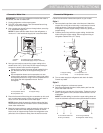
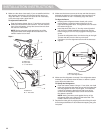
Remove Drawer Front
1. Open the freezer drawer to its full extension.
2. Remove the two screws at the top, inside the drawer front
(one on the left-hand side and one on the right-hand side)
that fasten the drawer front to the drawer glides.
3. Lift up on the drawer front to release the plastic studs from
the drawer glide bracket slots.
4. Slide the drawer glides back into the freezer.
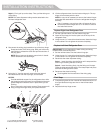
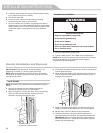
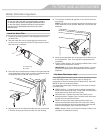
Replace Drawer Front
1. Pull out the freezer drawer glides to their full extension.
2. Holding the drawer front by its sides, align the two plastic
studs, located at the bottom, inside the drawer front, with the
drawer glide bracket slots.
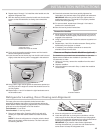
NOTE: It helps if one person holds the drawer glides steady
while another person aligns the drawer front and inserts the
studs into the slots.
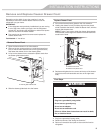
3. Replace and tighten the two screws at the top of the drawer
front (one on the left-hand side and one on the right-hand
side).
Final Steps
1. Plug into a grounded 3 prong outlet.
2. Reset the controls. See “Using the Controls.”
3. Return all removable door parts to doors and the food to
refrigerator.
A. Drawer glide bracket slots
A.Drawer front screw
B. Drawer front plastic stud
A
B
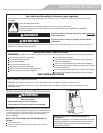
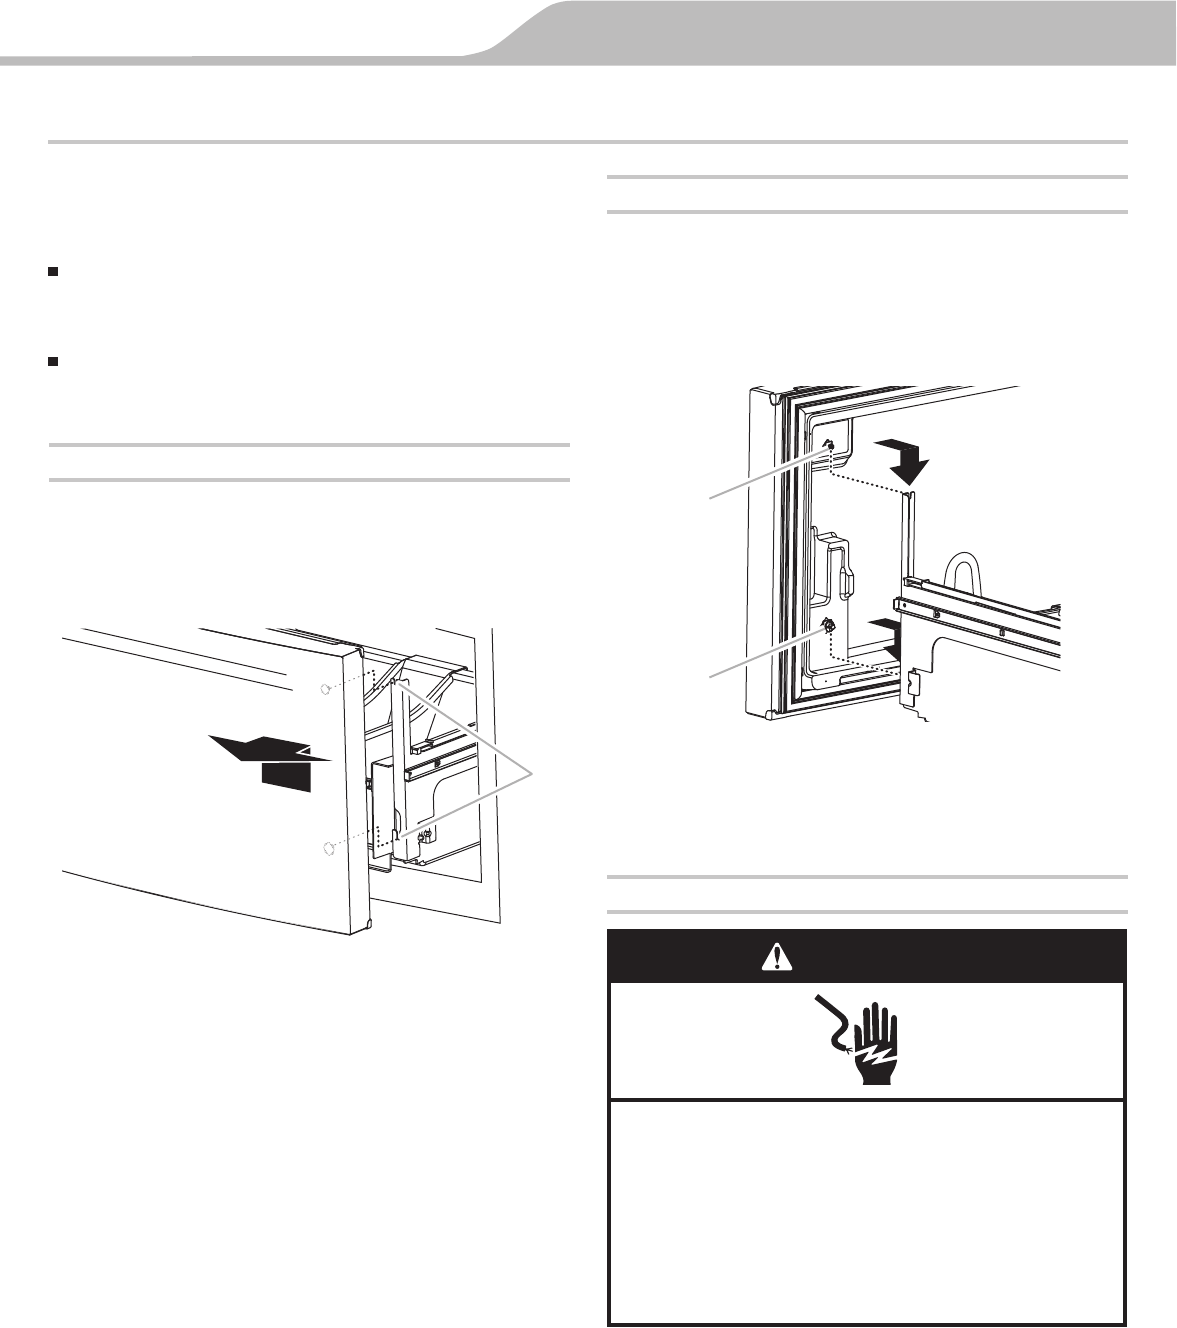
Electrical Shock Hazard
Plug into a grounded 3 prong outlet.
Do not remove ground prong.
Do not use an adapter.
Do not use an extension cord.
Failure to follow these instructions can result in death,
fire, or electrical shock.
WARNING
A