8
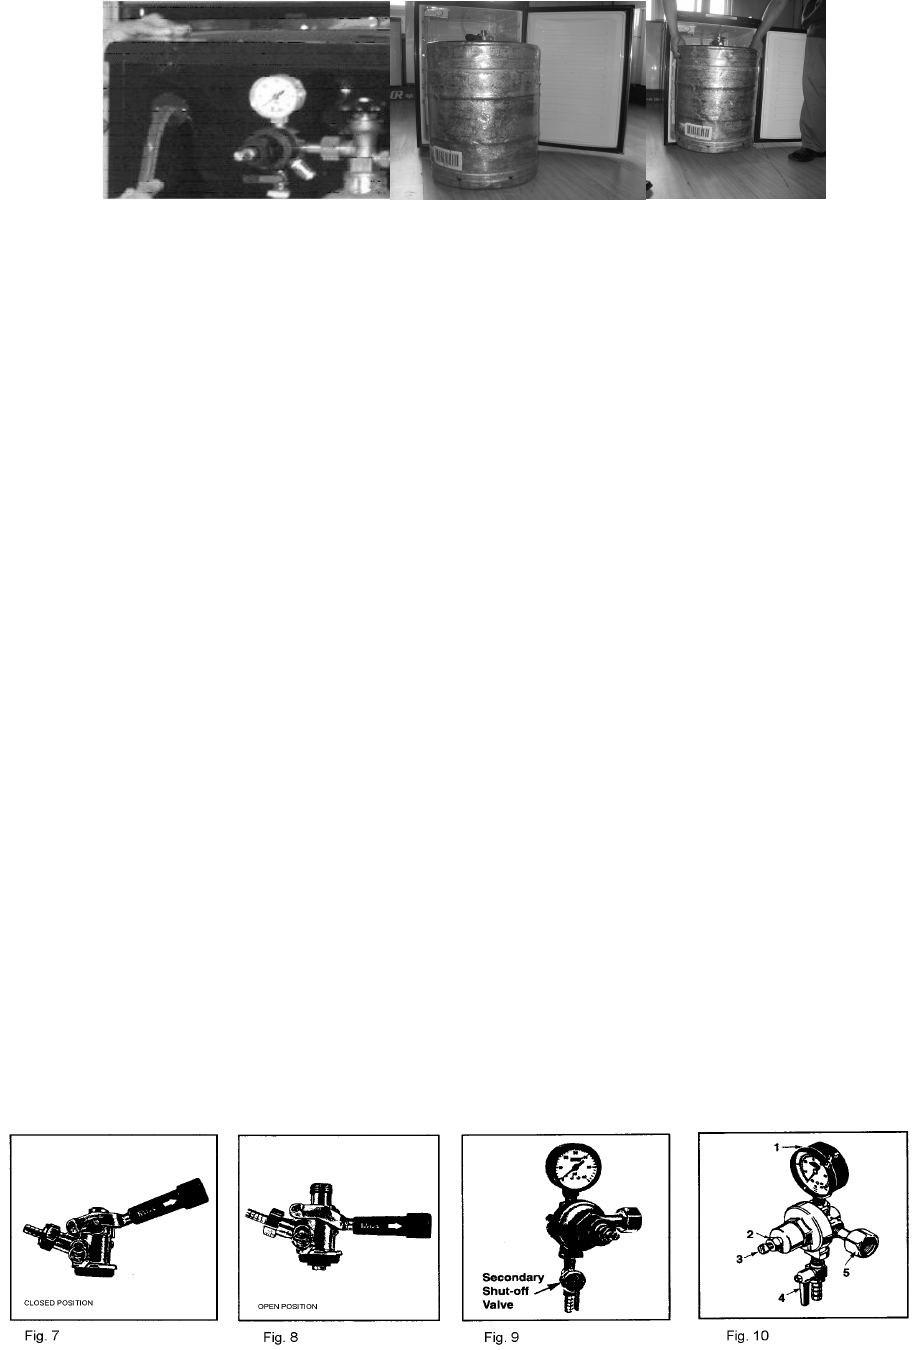
bottom cabinet. (See Figure 6)
• Grasp the keg handles and slide it all the way into the cabinet.
Fig. 4 Fig. 5 Fig. 6
Installation Of The Keg Coupler
• Insert the keg coupler provided into the locking neck of the beer keg and turn it clockwise to lock
into position, making sure the keg coupler is in the closed position. (See Figure 7)
Installation Of The CO2 Air Line Hose
• Attach the end of the air line(red) hose provided to the hose connection on the keg coupler.
Secure hose by using the clamps and make sure there are no leaks.
Connecting the beer tower to coupler
• Make sure the washer is properly inserted into the wing nut.
• Place wing nut into the top of the coupler turning until tight.
How To Tap A Keg Of Beer
• Make sure the beer tower faucet is in the closed position.
• Pull tapping handle out and press downward until it locks into position. (See Figure 8) The keg is
now tapped.
Opening The CO
2
Cylinder Main Valve
• Before doing that, make sure the secondary shut-off valve is closed, as shown in figure 9. To
open the main CO
2
cylinder valve, slowly turn the main valve counter-clockwise until fully open.
• Notice the needle on the gauge start to climb.
Adjusting The CO
2
Regulator
• The gauge monitors low internal keg pressure and should be adjusted to read between 10-12 psi.
(See Figure 10)
• In order to do that:
1. Release adjustment lock nut marked 2.
2. Using a flat screwdriver, turn regulator screw marked 3. If increased low pressure is sought,
rotate screw clockwise. By rotating it counter clockwise, low pressure will be decreased when
the required operating pressure is attained, retighten lock nut 2.
3. Open secondary shut off valve to let CO
2
flow into the keg.


