


5
Surface Cooking
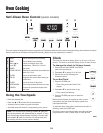
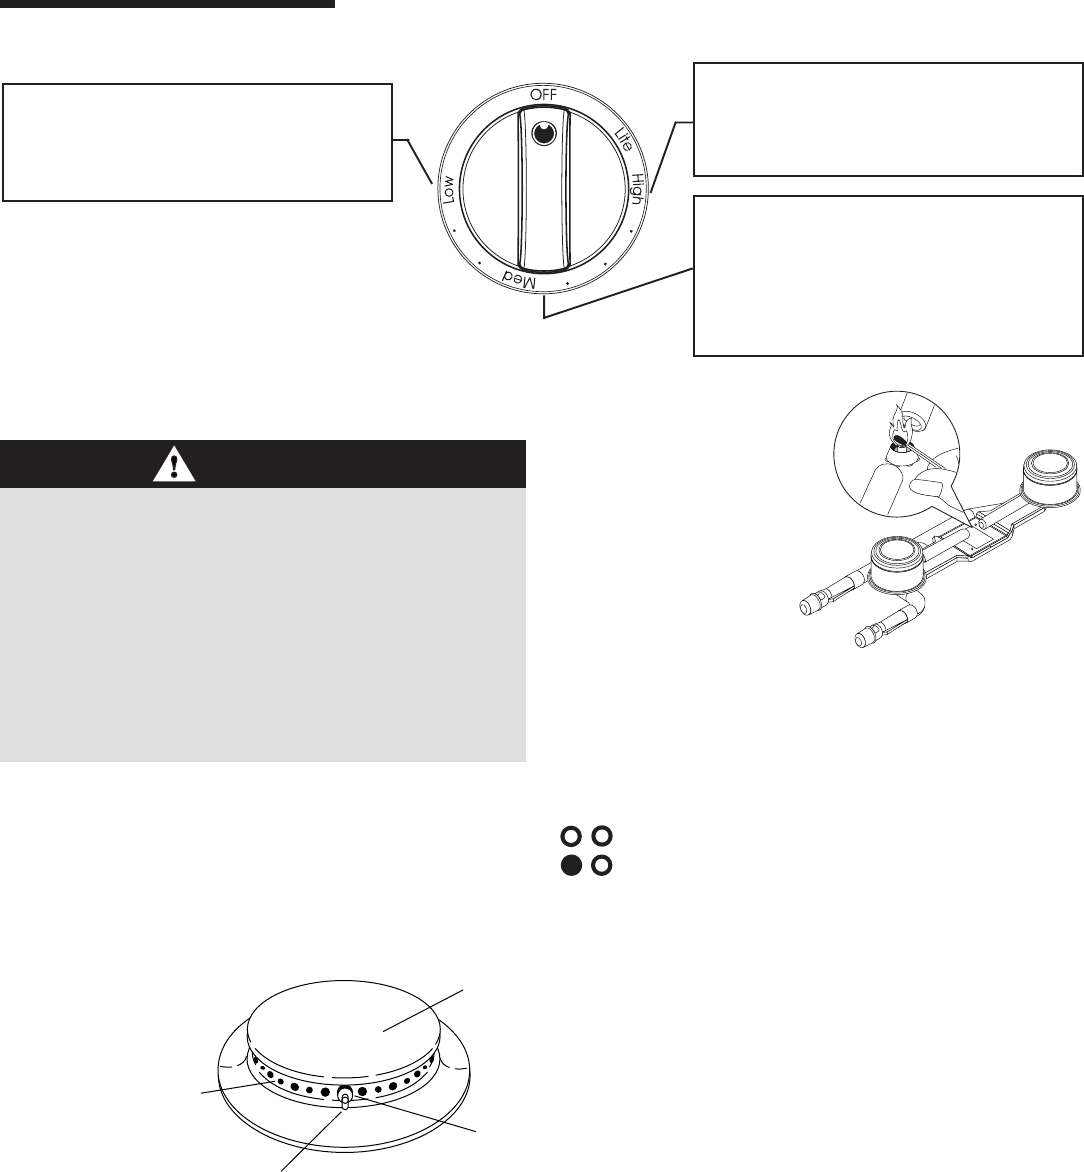
Surface Controls
Surface Control Knobs
Use to turn on the surface burners. An infinite choice of heat
settings is available from Low to High. At the High setting a
detent or notch may be felt. The knobs can be set on or
between any of the settings.
Graphics next to the knob identify which burner the
knob controls. For example, the graphic at left shows
the left front burner location.
Setting the controls:
The size and type of cookware will affect the heat setting. For
information on cookware and other factors affecting heat
settings, refer to “Cooking Made Simple” booklet.
1. Place a pan on the burner grate.
• The burner flame may lift off or appear separated from
the port if a pan is not placed on the grate.
2. Push in and turn the knob counterclockwise to the Lite
setting.
• A clicking (spark) sound will be heard and the burner
will light. (All ignitors will spark when any surface
burner knob is turned to the Lite position.)
3. After the burner lights, turn knob to desired flame size.
• The ignitor will continue to spark until the knob is
turned past the Lite position.
CAUTION
• If flame should go out during a cooking operation, turn
the burner off. If a strong gas odor is detected, open a
window and wait five minutes before relighting the
burner.
• Be sure all surface controls are set in the OFF position
prior to supplying gas to the range.
• NEVER touch cooktop until it has cooled. Expect some
parts of the cooktop, especially around the burners, to
become warm or hot during cooking. Use potholders to
protect hands.
High: Use to bring liquid to a boil, or reach
pressure in a pressure cooker. Always
reduce setting to a lower heat when liquids
begin to boil or foods begin to cook.
Med: An intermediate flame size is used to
continue cooking. Food will not cook any
faster when a higher flame setting is used
than needed to maintain a gentle boil.
Water boils at the same temperature
whether boiling gently or vigorously.
Low: Use to simmer foods, keep foods
warm and melt chocolate or butter. Some
cooking may take place on the Low
setting if the pan is covered.
Pilotless Ignition (select models)
Pilotless ignition eliminates the need for a constant standing
pilot light. Each sealed burner has a spark ignitor. There are
two ignitors for conventional surface burners. When cleaning
around the surface burner use care. If cleaning cloth should
catch the ignitor, it could be damaged, preventing ignition.
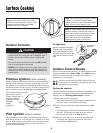
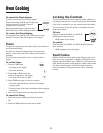
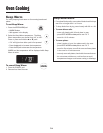
If the surface burner does not
light, check if ignitor is
broken, soiled or wet. If
clogged, clean the
small port beneath
the ignitor
using a
straight pin.
PORTS
PORT BELOW IGNITOR
IGNITOR
CAP
BURNER HEAD
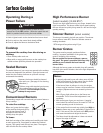
Pilot Ignition (select models)
When the range is first installed, the standing pilots may be
difficult to light due to air in the gas line. To bleed off air from
the line, hold a lighted match next to the burner and turn the
knob on. When the burner lights, turn the knob off and
proceed as directed below.
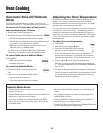
Conventional
Gas Burner
To light pilot:
Raise the cooktop and hold a
lighted match near the pilot
ports (See illustration). There
are two pilot ports, one on the
right side and one on the left
side.