


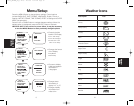
Brewing Instructions
Before Using Your Melitta
®
Smart Mill & Brew
™
Coffee Maker for the First Time
1. Carefully unpack your Coffee Maker. Remove any labels from the
outside surfaces.
2. Clean the Carafe, Carafe Lid, Filter Basket and Filter Basket Lid in
warm, soapy water. Rinse thoroughly and dry.
3. Fill the Water Reservoir to the 10-cup mark with cold water. Place
the Carafe onto the Warming Plate.
4. Insert the Filter Basket and Filter Basket Lid into the Coffee
Maker, taking care to replace it properly. DO NOT USE COFFEE
WHEN CLEANING. USE WATER ONLY. Close the Coffee Mill Lid.
NOTE: The Coffee Mill Lid must be closed securely in order
for the brew cycle to begin.
5. Plug the Smart Mill & Brew™ Coffee Maker into a 120V AC
electrical outlet.
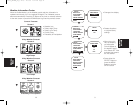
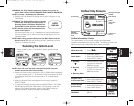
6. The “Welcome” screen will appear, followed by “Scanning for
Signal” and then “Acquiring Signal” which may remain on the
LCD Display for up to 1 hour depending on the signal strength in
your area. Please be patient.
7. While the unit is scanning for the signal, press the
COFFEE/WEATHER Button to advance to the coffee-only mode.
The “Mill & Brew Idle” screen advises the unit is not in operation.
Brewing
Instructions
Brewing
Instructions
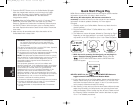
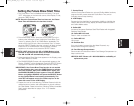
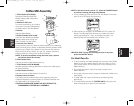
8. Press the ON/OFF Button. The “Brewing”
screen will appear as water will begin to flow
through the Coffee Maker. The Brew ON
icon will appear at the bottom left of the
LCD Screen.
9. When the Carafe is full, press the ON/OFF
Button to turn the unit OFF. Discard the
water in the Carafe. Allow the unit to cool
for 15 minutes.
10. Refill the Water Reservoir and repeat steps
8 and 9 one more time.
Coffee Yield
A 5-oz. cup is the American industry standard and is used by most
coffee maker manufacturers. The Smart Mill & Brew™ Coffee Maker
brews a maximum of 10 (5-oz.) cups as indicated by the 10 coffee
cup markings on the Water Window. For best results, we do not
recommend preparing less than 4 cups (or 20 ounces) of coffee.
Brewing Coffee: Immediate Start
1. Fill the Water Reservoir to the 10-cup mark with cold, fresh
water. Place the Carafe securely onto Warming Plate.
NOTE: Take care to place the Carafe squarely beneath the
Brew Chamber. If it is even slightly off center, the Pause &
Pour feature will prevent brewed coffee from flowing into
the Carafe and the coffee may overflow.
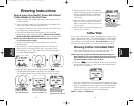
2. Press the COFFEE/WEATHER Button twice to advance
to the coffee-only mode. The “Mill & Brew Idle” screen advises
the unit is not in operation.
3. Open the Coffee Mill Lid and remove the Filter Basket Lid. Using
the scoop provided with your Coffee Maker, measure the desired
amount of roasted whole bean coffee into the Filter Basket. We
recommend using 1 scoop for every 2 cups of brewed coffee,
which may be adjusted to suit your individual tastes.
NOTE: 1 scoop = 1 tablespoon.
15
᭤
᭤
14
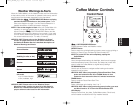
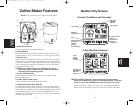
Note the Grind Level
listed at the bottom right
side of the LCD Display.
The unit is preset to “0.”
The synchronized
Atomic Clock info at the
top of the screen will
appear when the FM
signal has been acquired.
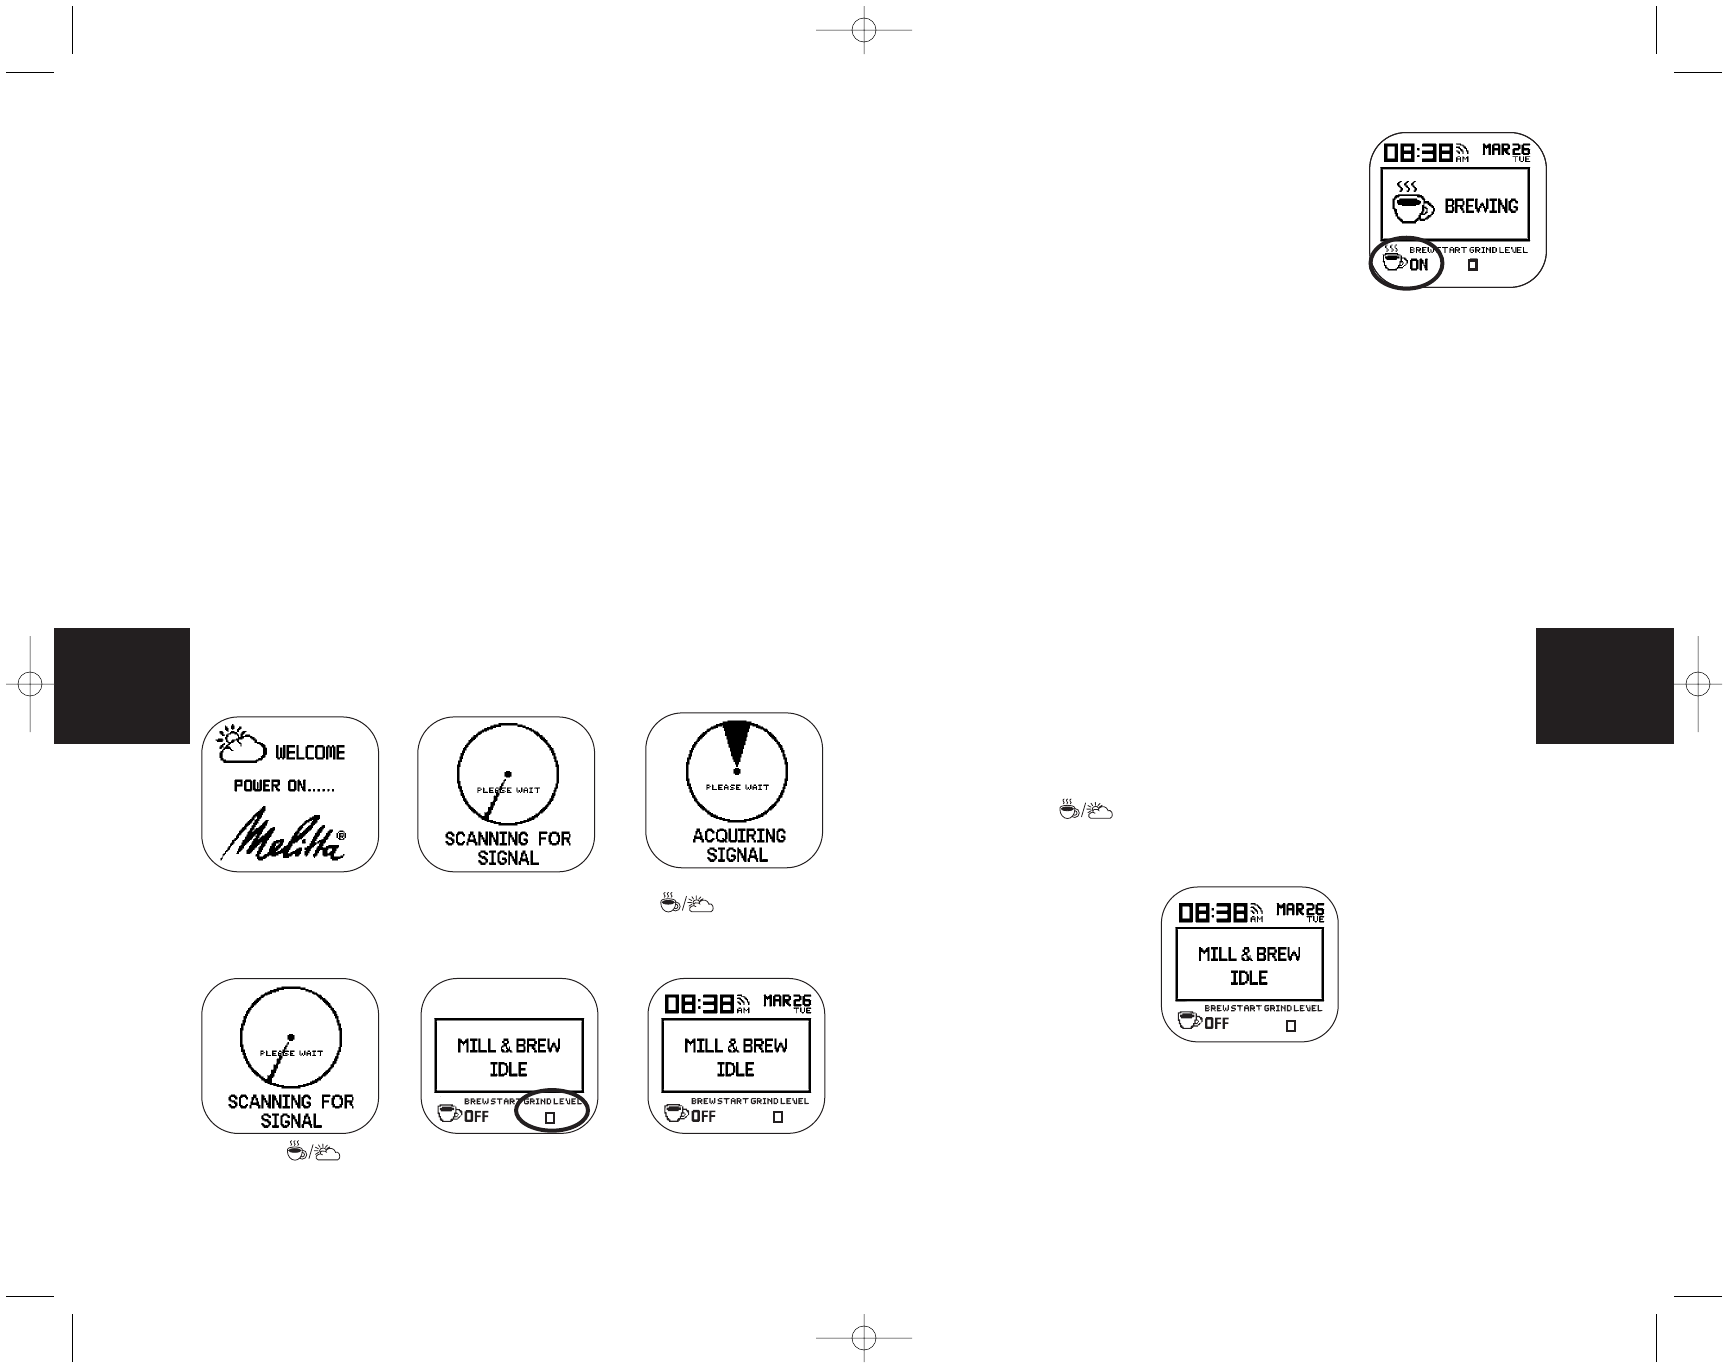
Press the
COFFEE/WEATHER
Button to change to
the coffee-only mode.
᭤
᭤
Note the Brew ON
steaming coffee cup icon
at the bottom left side
of the LCD Display.
Melitta_ME1MSB_IB_7-12-06 12/7/06 2:45 PM Page 31