2-1
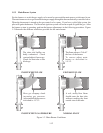
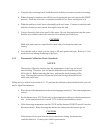
Excessive Air Gaps
Shortening
Blocks
Temp. Probe
Tubes
O
i
l
o
r
S
h
o
r
t
e
n
i
n
g
Burner Tubes
Temp. Probe
Tubes
Solid
Shortening
Solid
Shortening
Temp. Probe
Tubes
Chapter 2: Operating Instructions
This chapter describes how to operate your fryer to obtain the best performance. Included in this
chapter are filling, operating, and cleaning instructions for gas fryers.
2.1 FILLING THE FRYER
Both liquid and solid shortening can be used in the fryer, but liquid is preferred. If solid shortening
is used, it is recommended that you melt the shortening before adding it to the fryer. You can melt
solid shortening in the fryer, but you must carefully not to scorch the shortening.
2.1.1 Filling the Fryer With Liquid Shortening
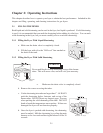
a. Make sure the drain valve is completely closed.
b. Fill the fryer with oil to the "Oil Level" line marked on
the back of the tank.
2.1.2 Filling the Fryer With Solid Shortening
WARNING
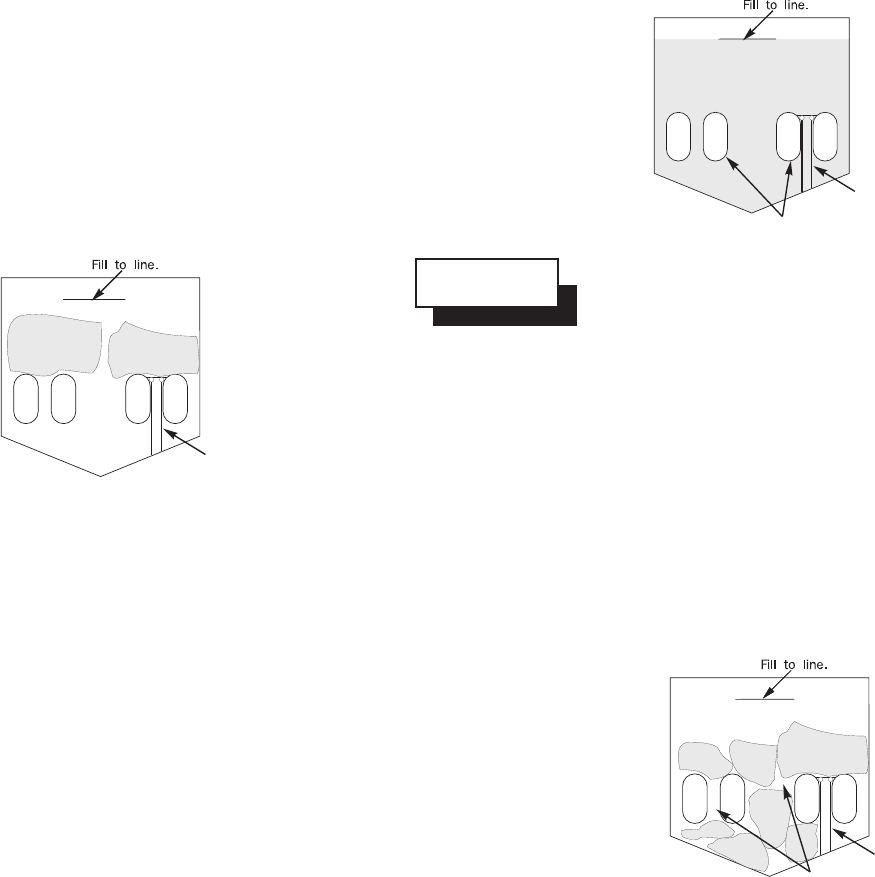
Never melt blocks of solid shortening on top of the burner
tubes. This will cause a fire, and will void your warranty.
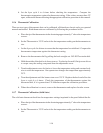
a. Make sure the drain valve is completely closed.
b. Remove the screen covering the tubes.
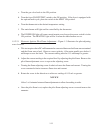
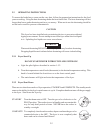
c. Cut the shortening into cubes no larger than 1". ALWAYS
pack the shortening below, between, and on top of the
burner tubes. DO NOT leave any large air gaps. Use care
when packing the solid shortening in the tank. DO NOT
bend or break the temperature sensor probes. If these are
damaged the fryer will not function properly.
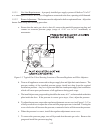
d. Once the fryer is packed with shortening, the shortening
must be melted. Melt the shortening by cycling the main
burners on for 4 seconds and leaving the burners off for 30
seconds.


