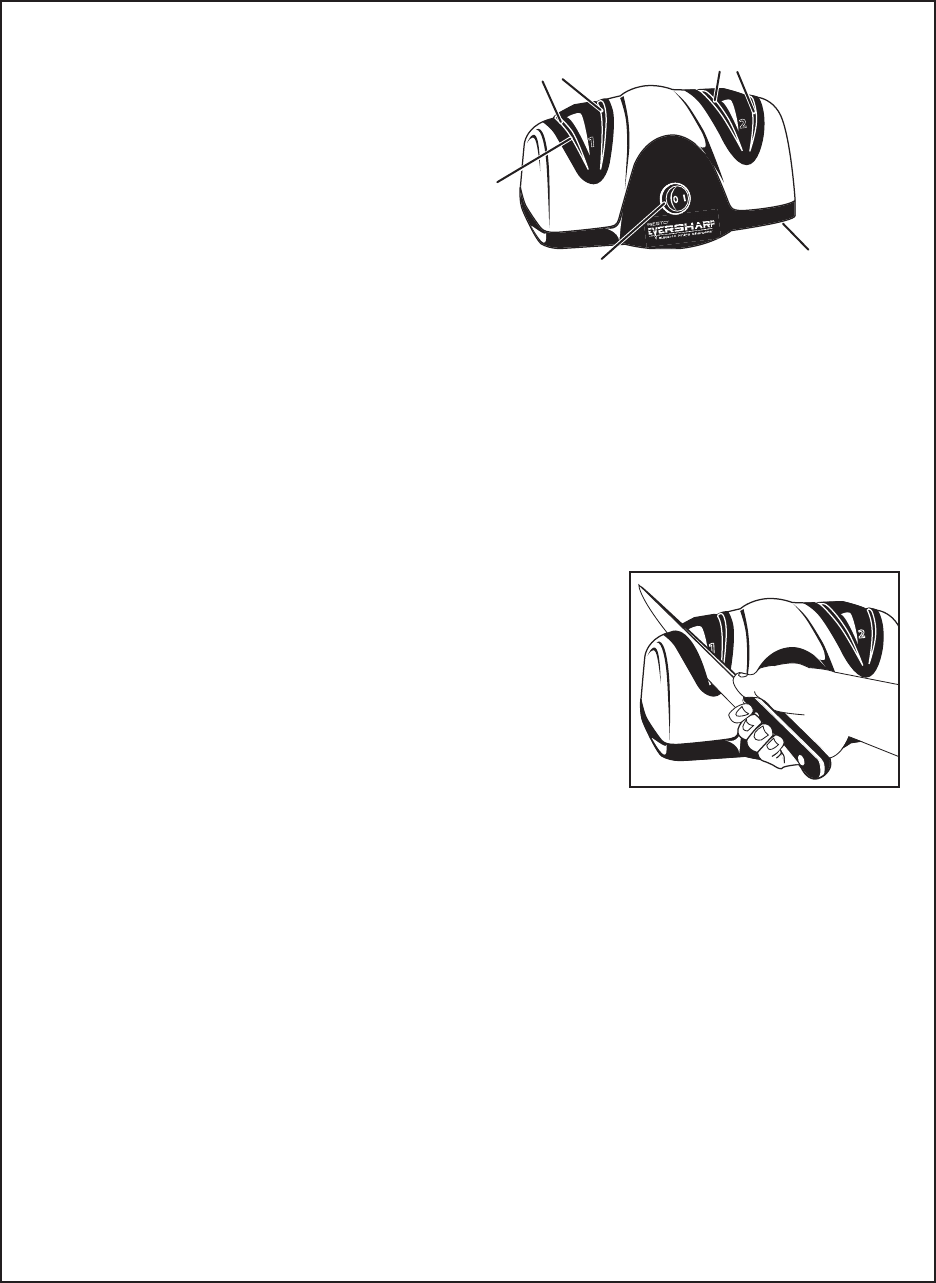
Fig. 1
Stage 1
Stage 2
2
Your Presto
EverSharp
electric knife
sharpener will sharpen knives of alloy, carbon,
or stainless steel. It is designed to sharpen
kitchen knives and most sporting knives. Do
not attempt to sharpen scissors, serrated electric
knives, or any blade that does not t freely in
the blade guides.
How To Use
1. For best results, moisten the bottom of the
suction feet on the knife sharpener and place
the unit on a stable surface. Connect cord to
a polarized outlet only. As a safety feature, this appliance has a polarized plug (one blade is wider than
the other). This plug will only t in a polarized outlet one way. If the plug does not t fully in the outlet,
reverse the plug. If it still does not t, contact a qualied electrician. Do not attempt to defeat this safety
feature. Turn the unit ON by pressing the vertical bar on the ON/OFF switch.
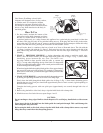
2. You will notice there is a number at the base of each set of slots as illustrated above. The side with the
1 is Stage 1 and the side with the 2 is Stage 2. Each stage has two slots, one to sharpen each side of the
knife. When using the knife sharpener on your knives for the rst time, begin with Stage 1 - Precision
Grinding.
3. STAGE l - PRECISION GRINDING — begins sharpening and creates a precision angled edge.
Slowly draw the knife towards you through both blade guide slots in Stage 1 (Fig. 1) three times,
alternating passes between the two slots. The knife's cut-
ting edge should be kept parallel with the table or counter top
(Fig. 1), except when sharpening the tip of the blade. To sharpen the
tip, lift up on the knife handle slightly as the curved portion of the blade
is drawn through the blade guides.
When drawing the knife through the blade guides, allow approximately
one second for each two inches of blade. For example, if sharpening a
knife with a 6-inch blade, you should take approximately three seconds
for each pass.
4. STAGE 2 - FINE HONING — completes the knife sharpening process
by honing and polishing the knife to an exact razor sharp edge.
Slowly draw the knife through both blade guide slots in Stage 2 (Fig. 1) three times, alternating passes
between the two slots. Each pass should take approximately three or more seconds, again depending on
the knife blade’s length.
Complete the honing process with one quick pass (approximately one second) through both slots of
Stage 2.
5. Before using the knife to slice food, always wipe the knife blade with a damp cloth.
6. If knife does not slice food with ease, repeat Stages 1 and 2.
CAUTION:
Do not run ngers along edge of knife to check sharpness. To avoid injury, handle knives with extreme
care.
Never insert the tip of the knife into the blade guide rst and push through. This could damage the
knife sharpener and your knife.
Before using the knife to slice food, always wipe the knife blade with a damp cloth to remove any metal
lings that may remain from the sharpening process.
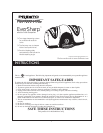
1
2
Stage 1
precision grinds
Stage 2
ne hones
Blade
guides
hold knife
at perfect
angle
ON/OFF switch
Suction feet to keep
unit in place


