


-7-
HOW TO VACUUM SEAL WITH SEAL-A-MEAL
®
ACCESSORIES
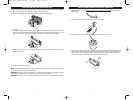
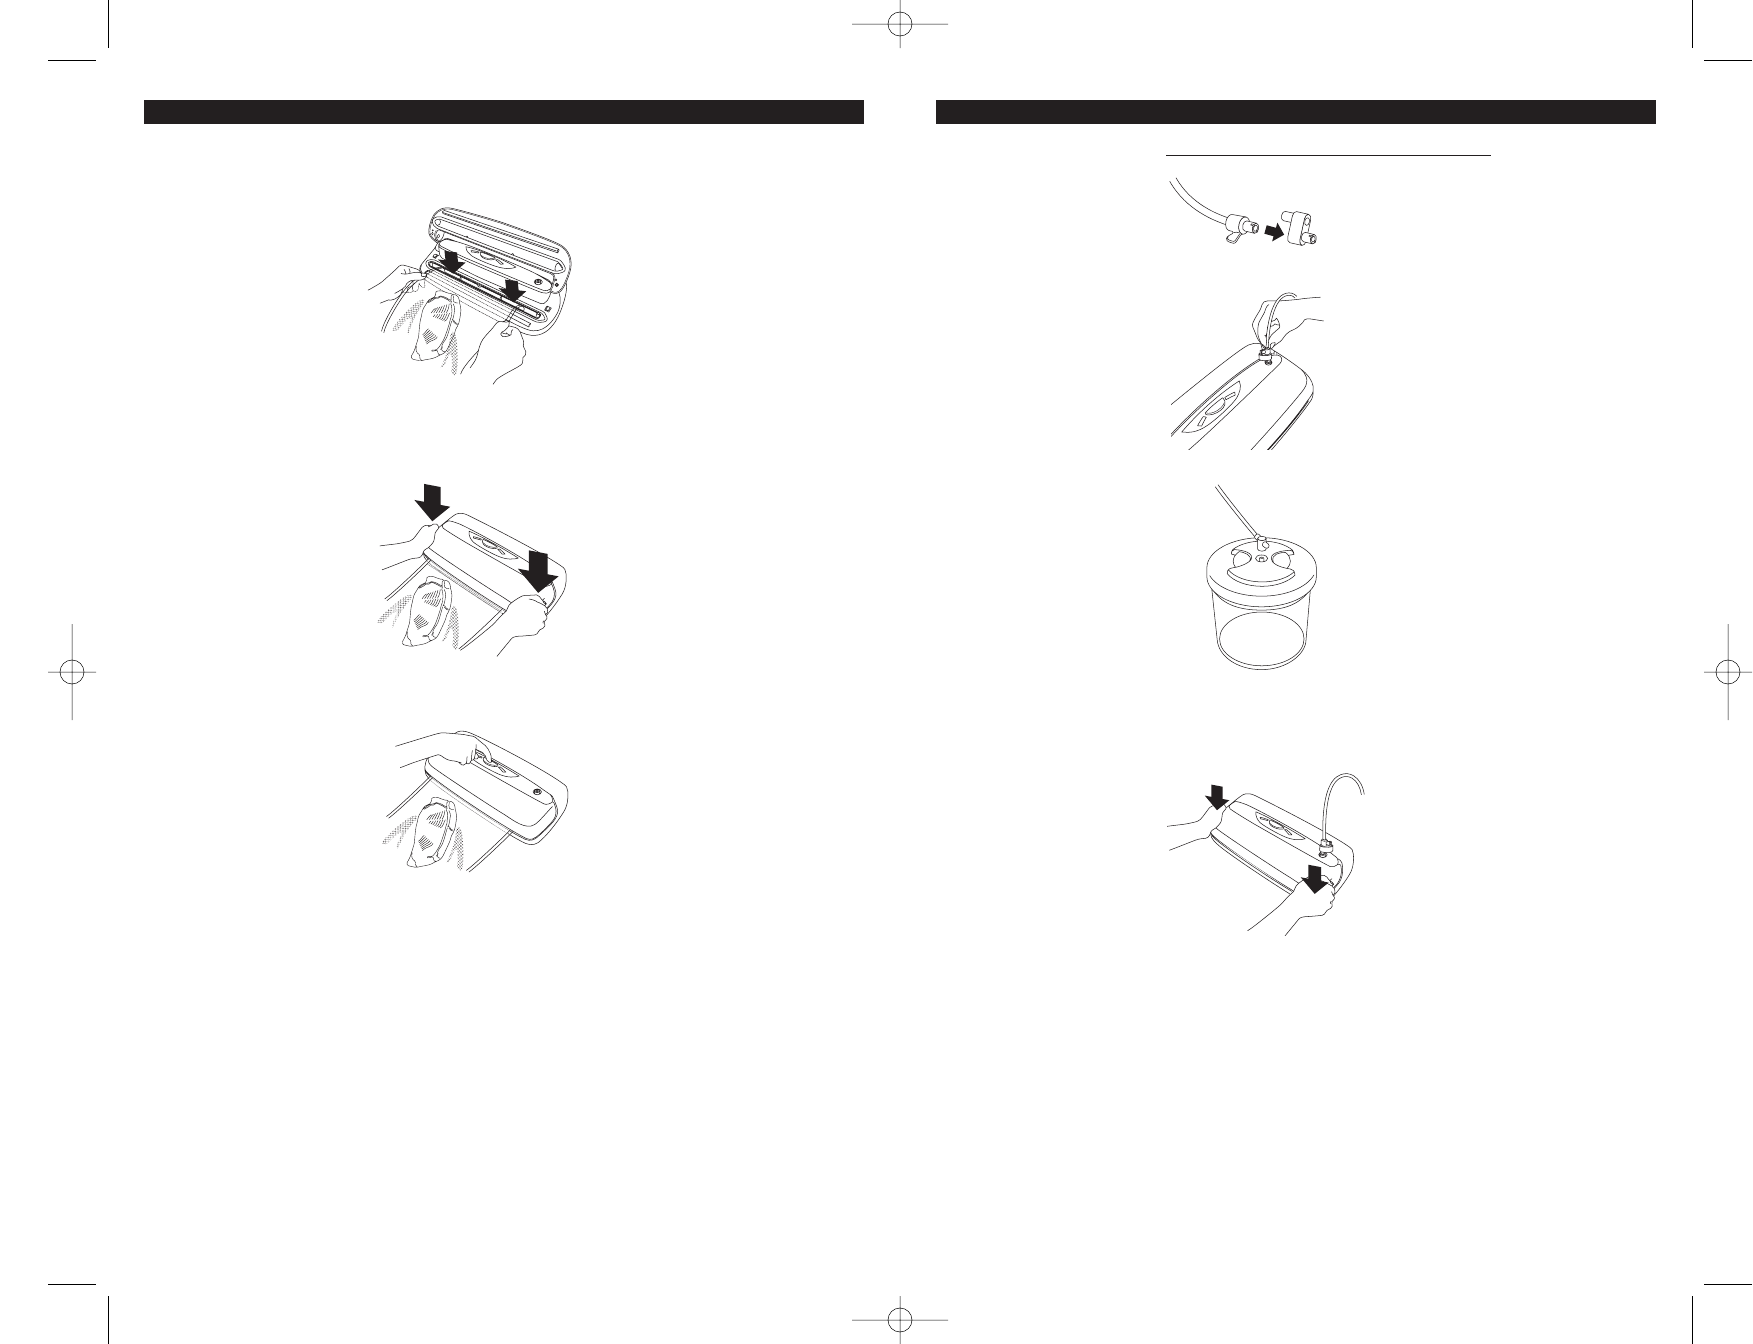
1. Firmly insert one end of the Accessor
y Hose that came with your accessory into the Accessory
Hose Adapter.
2. Attach the other end of the Adapter into the Accessory Port.
3. Attach the other end of the Accessory Hose to the Seal-a-Meal
®
Accessory.
4. To begin the vacuum process, press down firmly on Lid with both hands and hold until the
motor starts. Continue to hold the Lid. When the Hands-free Indicator Light illuminates, it is
safe to remove your hands from the Lid. The unit continues to vacuum. Once all the air is
removed, the motor and indicator lights will automatically turn off.
-6-
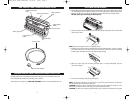
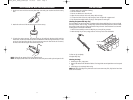
1. Place the items to be sealed into a pre-cut or custom sized bag. Leave at least 3 inches between
the contents and the top of the bag to allow for bag contraction.
2. Open the lid and place the open end of the bag down into the Drip Tray.
3. Close Lid.
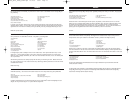
4. To begin the vacuum process, press down firmly on Lid with both hands and hold until the
motor starts. Continue to hold the Lid. When the Hands-free Indicator Light illuminates, it is safe
to remove your hands from the Lid. The unit continues to vacuum and seal the bag.
5. When the motor stops and the Sealing indicator light is no longer illuminated, press the
Open/Cancel button.
6. Lift the lid and remove the bag.
NOTE: The Open/Cancel button can also be used to cancel the process mid-cycle and open the
Lid. The bag will not be sealed when doing this.
CAUTION: This sealer is not for commercial use. If sealing more than 30 bags or canisters in a row,
wait at least 25 minutes before continuing to use your vacuum food sealer.
CAUTION: The unit has a cool down period between cycles. Wait 20 seconds before using again.
HOW TO VACUUM SEAL WITH SEAL-A-MEAL
®
BAGS
VS106_VS107_VS108_07EM1.qxd 10/11/07 19:42 Page 7