


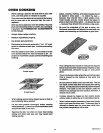

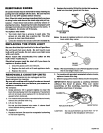

REMOVABLE OVEN RACKS
Be careful not to scratch the oven finish when
installing or removing oven racks.
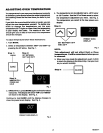
To install:
1. Set the raised back edge of the rack on a pair of rack
guides.
2. Push the rack In until you reach the bump In the rack
guide, then lift the front of the rack and push the rack
all the way In.
To remove:
1. Pull the oven rack out, then up.
Some models have one standard oven rack and one
folding oven rack.
The folding rack can be easily stored away when not In
use.
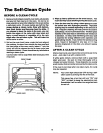
NOTE: For best performance, remove oven racks
during a clean cycle. If oven racks are left in the
range during a self-clean cycle, they will darken,
lose their luster and become hard to slide. If you
choose to leave the racks in the oven, you can
polish the edges of the racks with steel wool and
apply a small amount of vegetable oil to the rack
edges after the self-clean cycle.
m
BUMP
IN RACK
GUIDE
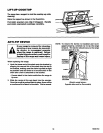
REMOVABLE OVEN DOOR
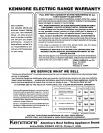
TO remove:
1. Open the door to the stop position (see illustration).
2. Grasp the door at each side and lift up and off the
hinges.
NOTE:
When the door is removed and hinge
arms are at stop position, do not bump or
try to remove the hinge arms. The hinges
could snap back causing an injury to the
hands or damage to the porcelain on the
front of the range. Cover the hinges with
toweling or empty towel rolls while
working in the oven area.
To replace:
1.
Hold the door over the hinges with the slots at the
bottom edge of the door lined up with the hinges.
The hinge arms must still be in the stop
position.
2. Slide the door down onto the hinges as far as It will
go and close the door.
STOP (BROIL) POSITION
HINGE
REMOVABLE STORAGE DRAWER
This drawer gives you space for keeping cook-
ware and bakeware. Plastics and flammable
material should not be kept in this drawer.
Do not overload the storage drawer. If the drawer is too
heavy, it may slip off the track when opened. To open the
drawer, grasp the center of the handle and pull straight
out.
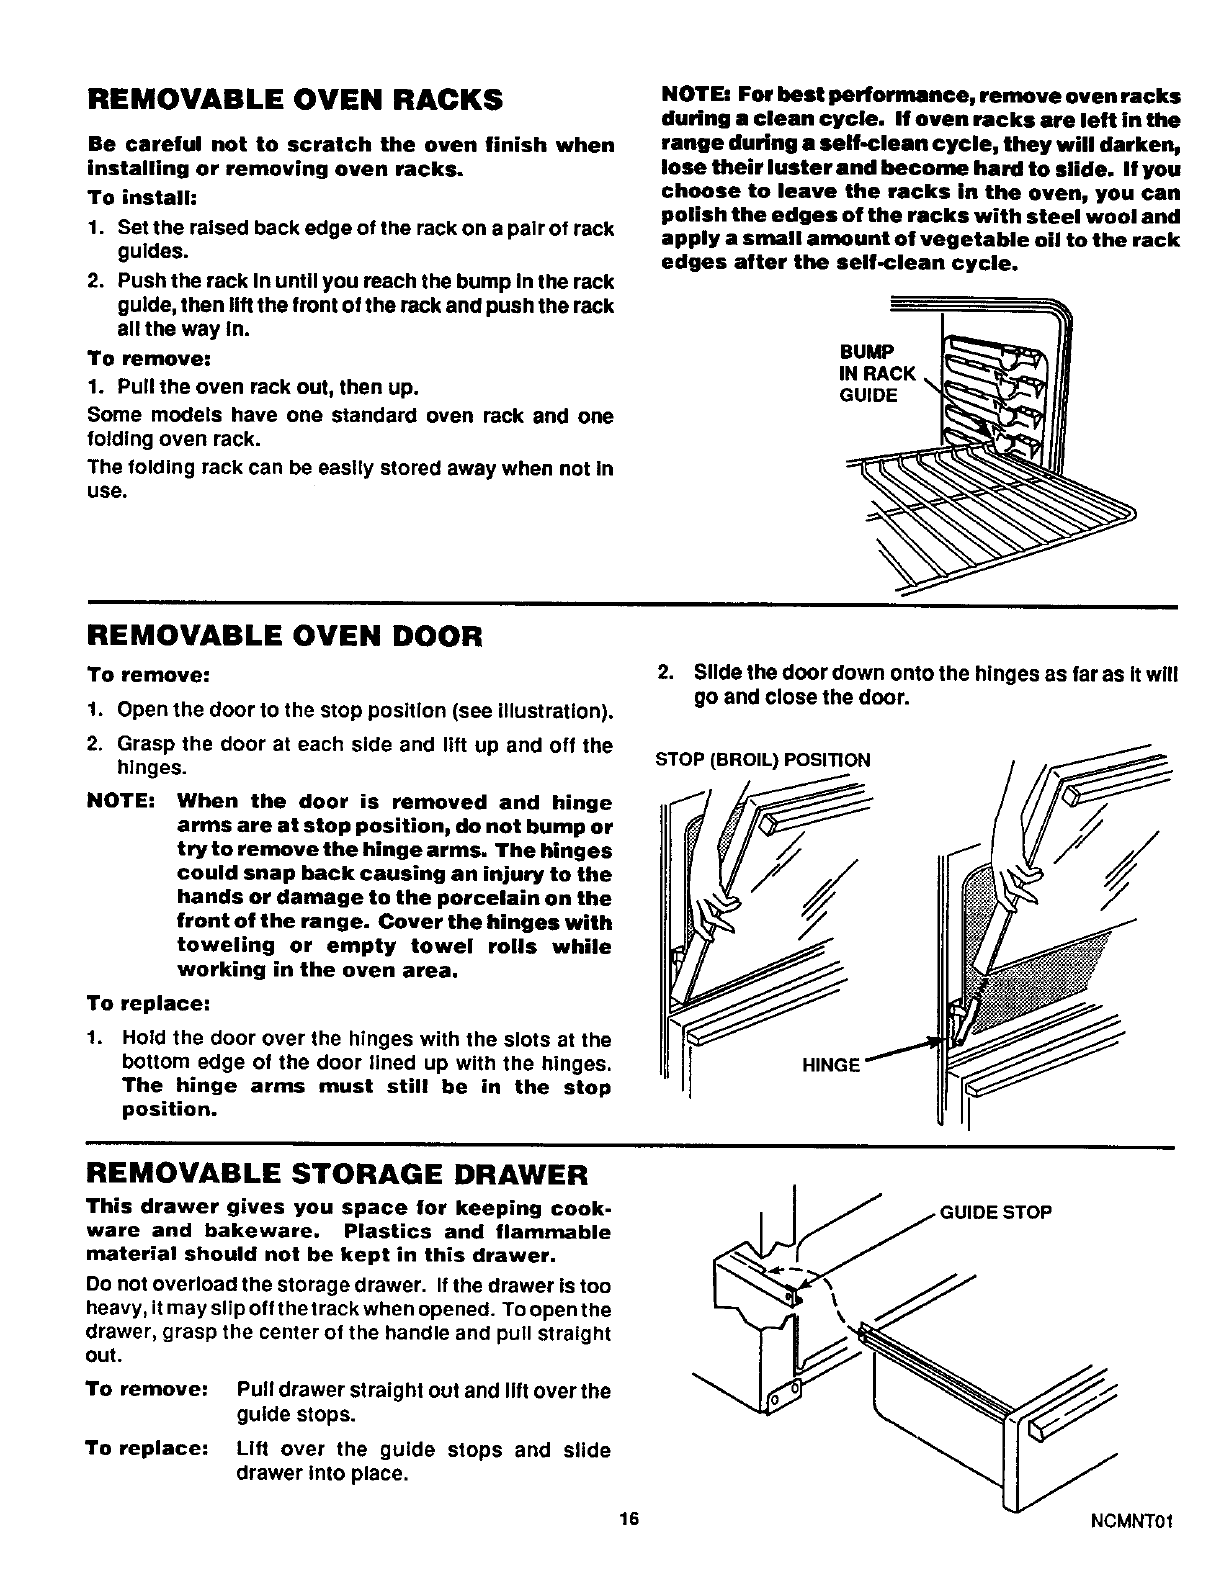
To remove:
To replace:
Pull drawer straight out and lift over the
guide stops.
Lift over the guide stops and slide
drawer into place.
16
__f_ GUIDE STOP
NCMNT01