OPERATION (continued)
14
FRYER OPERATION
NOTE: The two sections of the fryer are completely separate, and can
be used and controlled individually.
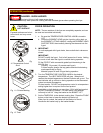
1. a. Be sure the TEMPERATURE CONTROL KNOB is turned to
OFF.
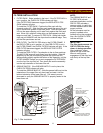
b. Lower the ELEMENT HEAD into the frypot by pulling back on
the ELEMENT LIFTING HANDLE, raising the ELEMENT HEAD
SUPPORT ROD, then carefully lowering the elements into the
frypot.
2. IMPORTANT:
On units equipped with frypot drains, be sure both drain valves are
closed.
IMPORTANT:
DO NOT overfill the frypot. Cold oil will expand as it heats. Adding
too much oil will allow the frypot to overflow during operation.
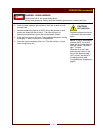
Fill the FRYPOT with commercial-grade liquid shortening to the
MIN OIL line.
Capacity: 30 pounds (15 pounds each frypot).
For best results, always use top grade commercial shortening
made specifically for frying.
Maintain proper oil level in frypot during operation.
3. Turn the TEMPERATURE CONTROL KNOB to the desired
temperature. The HEAT INDICATOR will glow. When the oil
reaches the desired temperature, the heat indicator will go out. The
heat indicator will go off and on during operation as the thermostat
cycles to maintain temperature.
For best results: DO NOT set temperature control to a temperature
setting higher than is required for the food product.
4. Load either or both baskets no more than 1/2 full with food product.
DO NOT overload fry baskets. For best results, load baskets
uniformly to half full. Hang the basket on the BASKET LIFT.
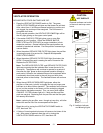
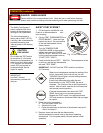
5. Set the TIMER DIAL to the desired cooking time. Press the "PUSH"
button on the timer to lower the basket into the hot oil.
When food is cooked, the basket will be lifted out of the oil.
Handle the hot basket only by the basket handle.
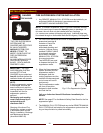
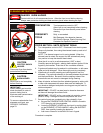
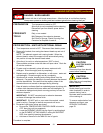
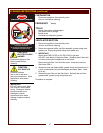
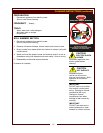
DANGER: BURN HAZARD
Contact with hot oil will cause severe burns.
Always wear protective clothing and heat resistant gloves when operating the fryer.
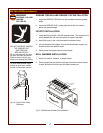
CAUTION:
HOT SURFACE
Exposed surfaces can be hot
to the touch and may cause
burns.
Fig.
10 Temperature Control
Knob
Fig. 11 Oil Level Marking
Fig. 12 Timer


