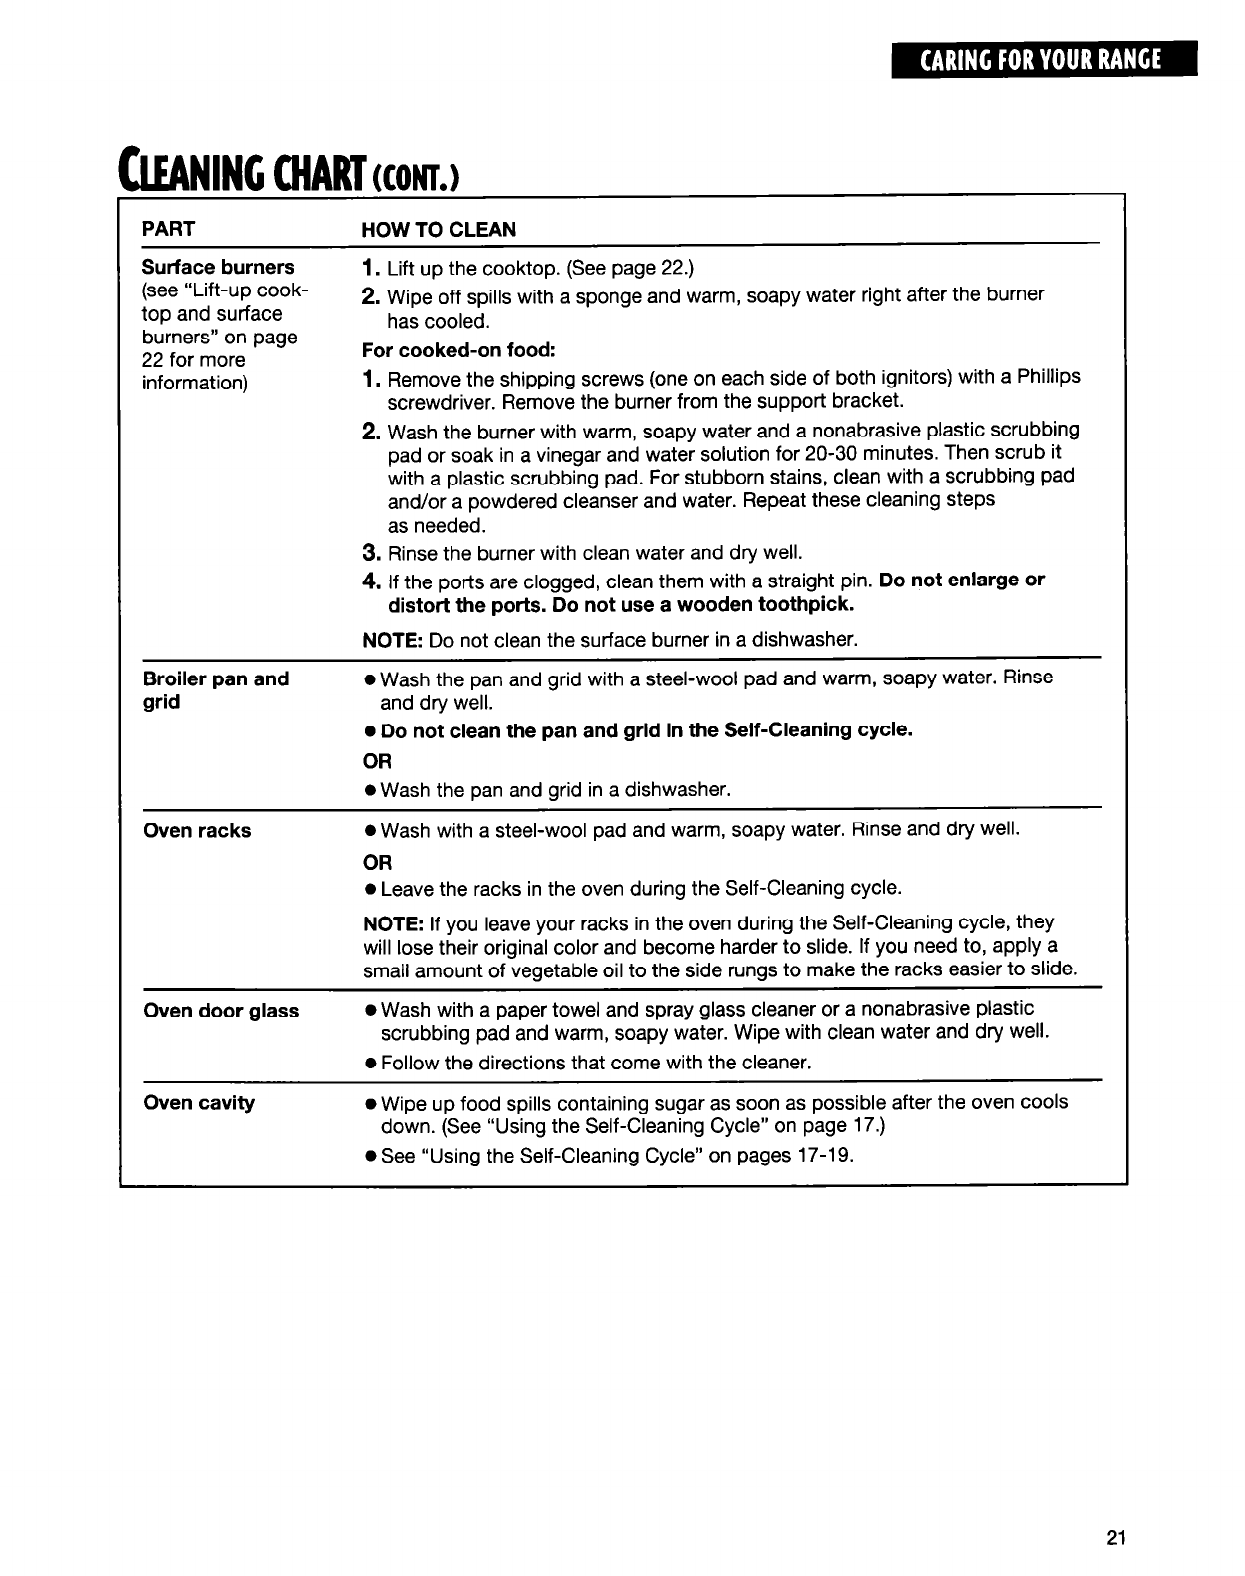
PART
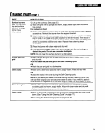
Surface burners
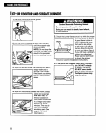
(see “Lift-up cook-
top and surface
burners” on page
22 for more
information)
HOW TO CLEAN
1.
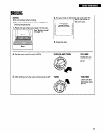
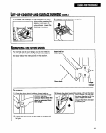
Lift up the cooktop. (See page 22.)
2. Wipe off spills with a sponge and warm, soapy water right after the burner
has cooled.
For cooked-on food:
1.
Remove the shipping screws (one on each side of both ignitors) with a Phillips
screwdriver. Remove the burner from the support bracket.
2. Wash the burner with warm, soapy water and a nonabrasive plastic scrubbing
pad or soak in a vinegar and water solution for 20-30 minutes. Then scrub it
with a plastic scrubbing pad. For stubborn stains, clean with a scrubbing pad
and/or a powdered cleanser and water. Repeat these cleaning steps
as needed.
3. Rinse the burner with clean water and dry well.
4. If the ports are clogged, clean them with a straight pin. Do not enlarge or
distort the ports. Do not use a wooden toothpick.
NOTE: Do not clean the surface burner in a dishwasher.
Broiler pan and
grid
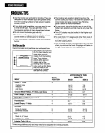
0 Wash the pan and grid with a steel-wool pad and warm, soapy water. Rinse
and dry well.
0 Do not clean the pan and grid in the Self-Cleaning cycle.
OR
0 Wash the pan and grid in a dishwasher.
Oven racks
0 Wash with a steel-wool pad and warm, soapy water. Rinse and dry well.
OR
0 Leave the racks in the oven during the Self-Cleaning cycle.
NOTE: If you leave your racks in the oven during the Self-Cleaning cycle, they
will lose their original color and become harder to slide. If you need to, apply a
small amount of vegetable oil to the side rungs to make the racks easier to slide.
Oven door glass
0 Wash with a paper towel and spray glass cleaner or a nonabrasive plastic
scrubbing pad and warm, soapy water. Wipe with clean water and dry well.
0 Follow the directions that come with the cleaner.
Oven cavity
l
Wipe up food spills containing sugar as soon as possible after the oven cools
down. (See “Using the Self-Cleaning Cycle” on page 17.)
0 See “Using the Self-Cleaning Cycle” on pages 17-l 9.
21


