Page 1-17
1-17
Cooking Products Service Manual
Original July, 1996 4321891
© 1996 Whirlpool Corporation
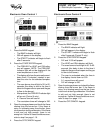
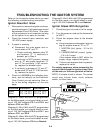
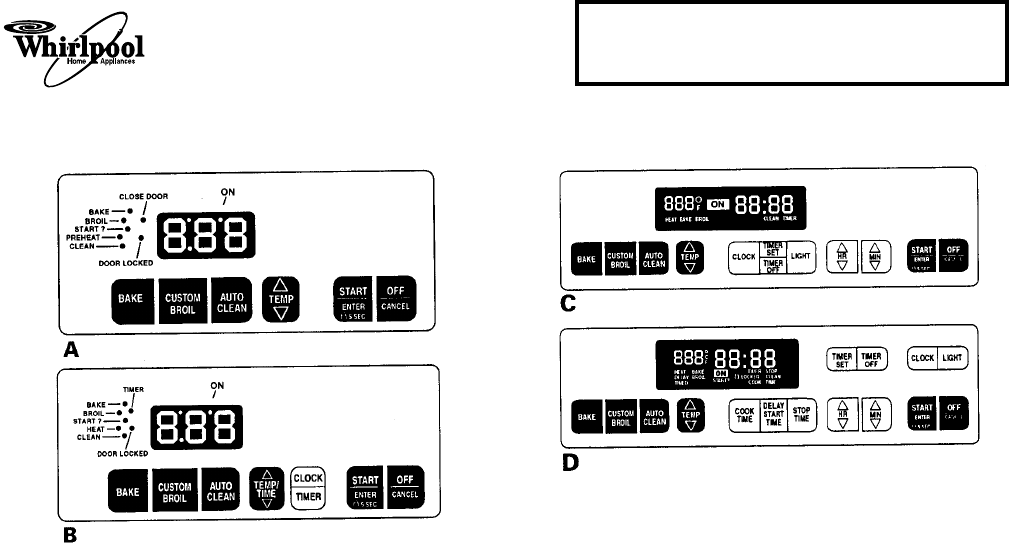
1. Press the BAKE keypad.
• The BAKE indicator will light.
• 350 will appear in the display.
• The START? indicator will begin to flash
after 5-seconds.
2. Press the START/ENTER keypad.
• The PREHEAT or HEAT and ON indica-
tors will appear. NOTE: The PREHEAT
indicator light will not be displayed if the
oven temperature is over 170˚F.
• The display will show the automatic count-
down time (10-minutes) needed to pre-
heat the oven for the selected tempera-
ture.
• The oven burner should light in 50- to 60-
seconds (the delay is due to the time it
takes for the gas valve to open and the gas
to flow to the burner).
• After preheat, the PREHEAT indicator light
will go out (Control A only).
• A 1-second tone will sound.
• The countdown timer will change to 350.
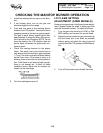
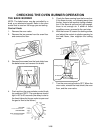
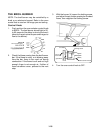
3. Open the storage drawer and check the flame
coming from the burner bar. If the flame is
noisy, or is blowing away from the bar, there
is too much air during combustion. If the flame
is soft and not high enough, there is not
enough air. If either of these conditions occur,
refer to step 6 on page 1-16.
4. Press the OFF/CANCEL keypad.
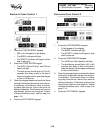
1. Press the BAKE keypad.
• The BAKE indicator will light.
• 350 will appear in the display.
• The START? indicator will begin to flash
after 5-seconds (Control D only).
2. Press the START/ENTER keypad.
• PrE and 10:00 will appear.
• The HEAT and ON indicators will light.
• The oven burner should light in 50- to 60-
seconds (the delay is due to the time it
takes for the gas valve to open and the gas
to flow to the burner).
• The oven is preheated when the time in
the display counts down to 0:00.
• A 1-second tone will sound.
• PrE will change to 350.
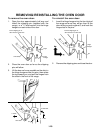
3. Open the storage drawer and check the flame
coming from the burner bar. If the flame is
noisy, or is blowing away from the bar, there
is too much air during combustion. If the flame
is soft and not high enough, there is not
enough air. If either of these conditions occur,
refer to step 6 on page 1-16.
4. Press the OFF/CANCEL keypad.
Electronic Oven Control 1
Electronic Oven Control 2


