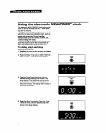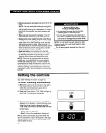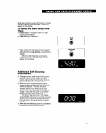
When the controls are set and the door is locked,
the Self-Cleaning cycle will begin. CLEAN will
appear on the display.
:;24ay the start using Stop
.
.
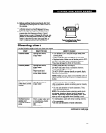
1. Follow Steps 1 through 3 under ‘70 start
cleaning immediately.”
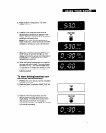
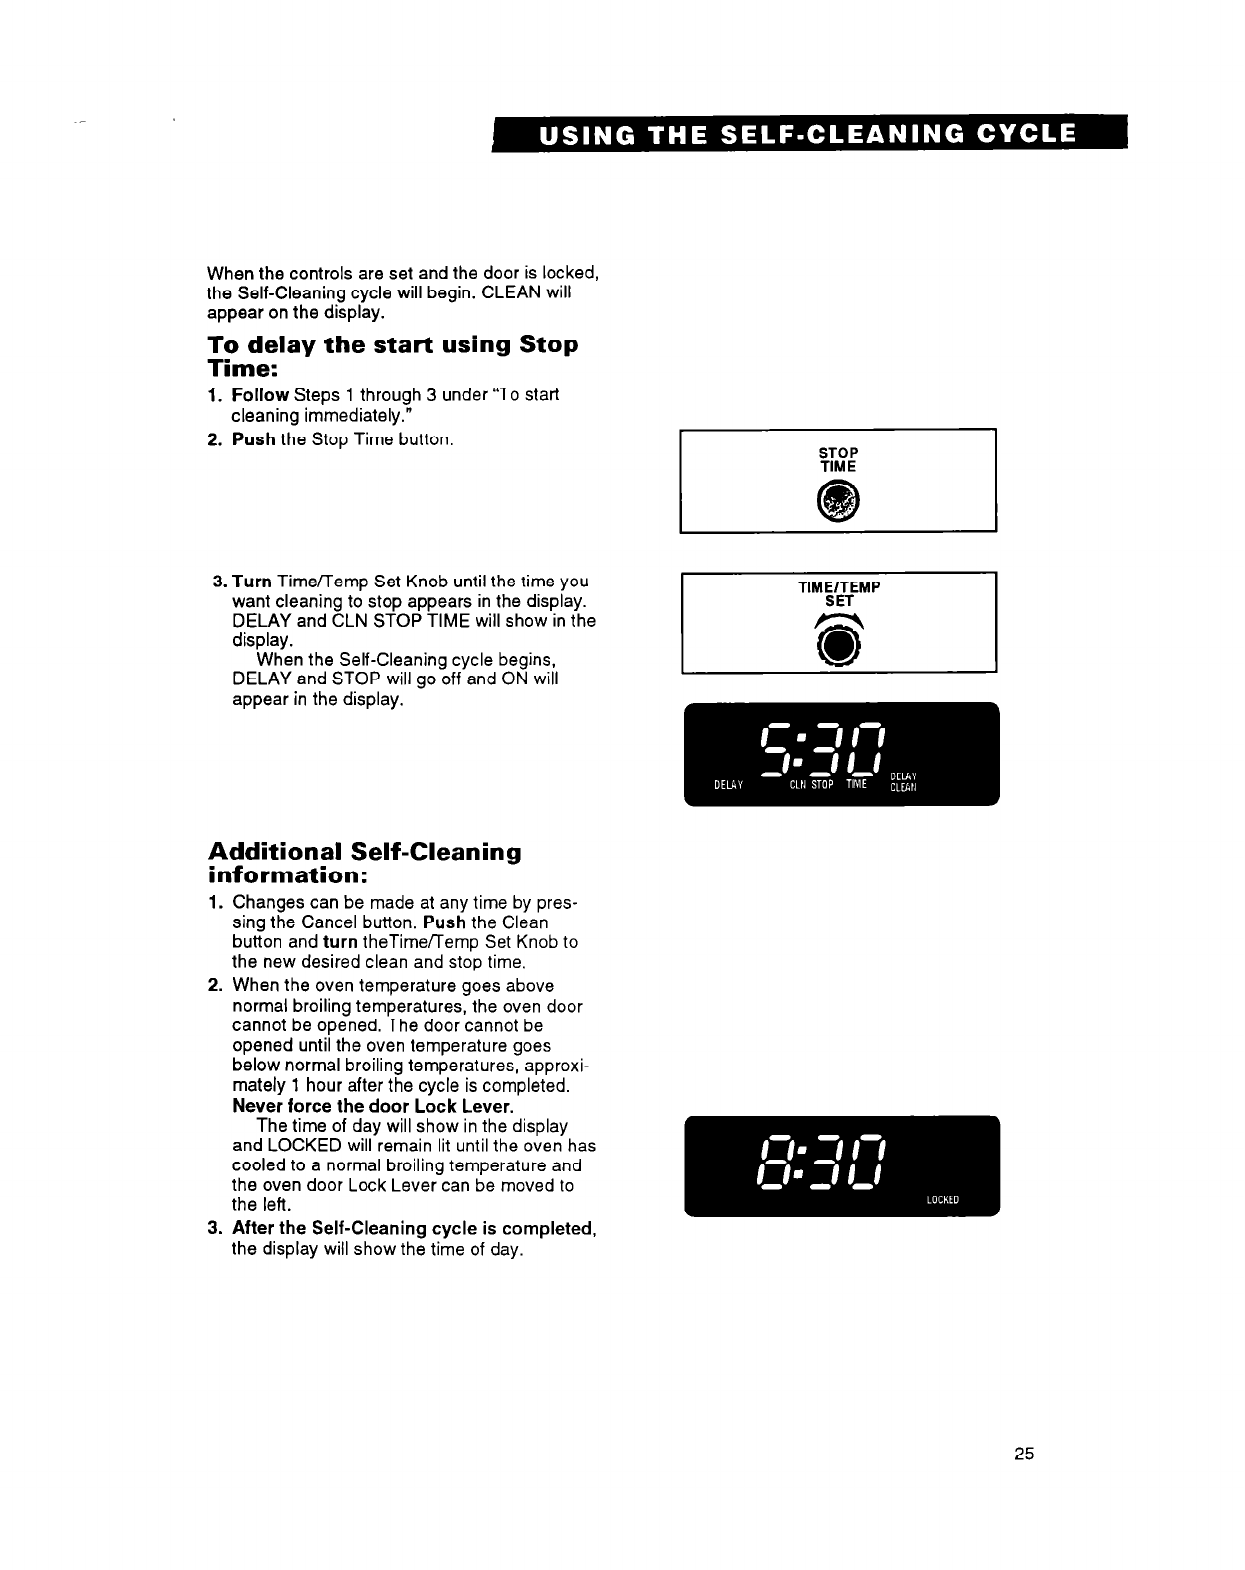
2. Push the Stop Time button.
3. Turn Time/Temp Set Knob until the time you
want cleaning to stop appears in the display.
DELAY and CLN STOP TIME will show in the
display.
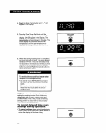
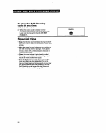
When the Self-Cleaning cycle begins,
DELAY and STOP will go off and ON will
appear in the display.
Additional Self-Cleaning
information:
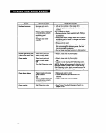
1. Changes can be made at any time by pres-
sing the Cancel button. Push the Clean
button and turn theTime/Temp Set Knob to
the new desired clean and stop time.
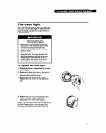
2. When the oven temperature goes above
normal broiling temperatures, the oven door
cannot be opened. The door cannot be
opened until the oven temperature goes
below normal broiling temperatures, approxi-
mately 1 hour after the cycle is completed.
Never force the door Lock Lever.
The time of day will show in the display
and LOCKED will remain lit until the oven has
cooled to a normal broiling temperature and
the oven door Lock Lever can be moved to
the left.
3. After the Self-Cleaning cycle is completed,
the display will show the time of day.
25


