


When baking, always leave at least 1% to 2 inches (4-5 cm) of
air space between the sides of a pan and other pans and the oven wall
for air circulation.
For best results. get additional information on placing pans, cookie
sheets and other utensils from the “Cooking Guide.”
The oven vent
There is an oven vent under the right rear surface element. When
the oven is on. heated air will escape through it. A vent is needed for air
circulation in the oven during baking. You can cook on this surface unit
while the oven is on. A warm pan of food will stay warm on this unit while
the oven is on. It may be warm enough to melt butter, too.
Do not try to save heat or energy by blocking the vent. Poor
baking can result. Plastic utensils may melt if they are over the vent
while the
oven
is on.
The optional rotisserie
If you would like a rotisserie with your oven, you can order a kit
(Part No. 261880) from your dealer. Easy installation instructions come
with the kit.
Accessory canning kit (Part No. 242905)
The large diameter of most water-bath or pressure canners com-
bined with high heat settings for long periods of time can shorten the life
of regular surface units and cause damage to the cooktop.
If you plan to use the cooktop for canning. we recommend the
installation of a Canning Kit. Order the kit from your Whirlpool Dealer or
Tech-Care Service Company
SEE THE “COOKING GUIDE” FOR IMPORTANT CANNING
INFORMATION.
Cleaning and caring for your range
Your range is designed to be easy to clean. You will usually wipe off
spills and spatters when they happen, but you will sometimes want to
clean under and behind the control knobs and surface units. This section
will tell you how to remove those, and what to use when cleaning.
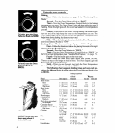
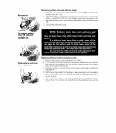
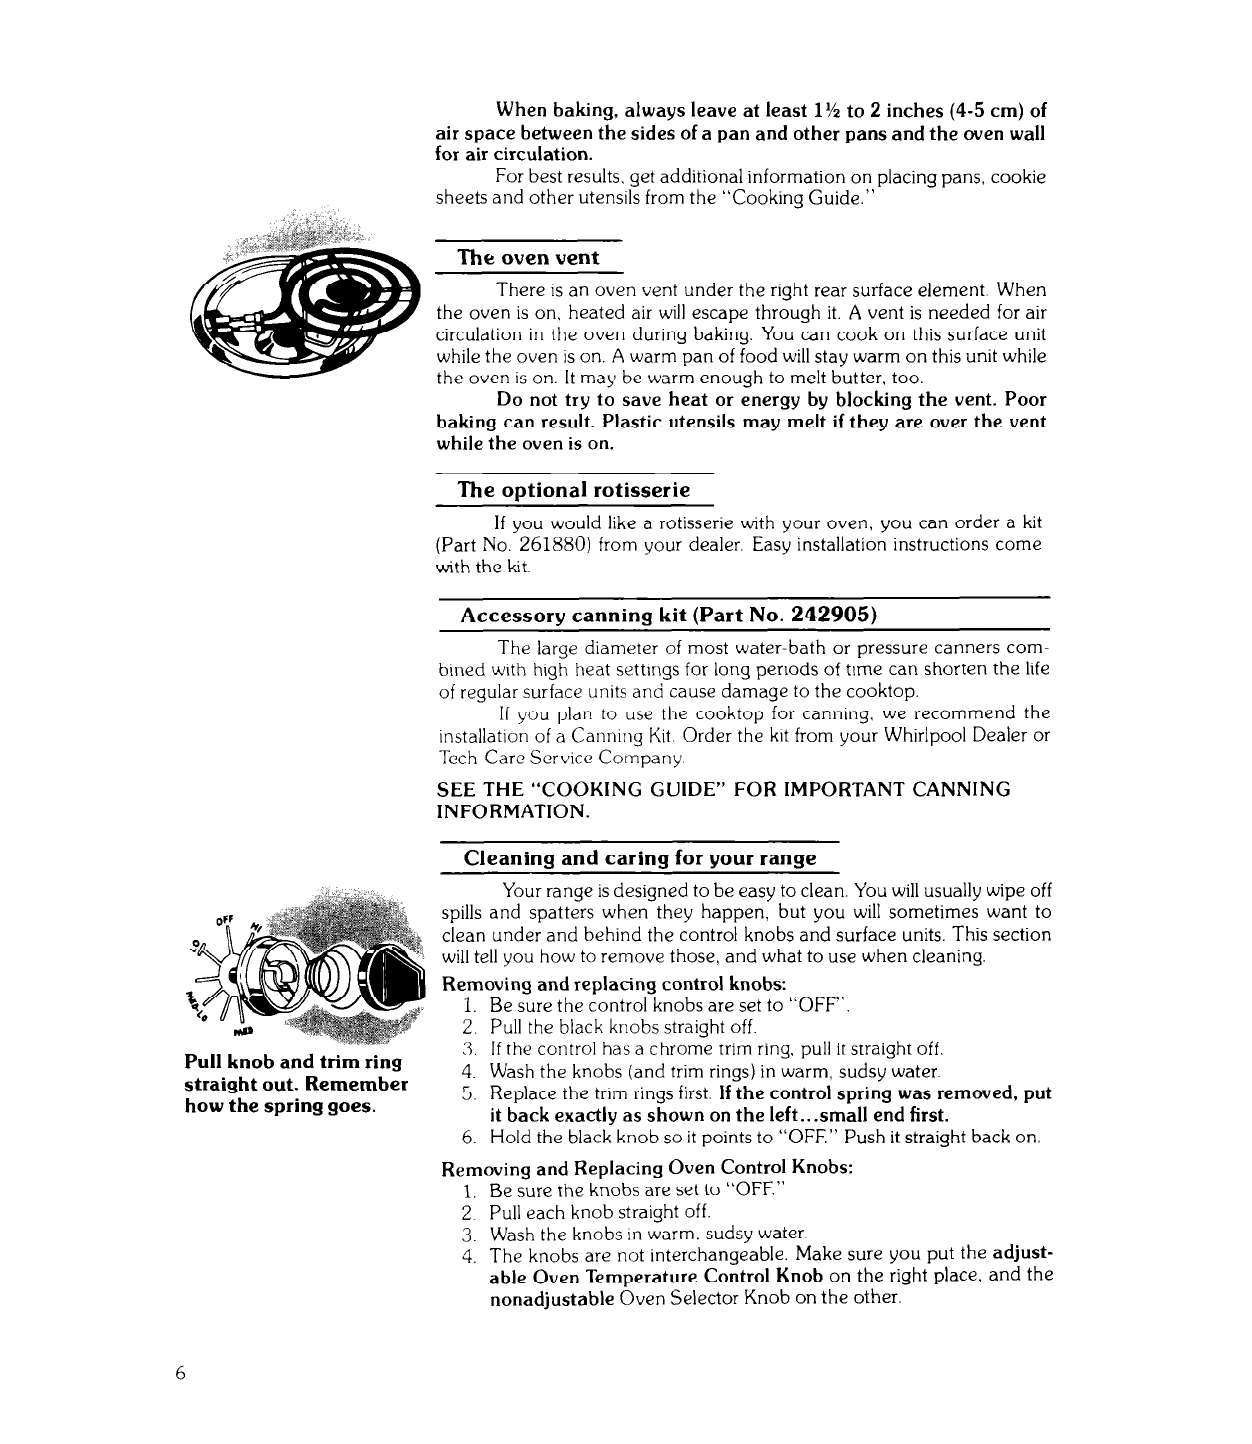
Removing and replacing control knobs:
1.
Be sure the control knobs are set to “OFF“.
2. Pull the black knobs straight off.
Pull knob and trim ring
3.
If the control has a chrome trim ring. pull it straight off.
straight out. Remember
4. Wash the knobs (and trim rings) in warm, sudsy water.
how the spring goes.
5.
Replace the trim rings first.
If the control spring was removed, put
it back exactly as shown on the left...small end first.
6.
Hold the black knob so it points to “OFF,” Push it straight back on.
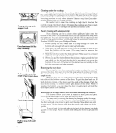
Removing and Replacing Oven Control Knobs:
1. Be sure the knobs are set to “OFF.”
2
Pull each knob straight off.
3. Wash the knobs in warm. sudsy water
4. The knobs are not interchangeable. Make sure you put the adjust-
able Oven Temperature Control Knob
on the right place. and the
nonadjustable
Oven Selector Knob on the other.