


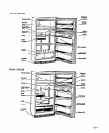

Using Your Refrigerator
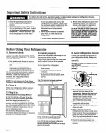
Setting the controls
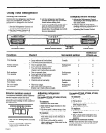
Changing control settings
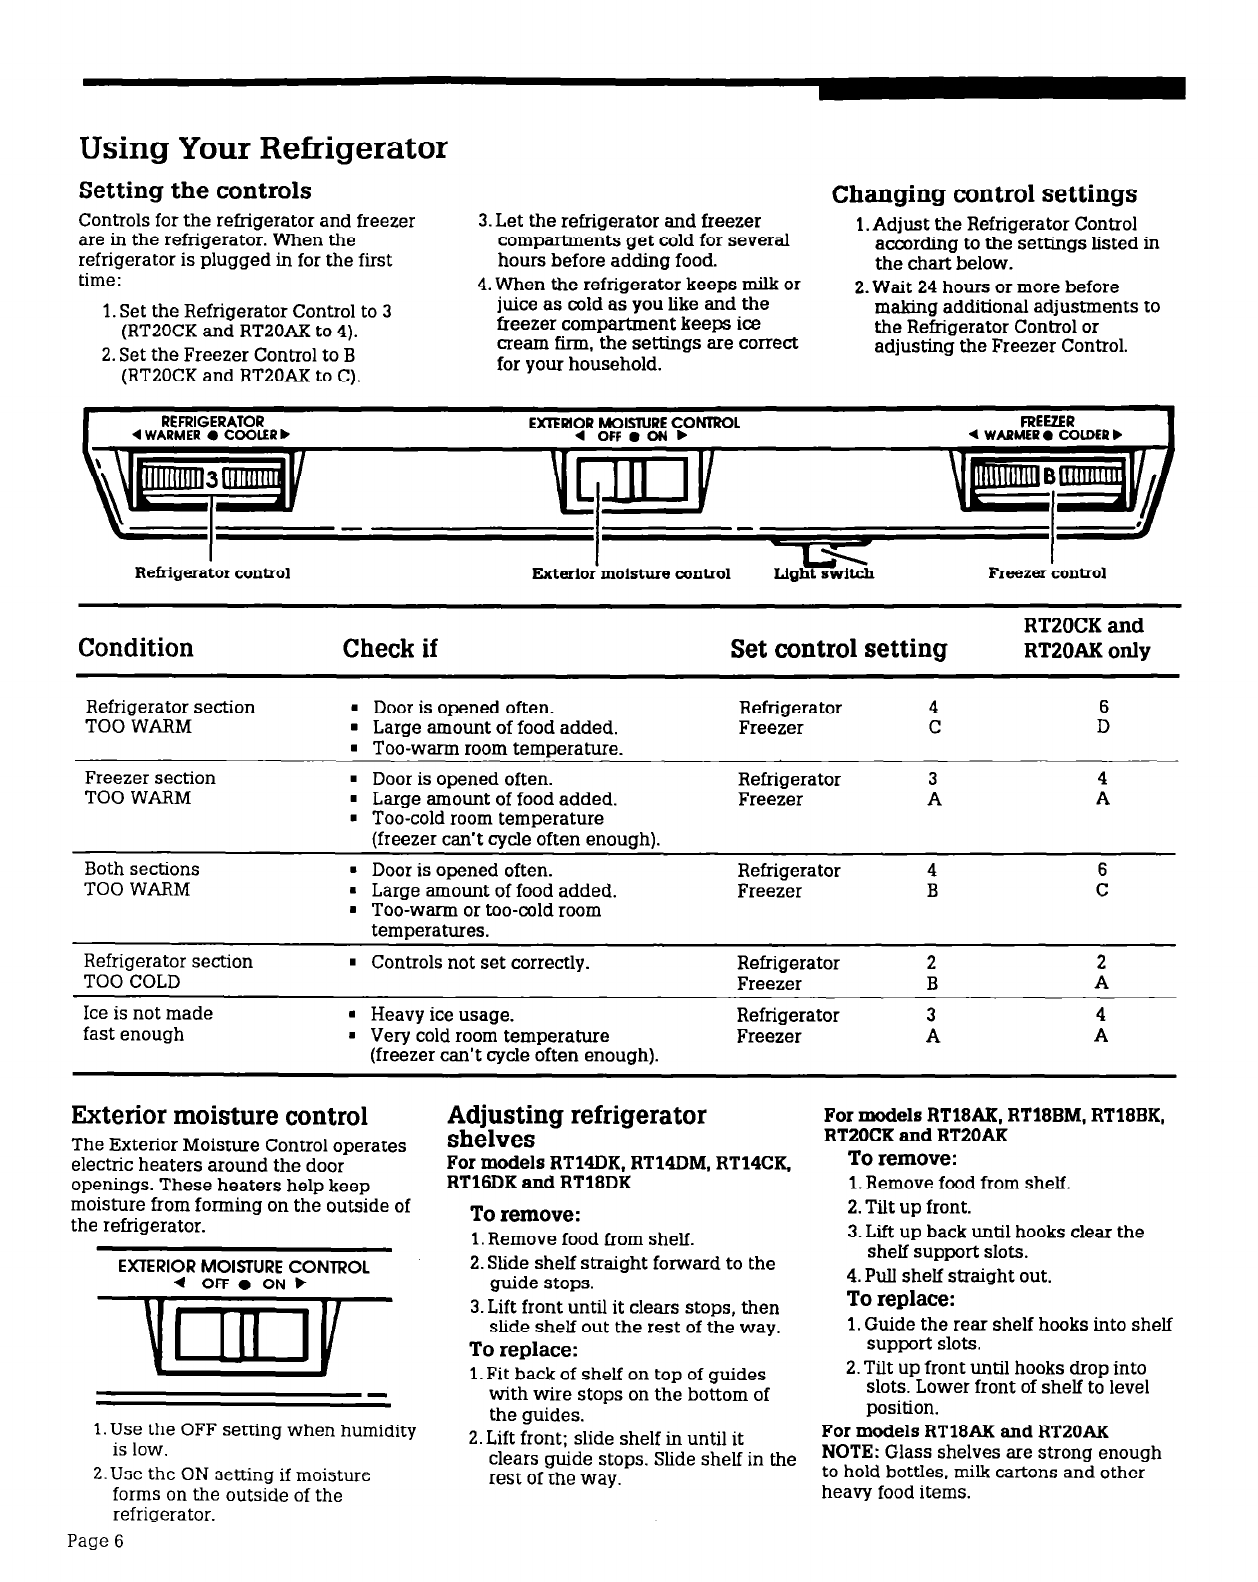
Controls for the refrigerator and freezer
are in the refrigerator. When the
refrigerator is plugged in for the first
time:
3. Let the refrigerator and freezer
compartments get cold for several
hours before adding food.
4. When the refrigerator keeps milk or
juice as cold as you like and the
freezer compartment keeps ice
cream firm, the settings are correct
for your household.
1. Adjust the Refrigerator Control
according to the settings listed in
the chart below.
1. Set the Refrigerator Control to 3
(RT2OCK and RTPOAK to 4).
2. Set the Freezer Control to B
(RT20CK and RTPOAK to C).
2. Wait 24 hours or more before
making additional adjustments to
the Refrigerator Control or
adjusting the Freezer Control.
L -
I
Refrigerator conizol
I
Ehterlor moisture control
I
Freezer control
Condition
Check if Set control setting
RT20CK and
RTZOAK only
Refrigerator section
TOO WARM
l
Door is opened often.
. Large amount of food added.
. Too-warm room temperature.
Refrigerator
Freezer
4
6
C
D
Freezer section
TOO WARM
Both sections
TOO WARM
. Door is opened often.
. Large amount of food added.
n
Too-cold room temperature
(freezer can’t cycle often enough).
. Door is opened often.
l
Large amount of food added.
n
Too-warm or too-cold room
temperatures.
Refrigerator
Freezer
Refrigerator
Freezer
3
4
A
A
4
6
B
C
Refrigerator section
TOO COLD
Ice is not made
fast enough
. Controls not set correctly.
Refrigerator
Frnnanr
2
R
2
A
n
Heavy ice usage.
n
Very cold room temperature
(freezer can’t cycle often enough).
Refrigerator
Freezer
3
4
A
A
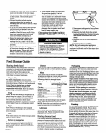
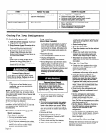
Exterior moisture control
The Exterior Moisture Control operates
electric heaters around the door
openings. These heaters help keep
moisture from forming on the outside of
the refrigerator.
EXTERIOR MOISTURE CONTROL
4 OFF 0 ON b
1. Use the OFF setting when humidity
is low.
2. Use the ON setting if moisture
forms on the outside of the
refrigerator.
Page 6
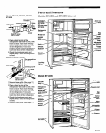
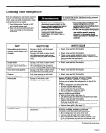
Adjusting refrigerator
shelves
For models RT14DK, RTl4DM, RTlICK.
RT16DK and RTl8DK
To remove:
1. Remove food from shelf.
2. Slide shelf straight forward to the
guide stops.
3. Lift front until it clears stops, then
slide shelf out the rest of the way.
To
replace:
1. Fit back of shelf on top of guides
with wire stops on the bottom of
the guides.
2. Lift front; slide shelf in until it
clears guide stops. Slide shelf in the
rest of the way.
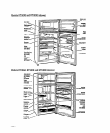
For models RT18AK, RT18BM, RT18BK,
RTZOCK and RTZOAK
To remove:
1. Remove food from shelf.
2. Tilt up front.
3. Lift up back until hooks clear the
shelf support slots.
4. Pull shelf straight out.
To replace:
1. Guide the rear shelf hooks into shelf
support slots.
2. Tilt up front until hooks drop into
slots. Lower front of shelf to level
position.
For models
RTl8AK
and RTZOAK
NOTE:
Glass shelves are strong enough
to hold bottles, milk cartons and other
heavy food items.