


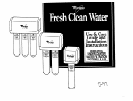
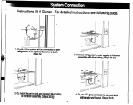
Water Requirements
The filtration system must be connected to a cold
water supply line providing 30-l 00 psi water pressure.
The water temperature must be between 40”-100°F.
Community or private well water must be potable
(suitable for drinking).
Personal Injury Hazard
DO NOT use water filtration system if water is
microbiologically unsafe or water quality is
unknown. Failure to follow these instructions
could result in personal injury.
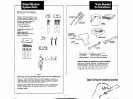
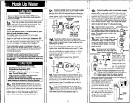
General tips
l
To correct a leaky saddle
valve, turn off cold water
supply and make sure bot-
tom screw is tightened eve
w
and firmly. DO NOT overtighten, you could crush
the pipe. Then make sure the nut below the
saddle valve’s handle is tight. If not, tighten it
with a
7/B”
wrench.
l
If the threaded portion of the brass compression nut
that is attached to the saddle valve leaks, turn off
saddle valve and remove the nut, wrap Teflon tape
around the threaded portion 2-4 times. Reconnect
the nut.
l
If a leak should occur at a push-in connector, the
cause is usually defective tubing. To correct the
problem, turn off water supply to the
system either at the saddle valve or
other existing water valve. Push in the
grey push-in connector and hold; then
pull the tubing out of the connector. Cut
at least l/4” from the end of the tubing
clean,squarecut
using a plastic tubing cutter or a sharp
razor knife. Make sure the cut end is clean and blunt
and that tubing is round. Reinsert tubing as far as it
will go. Turn on water supply at valve.
l
If the refrigerator tubing leaks at the push-in connec-
tor, the refrigerator’s water line metal tubing may be
grooved or deformed. To correct the problem, turn
off water supply to the system either at the saddle
valve or other existing water valve. Press refrigerator
water supply or optional sink faucet to drain water
from system. Wait five minutes for filtration assembly
to depressurize. Push in the grey push-in connector
and hold; then pull the tubing out of the connector.
Cut at least VI” from the end of the tubing to create a
new smooth end or replace if necessary.
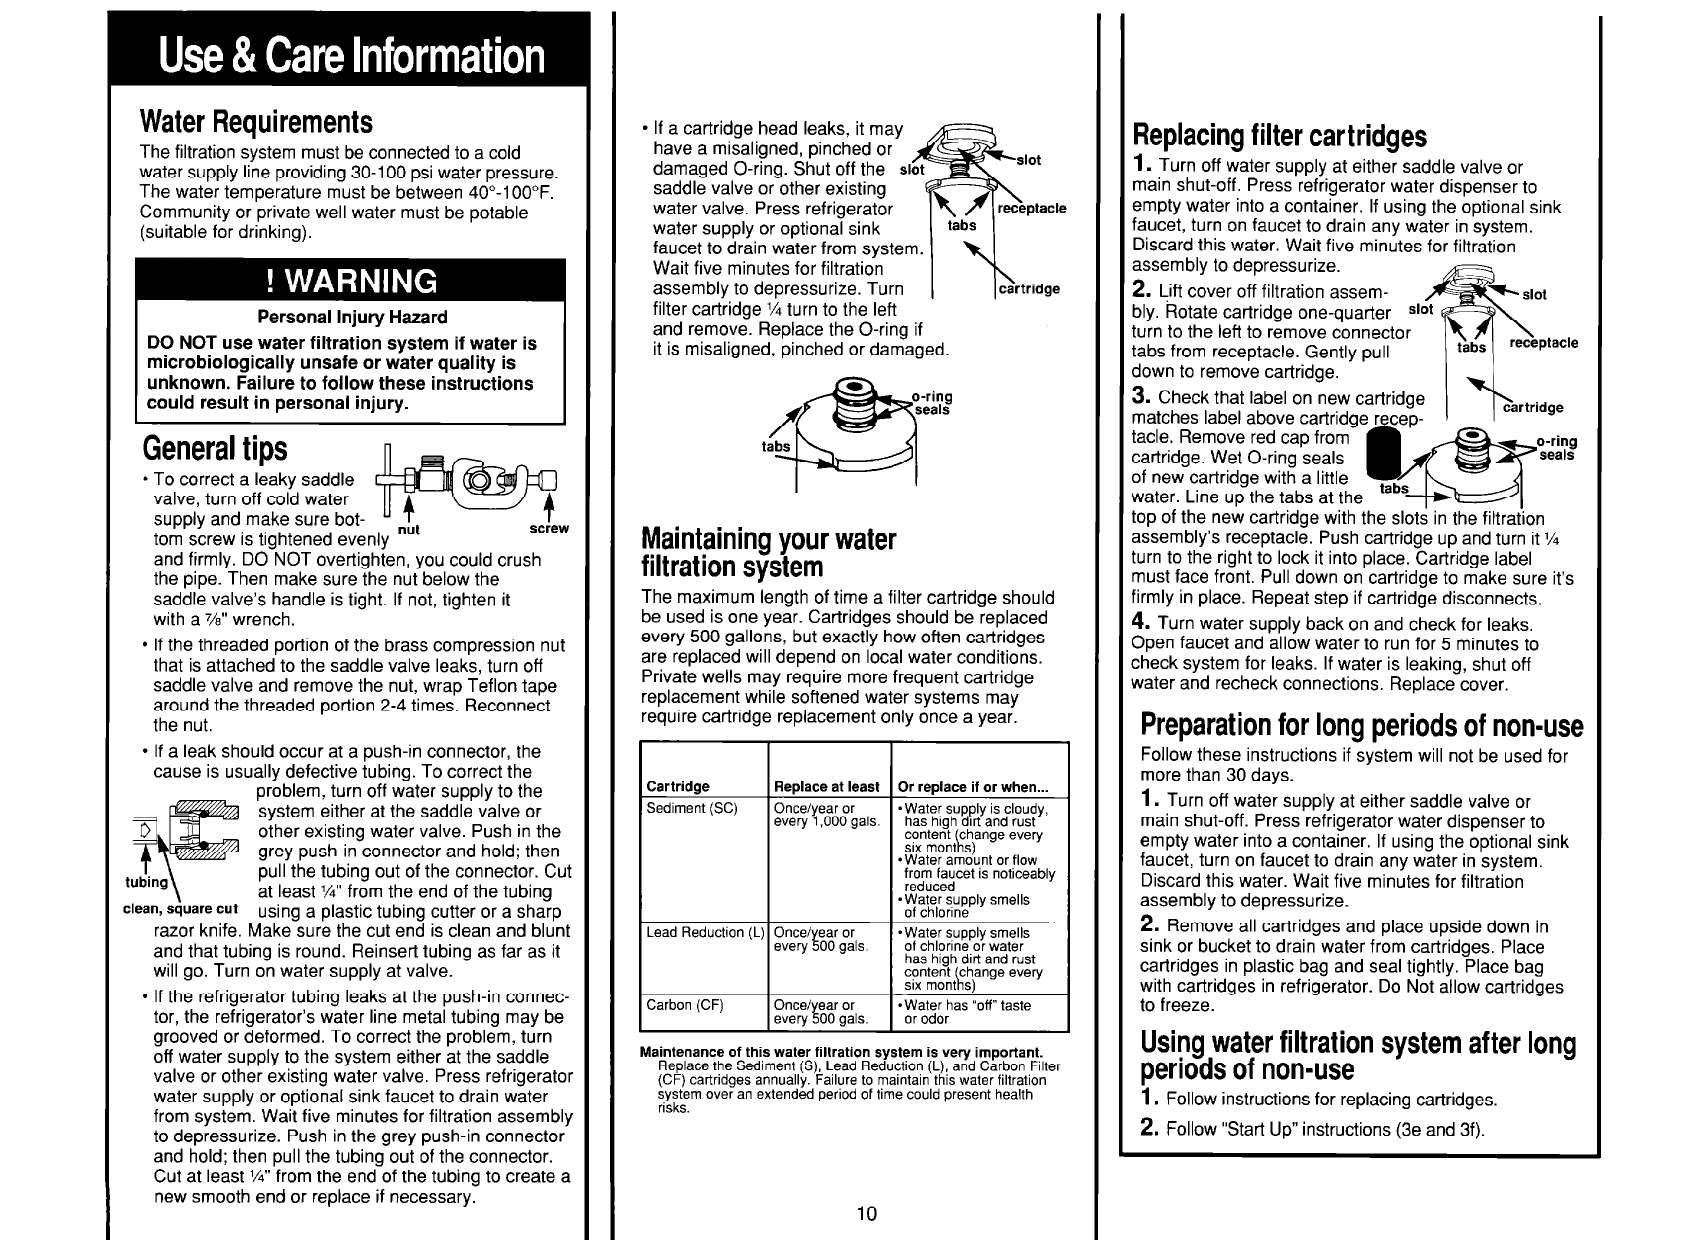
9 If a cartridge head leaks, it may
have a misaligned, pinched or
damaged O-ring. Shut off the
SI
saddle valve or other existing
water valve. Press refrigerator
water supply or optional sink
faucet to drain water from system.
Wait five minutes for filtration
assembly to depressurize. Turn
filter cartridge l/4 turn to the left
and remove. Replace the O-ring if
it is misaligned, pinched or damaged.
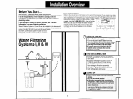
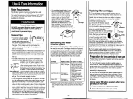
Maintaining your water
filtration system
The maximum length of time a filter cartridge should
be used is one year. Cartridges should be replaced
every 500 gallons, but exactly how often cartridges
are replaced will depend on local water conditions.
Private wells may require more frequent cartridge
replacement while softened water systems may
require cartridge replacement only once a year.
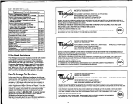
every 1,000 gals.
Lead Reduction (L) Once/ ear or
7
I
Carbon (CF)
Once/ ear or
every 5 00 gals.
Or replace if or when...
-Water supply is cloudy,
has high dirt and rust
content change every
I, six mont 5)
*Water amount or flow
jre\;;z;cet is noticeably
-Water supply smells
of chlorine
*Water supply smells
of chlorine or water
has high dirt and rust
content change every
I, six mont s)
-Water has “off” taste
or odor
Maintenance of this water fillration system is very important.
Replace the Sediment (S), Lead Reduction (L), and Carbon Filter
(CF) cartridges annually. Failure to maintain this water filtration
system over an extended period of time could present health
risks.
10
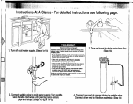
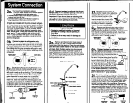
Replacing filter cart ridges
1. Turn off water supply at either saddle valve or
main shut-off. Press refrigerator water dispenser to
empty water into a container. If using the optional sink
faucet, turn on faucet to drain any water in system.
Discard this water. Wait five minutes for filtration
assembly to depressurize.
2. Lift cover off filtration assem-
bly. Rotate cartridge one-quarter sl
turn to the left to remove connector
tabs from receptacle. Gently pull
down to remove cartridge.
3. Check that label on new cartridge
matches label above cartridge recep-
tacle. Remove red cap from
cartridge. Wet O-ring seals
of new cartridge with a little
water. Line up the tabs at the
q~zzz
tabs
top of the new cartridge with the slots in the filtration
assembly’s receptacle. Push cartridge up and turn it l/4
turn to the right to lock it into place. Cartridge label
must face front. Pull down on cartridge to make sure it’s
firmly in place. Repeat step if cartridge disconnects.
4. Turn water supply back on and check for leaks.
3pen faucet and allow water to run for 5 minutes to
check system for leaks. If water is leaking, shut off
water and recheck connections. Replace cover.
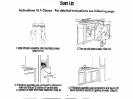
Preparation for long periods of non-use
Follow these instructions if system will not be used for
more than 30 days.
1. Turn off water supply at either saddle valve or
main shut-off. Press refrigerator water dispenser to
empty water into a container. If using the optional sink
faucet, turn on faucet to drain any water in system.
Discard this water. Wait five minutes for filtration
assembly to depressurize.
2. Remove all cartridges and place upside down in
sink or bucket to drain water from cartridges. Place
cartridges in plastic bag and seal tightly. Place bag
with cartridges in refrigerator. Do Not allow cartridges
to freeze.
Using water filtration system after long
periods of non-use
1. Follow instructions for replacing cartridges.
2. Follow “Start Up” instructions (3e and 3f).