


5
Style 2
1. Unplug refrigerator or disconnect power.
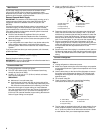
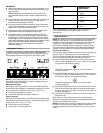
2. Remove and discard the black nylon plug from the gray water
tube on the rear of the refrigerator.
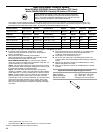
3. If the gray water tube supplied with the refrigerator is not long
enough, a ¹⁄₄" x ¹⁄₄" (6.35 mm x 6.35 mm) coupling is needed in
order to connect the water tubing to an existing household
water line. Thread the provided nut onto the coupling on the
end of the copper tubing.
NOTE: Tighten the nut by hand. Then tighten it with a wrench
two more turns. Do not overtighten.
4. Turn shutoff valve ON.
5. Check for leaks. Tighten any nuts or connections (including
connections at the valve) that leak.
Style 3
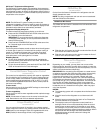
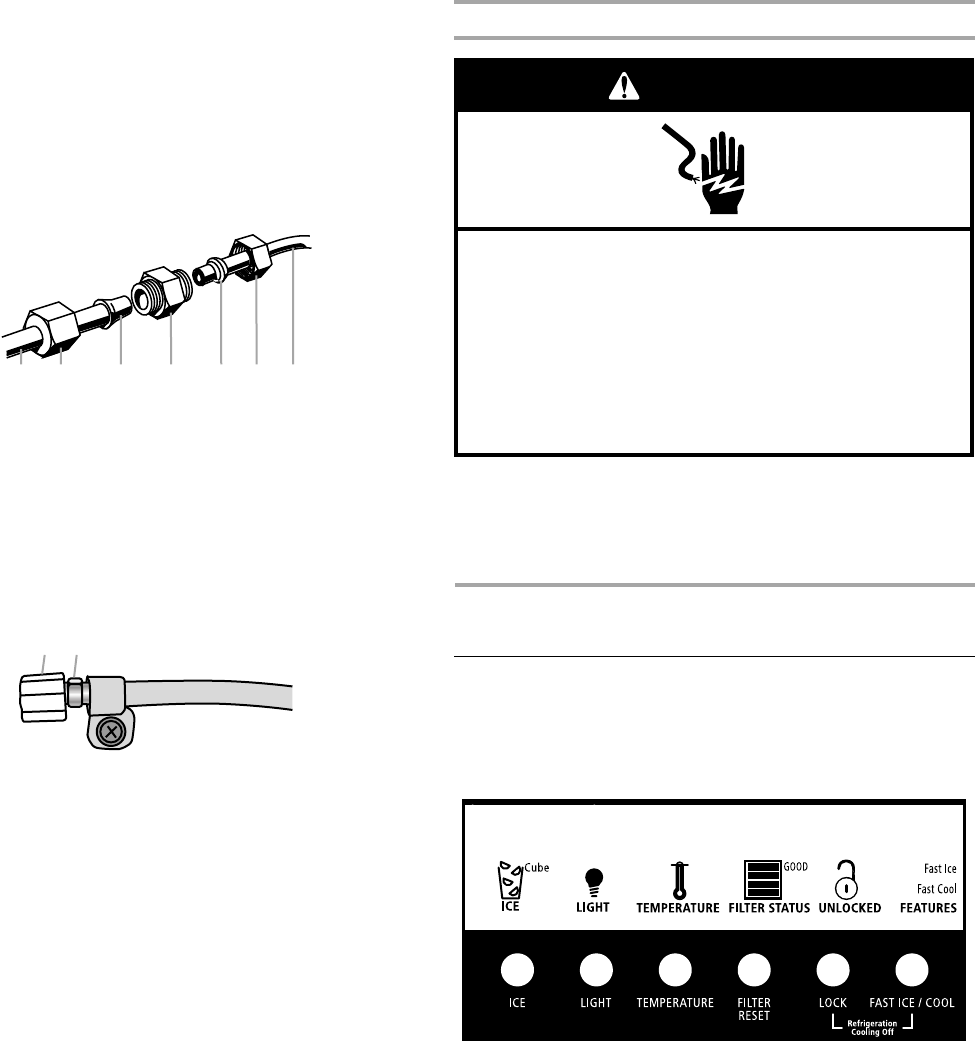
1. Remove and discard the cap from the gray water tube.
2. Using a compression nut and sleeve, attach the copper tube
to the water inlet.
3. Once secured, tighten the compression nut. Do not
overtighten.
4. Check the connection by pulling on the copper tubing. Turn on
water supply to refrigerator. Check for leaks. Tighten any nuts
or connections that leak.
Complete the Installation
1. Plug into a grounded 3 prong outlet.
2. Flush the water system. See “Prepare the Water System” or
“Water and Ice Dispensers.”
NOTE: Allow 24 hours to produce the first batch of ice. Allow
3 days to completely fill ice container.
REFRIGERATOR USE
Using the Controls
Temperature Control Adjustment and Cooling On/Off
The refrigerator and freezer control buttons are located on the
dispenser panel.
To turn cooling off, press and hold the LOCK and FAST ICE/COOL
buttons at the same time for 3 seconds. Press and hold LOCK
and FAST ICE/COOL again to turn cooling on. Your refrigerator
and freezer will not cool when cooling is off.
IMPORTANT: To avoid unintentionally locking the dispenser
or changing other settings, be sure to press both buttons at
exactly the same time.
For your convenience, your refrigerator and freezer controls are
preset at the factory. When you first install your refrigerator, make
sure that the controls are still set to the “mid-settings.”
To view set points, press the TEMPERATURE button on your
dispenser panel. The factory recommended set points are
0°F (-18°C) for the freezer and 37°F (3°C) for the refrigerator.
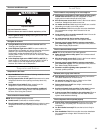
A.Refrigerator water tubing
B.Nut (provided)
C.Bulb
D.Coupling (purchased)
E.Ferrule (purchased)
F. Nut (purchased)
G.Household water line
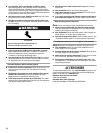
A.Cap
B.Inlet
A B C D E F G
B
A
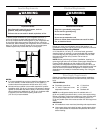
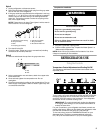
Electrical Shock Hazard
Plug into a grounded 3 prong outlet.
Do not remove ground prong.
Do not use an adapter.
Do not use an extension cord.
Failure to follow these instructions can result in death,
fire, or electrical shock.
WARNING