


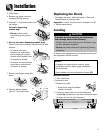
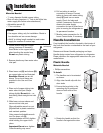
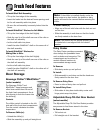
Dairy Center
The Dairy Center provides convenient
door storage for spreadable items
such as butter and margarine. This
compartment can be moved to
several different locations to
accommodate storage needs.
To Remove:
• Slide dairy center up and pull out.
To Install:
• Slide assembly in and down so that the hooks are
firmly seated on the door liner.
To Remove Dairy Door:
• Press in sides of dairy door and pull out.
To Install Dairy Door:
• Slide sides of dairy door inside dairy center until
hinge points snap into place.
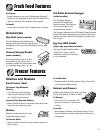
Adjustable Deep Tilt-Out Door Bucket
(select models)
The Adjustable Deep Tilt-Out Door Bucket provides
easy access to food items stored in the door.
To Remove Bucket:
• Tilt bucket out.
• Pull straight out of the bracket.
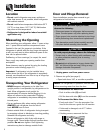
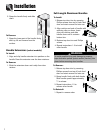
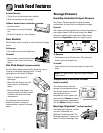
Door Storage
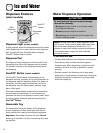
Beverage Chiller™/MiniChiller™
(select models)
The Beverage Chiller™ and
MiniChiller™ keep beverages and
other items colder than the rest of
the fresh food compartment. An air
inlet directs air from the freezer into
the chiller(s).
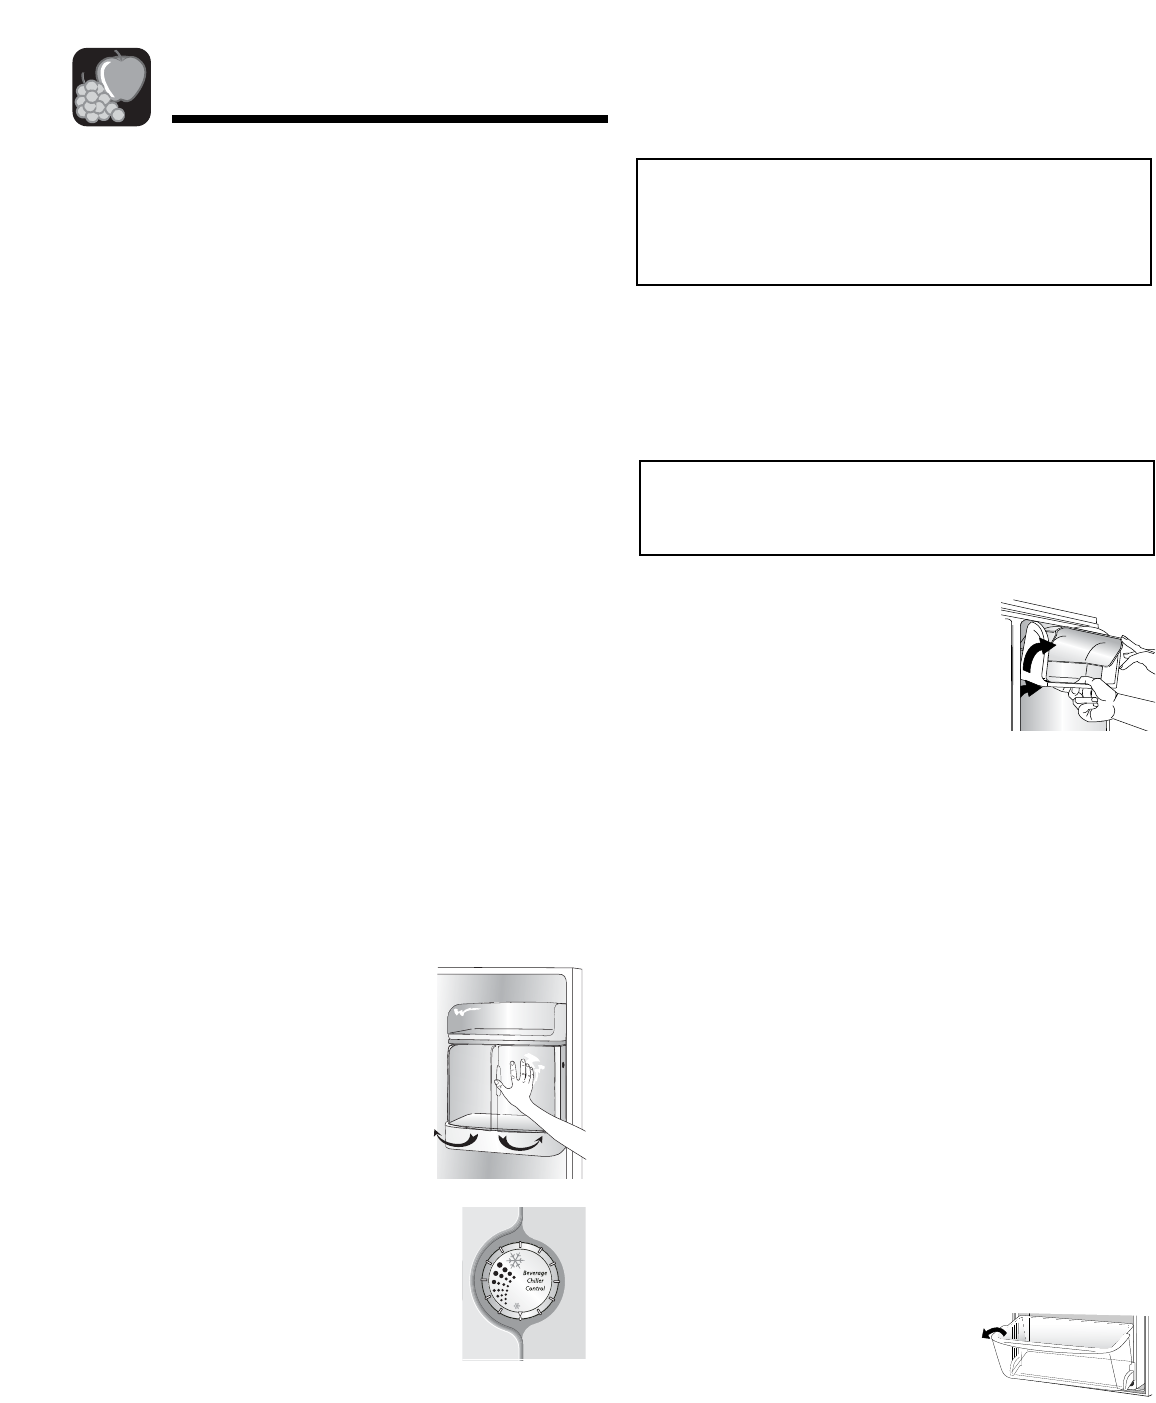
Controls
The chiller control is located on the left
side wall of the fresh food compartment.
Turn the control clockwise for colder
temperature.
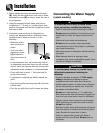
To Remove Chiller(s):
• Unload the chiller(s).
• Slide the assembly up and pull straight out.
Note: If the chiller is installed directly under the
dairy center or a door bucket, the bucket or dairy
center will need to be removed before removing the
chiller.
Note: The chillers will not operate properly if the
air intake hole is not aligned with the control
location.
To Install Chiller(s)
• Align one of the air inlet holes with the hole cut-out
on the door.
• Slide the assembly in and down so that the hooks
are firmly seated on the door liner.
10
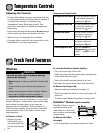
Fresh Food Features
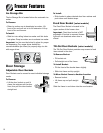
To Install Shelf Rail Assembly:
• Tilt up the front edge of the assembly.
• Insert the hooks into the desired frame openings and
let the rail assembly settle into place.
• Be sure the rail assembly is securely locked into the
frame.
To Install SideGlide™ Shelves for Full-Width:
• Tilt up the front edge of the shelf slightly.
• Hook the rear lip of the shelf over one of the rails on
the shelf rail assembly.
• Let the shelf settle into place.
• Install the other SideGlide™ shelf on the same rail of
the shelf assembly.
To Install SideGlide™ Shelves for
Sliding Side to Side:
• Tilt up the front edge of the shelf slightly.
• Hook the rear lip of the shelf over one of the rails on
the shelf rail assembly.
• Let the shelf settle into place.
• Install the other SideGlide™ shelf on the other rail of
the shelf rail assembly.