15
Adjust Oven Burner Flame
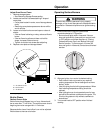
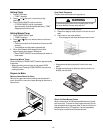
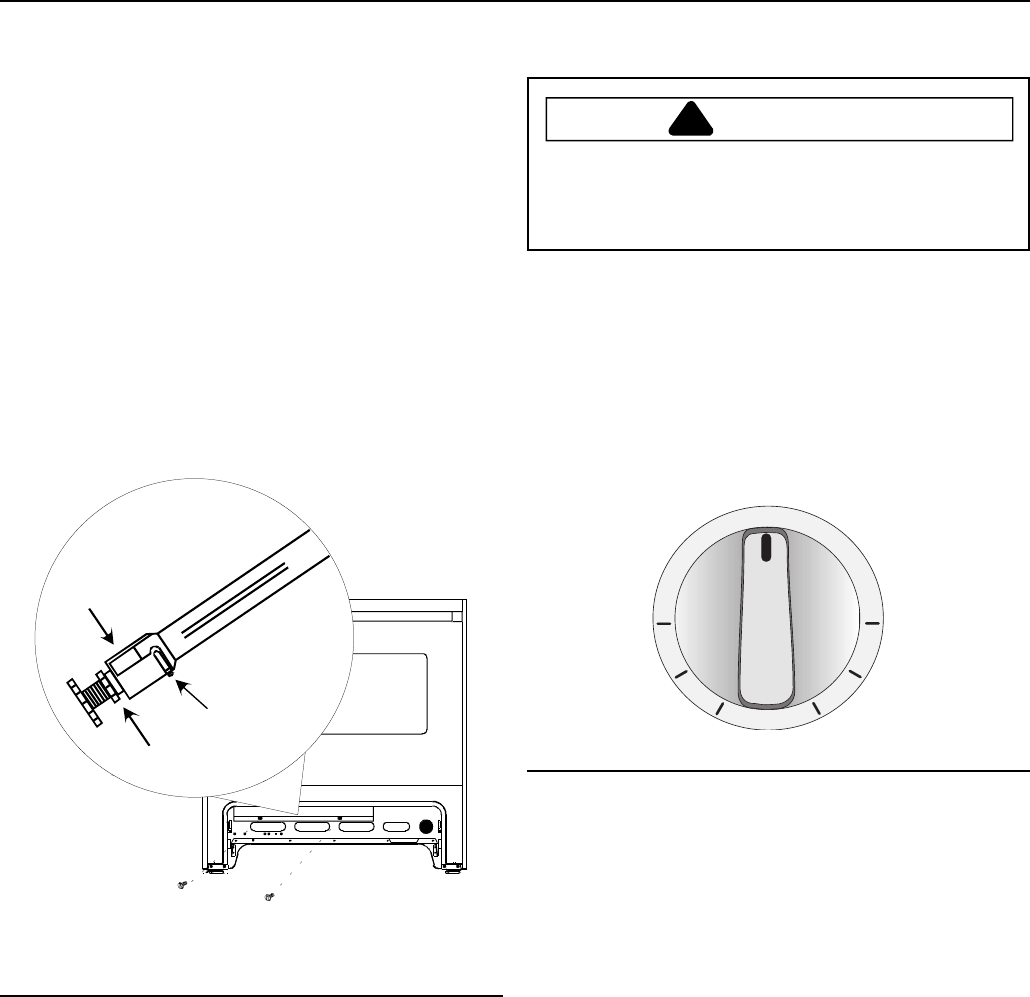
1. Remove storage drawer.
• See
Removing Storage Drawer
section.
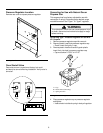
2. Locate and remove 2 screws attaching Z-shaped
cover plate.
• Cover plate located in center, rear of storage drawer
cavity.
• Removing cover plate exposes oven burner orifice
and air shutter.
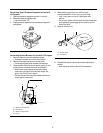
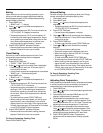
3. Loosen air shutter lock screw and open or close air
shutter.
• If burner flame is blowing or noisy, reduce airflow to
burner.
• If burner flame is yellow and does not hold its
shape, increase airflow to burner.
• Tighten air shutter lock screw after adjusting.
4. Replace cover plate and storage drawer.
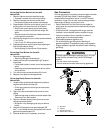
A
B
C
A—Air Shutter Screw
B—Orifice Hood
C—Air Shutter
Adjusting Oven Burner Flame
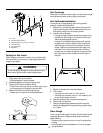
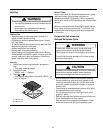
Broiler Flame
Radiant Screen Style
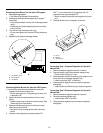
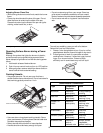
Broiler flame should appear hazy or fuzzy. Haze should
be no more than
3
/8 inch thick. The radiant screen should
begin to glow red or orange within 1–2 minutes.
Because broiler has a fixed orifice it can not be adjusted.
Broiler does not have an air shutter.
Operation
Operating Surface Burners
WARNING
!
To avoid risk of serious personal injury, property
damage, or fire, do not leave burners unattended while
in operation. Grease and spillovers can ignite causing
a fire.
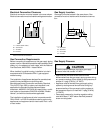
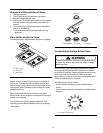
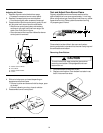
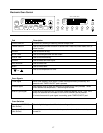
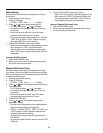
1. Push burner knob in and turn control knob
counterclockwise to
LITE
position.
• Burner should ignite within 4 seconds. If burner
does not ignite within 4 seconds turn control knob
to
OFF
position and follow directions in “Placing
Grates and Burner Caps” and “Before Calling for
Service” section. Try burner again. If burner still
does not ignite in 4 seconds, contact an authorized
servicer.
OFF
L
O
L
I
T
E
H
I
MED
Burner Knob
2. After gas ignites, turn control to desired setting.
• Each control knob can be set to any required
cooking temperature. Burner settings do not have
distinct clicks.
• Use
HI
to bring food to boiling temperatures. When
food is boiling temperature setting should be
reduced.
• After lighting burner do not operate burner for long
periods of time without cookware on the grate. The
finish on the grate can chip without cookware to
absorb heat.
3. Turn control knob to
OFF
position when finished
cooking.


