


STOR-MOR
®
SYSTEM
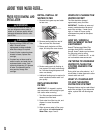
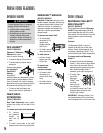
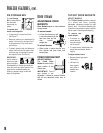
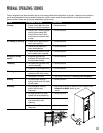
Baskets (style may vary) slide out for
easy access of items in back. Shelves
can be removed to meet individual
storage needs.
To remove and install rail-mounted
shelves:
➢ To remove, snap
right side of shelf
from cabinet railing
and remove from wall mounting clips.
➢ To install, replace shelf in wall
mounting clips. Be sure back edge of
shelf is flush with back of cabinet and
snap shelf into cabinet railing.
To remove and install basket:
➢ To remove, lift front
of basket and pull
out to its full
extension. Lift up
front of basket and remove.
➢ To install, slide basket into rails at
bottom of freezer section. Lift up front
of basket, and slide to the back of
refrigerator.
17
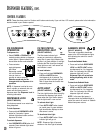
Freezer features
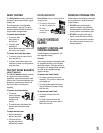
Automatic ice maker
To avoid property damage, observe
the following:
➢ DO NOT force ice maker arm
down or up.
➢ DO NOT place or store anything in
ice storage bin.
CAUTION
This ice maker creates the ice used in
the dispensing system.
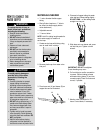
Using Ice Maker for the First Time
➢ Confirm ice bin is in
place and ice maker
arm is down.
➢ After freezer section reaches
between 0° to 2°F (-18° to -17° C),
ice maker fills with water and begins
operating.
➢ Allow approximately 24 hours after
installation to receive first harvest of
ice.
➢ Discard ice created within first 12
hours of operation to verify system is
flushed of impurities.
Operating Instructions
➢ Confirm ice bin is in place and ice
maker arm is down.
➢ After freezer section reaches 0° to
2°F (-18° to -17° C), ice maker fills
with water and begins operating.You
will have a complete harvest of ice
approximately every 3 hours.
➢ Stop ice production
by raising ice maker
arm until click is
heard.
➢ Ice maker will remain in the off
position until arm is pushed down.
IMPORTANT: Quick Chill Zone™
should not be installed if ice maker arm
is in “off” position.
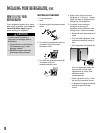
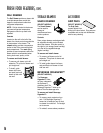
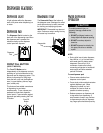
Interior shelves
FIXED FREEZER SHELF
To remove and install
clip-mounted
shelves:
➢ To remove, pull shelf from wall
mounting clips and pull left side of
shelf out of wall mounting holes.
➢ To install, place shelf in mounting hole
and attach to wall mounting clips.
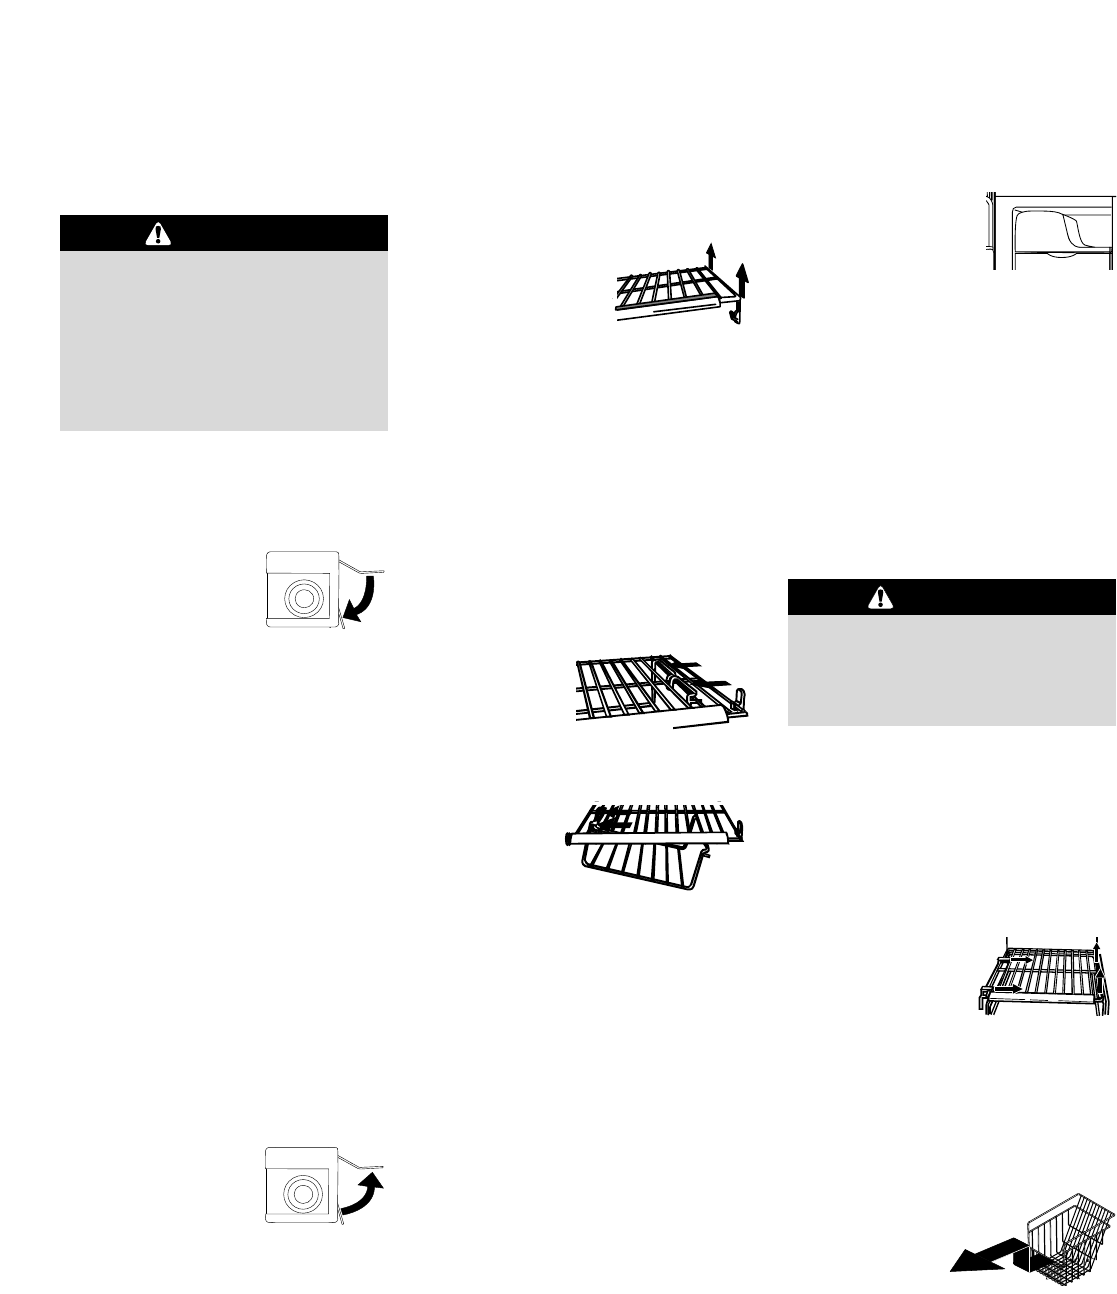
HANGING WIRE SHELF
(SELECT MODELS)
Hanging Wire Shelf provides extra
storage for ice cube trays, boxed frozen
foods, ice packs, etc.
To remove shelf:
➢ Pinch rung
hook of
hanging wire
shelf inward to
release
hanging wire
shelf from
right side of
Stor-Mor
®
shelf. Shelf
will swing downward.
➢ Press rung hook of hanging wire
shelf outward to remove shelf from
freezer section.
To install shelf:
➢ Perform above steps in reverse order.
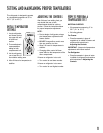
QUICK CHILL ZONE™
Quick Chill Zone™
shelf provides a space
for items to be chilled
or frozen quickly.
To remove:
➢ Lift Quick Chill Zone™ shelf from ice
bin rails and pull straight out.
To install:
➢ Fit shelf over top of ice maker and
lower onto ice bucket rails.
IMPORTANT: Quick Chill Zone™
should not be installed if ice maker arm
is in “off” position.
To avoid possible injury, including
death, do not place glass items in chill
shelf. Glass objects may shatter or
explode if exposed to extreme cold.
WARNING