6
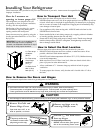
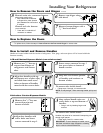
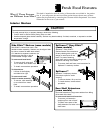
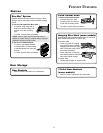
Stainless Steel Models
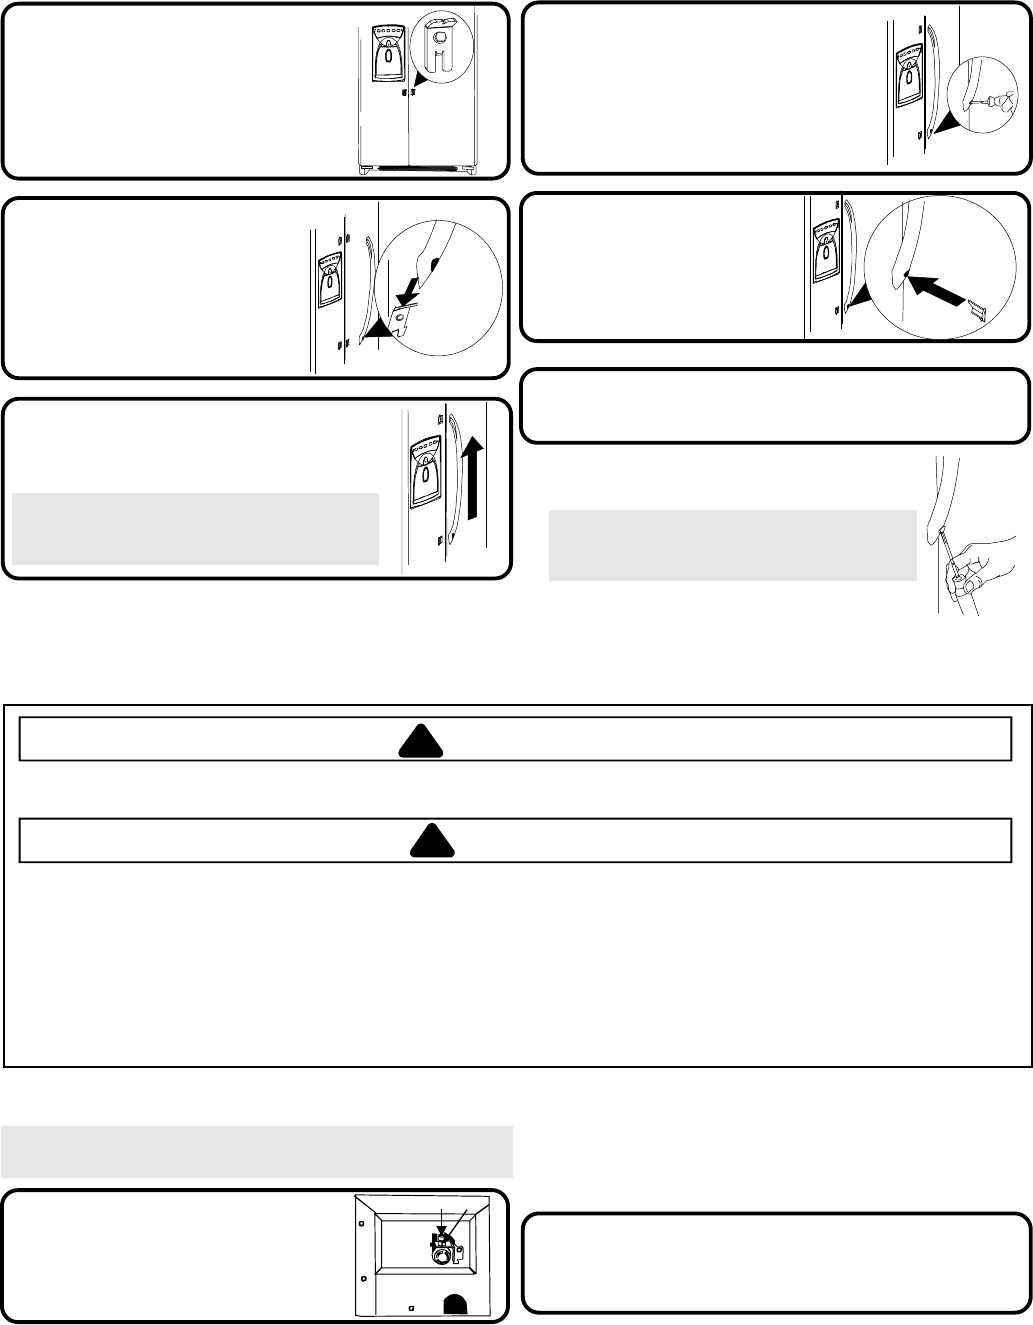
Locate predrilled hole at
base of handle, and fit
hollow end of handle
over lower door clip.
2
Fit other end of handle over
upper door clip and slide
up as far as possible.
3
Loosen lower door clip on
refrigerator door with
1
/
4
"
hex nut driver.
1
Insert
1
/
4
" hex nut driver
into predrilled hole at base
of handle and tighten screw.
4
Insert screw plug into
predrilled hole, as
illustrated.
5
Repeat steps 2 through 5 to
install freezer handle.
6
To remove after initial install...
Follow steps 2 through 5 in reverse order.
IMPORTANT: To avoid damage to unit, use
a flat blade screwdriver edge wrapped in
masking tape to remove screw plugs.
Installing Your Refrigerator
How to Install the Handles continued
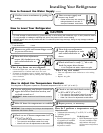
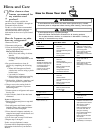
How to Connect the Water Supply
WARNING
!
To avoid electrical shock which can cause severe personal injury or death, disconnect power to refrigerator before
connecting water supply. After connecting water supply, connect power.
CAUTION
!
To avoid property damage, observe the following:
Consult a plumber to connect copper tubing to household plumbing to assure compliance with local codes and
ordinances.
Confirm water pressure to water valve is between 20 and 100 pounds per square inch. If water filter is installed, water
pressure to water valve must be a minimum of 35 pounds per square inch.
DO NOT use a self-piercing, or
3
/
16
" (4.8 mm) saddle valve. Both reduce water flow, become clogged with time, and may
cause leaks if repair is attempted.
Tighten nuts by hand to prevent cross threading. Finish tightening nuts with pliers and wrenches. Do not overtighten.
Wait 24 hours before placing unit into final position to check and correct any water leaks.
Materials Needed
1
/
4
" (6 mm) outer diameter flexible copper tubing
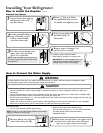
Remove plastic cap (A) from
water valve inlet port (B).
1
Place brass nut and sleeve on copper tube
end and insert tube into valve inlet port.
Attach nut on copper tubing to valve inlet port.
2
NOTE: Add 8' (2 m) to tubing length needed to reach water
supply for creation of service loop.
Brass nut and sleeve (see literature pack)
Shut-off valve (requires a
1
/
4
" or 6 mm hole to be drilled
into water supply before valve attachment)
Adjustable wrench
NOTE: If top of handle does not fit over top
clip, loosen lower clip further until fit can be
accomplished.
A
B


