


5
5
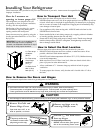
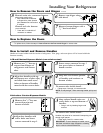
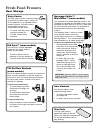
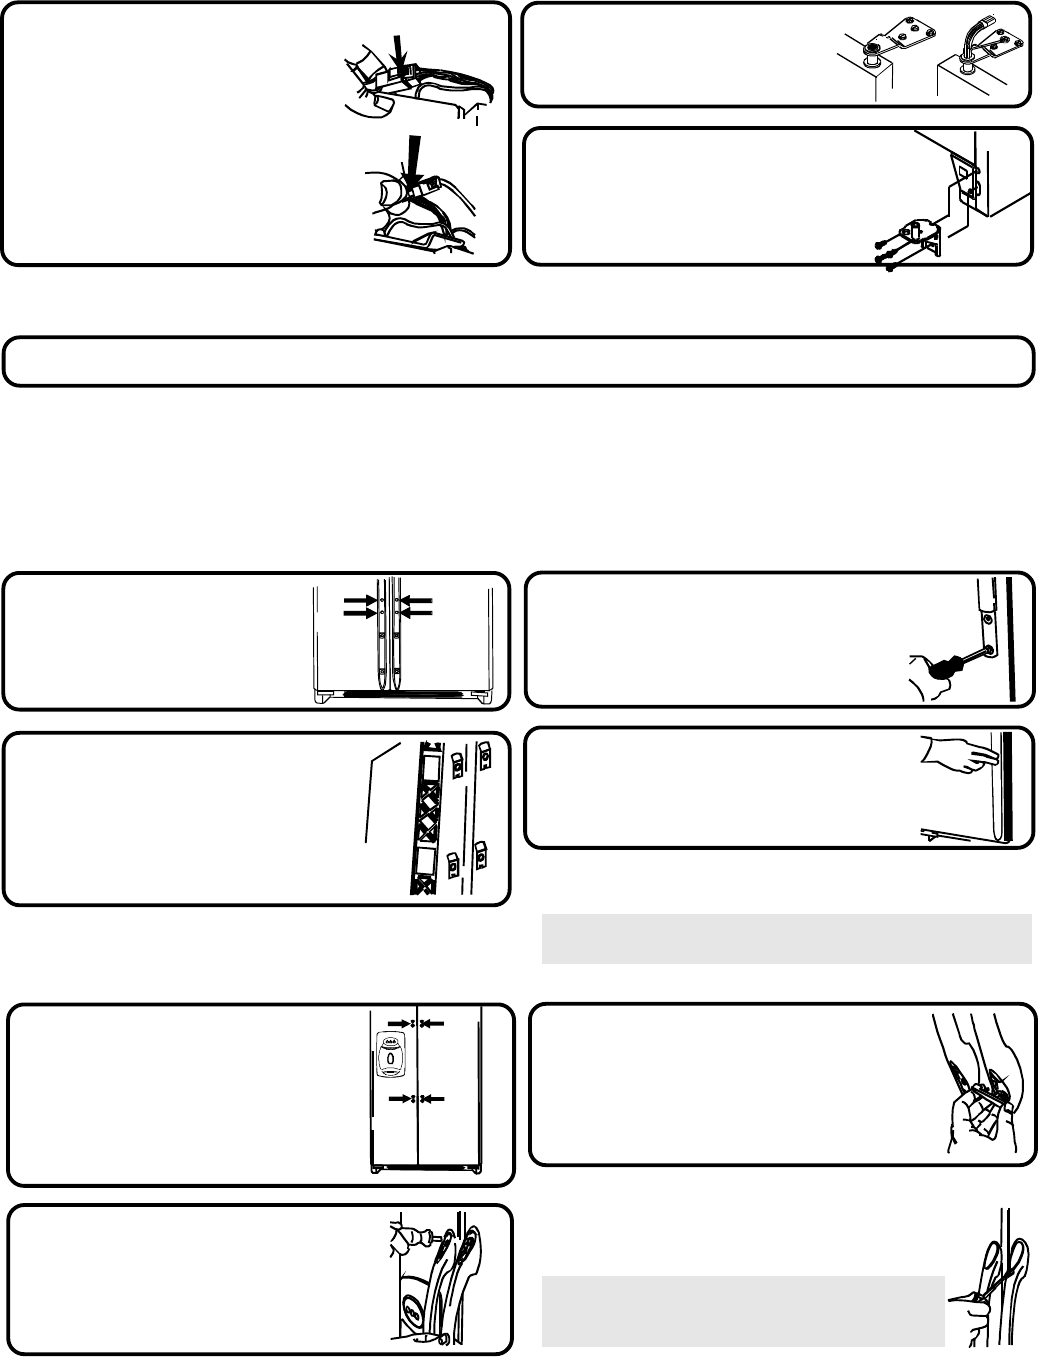
Detatch main wire connector harness.
(dispensing models only)
Use a flat blade screwdriver
or fingernail to press junction
point between two connectors
to release.
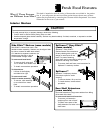
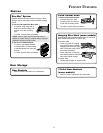
Installing Your Refrigerator
Detatch red wire harness
(some models).
Press tab on underside of
connector to release.
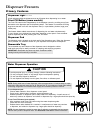
How to Remove the Doors and Hinges continued
Remove two
1
/
4
" hex nut
screws from bottom of
refrigerator and freezer
door.
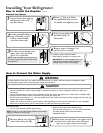
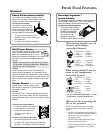
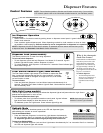
How to Install and Remove Handles
1
Insert screws removed in step 1
into screw holes at bottom of
handle section.
2
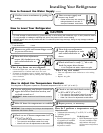
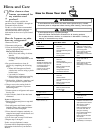
How to Replace the Doors
To replace doors, follow the steps in How to Remove the Doors and Hinges in reverse order.
Align door handles with top
and bottom sets of door clips,
and slide down until screw
holes on bottom of handles
match with door screw holes.
Snap trim over bottom portion
of handles and retainers on
bottom of door
3
LCD and 5-button Dispenser Models (non-stainless steel)
4
To remove after initial install...
Follow steps 3 through 4 in reverse order.
6
Remove top hinges along
with doors.
7
Remove bottom hinges with a
3
/
8
" hex head driver.
NOTE: Fit may be tight. When removing handle, pull up and
out.
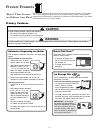
Distinctions 3-button Dispenser Models
Remove four
1
/
4
" hex nut
screws from top and
bottom of doors.
1
2
Align door handles with
screw holes and insert
screws removed in step 1.
Snap colored handle trim over
screw holes at top and bottom of
handles.
Snap in trim by inserting large round
end first.
3
To remove after initial install...
Handles may need to be removed if transporting unit
through tight spaces.
Follow steps 2 and 3 in reverse order.
IMPORTANT: To avoid damage to handle, use a
flat blade screwdriver edge wrapped in masking
tape to remove colored handle trim.
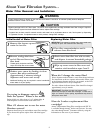
Handles are located within fresh food section of refrigerator. Trim, plugs, and accent pieces will be located within the
literature assembly.