9
Operating your ice maker
Initial start-up operation
1. Plug the appliance into a 115/120v polarized and grounded wall electrical outlet.
2. Place the on-off switch in the “on” position.
3. Make sure the water supply is on. As soon as the inner mechanism reaches the proper
temperature, the icemaker mechanism will fill the mold with water.
4. The first cubes may be small because of air in the water line. Later cubes will be of standard
crescent moon type size.
5. Approximate time for the first cycle is between 30-40 minutes.
6. Each cycle approximately will take 140 ml of water so you should have a full tray, after 11 hours.
Important: throw away all ice cubes made during the first 3 hours of operation.
• When the ice bucket is full, the ice making mechanism will automatically shut off.
However the system will continue to cool and maintain the cubes supply.
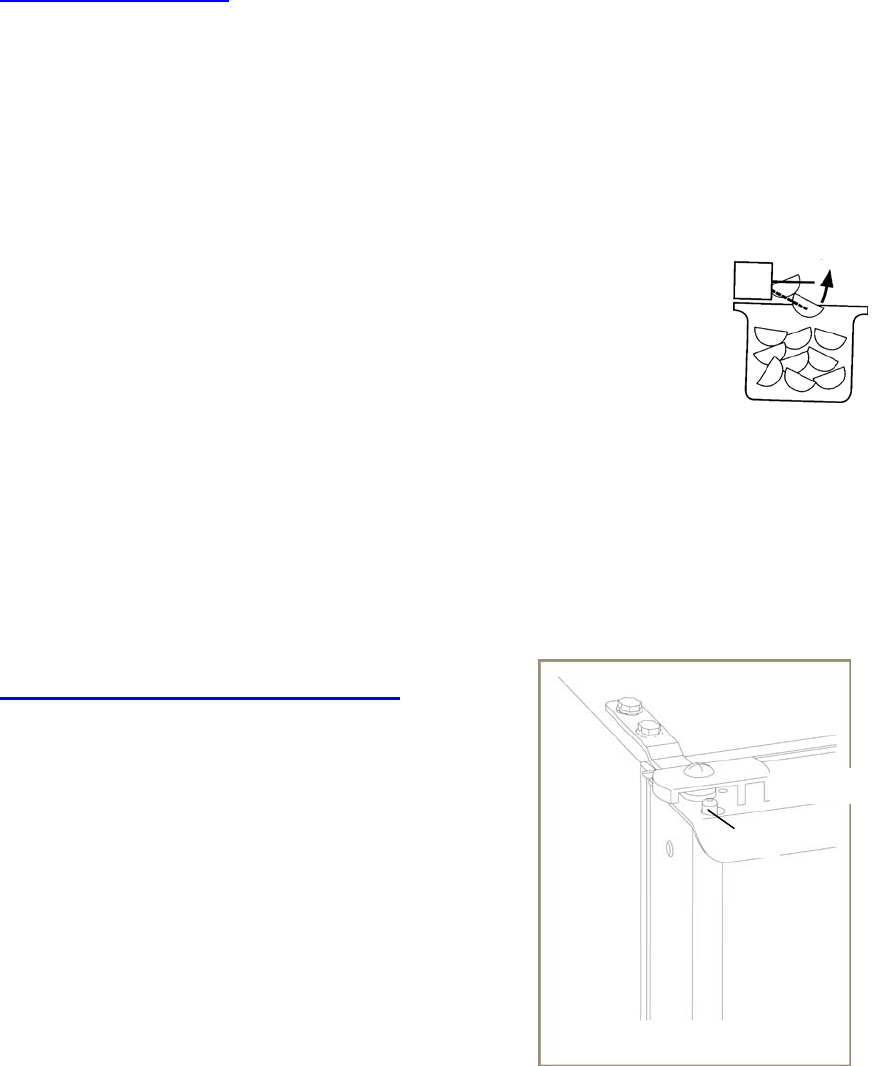
• Ice delivery may be interrupted by raising the metal arm into an upright position
(see sketch 2)
• If the icemaker is not used regularly, it is recommended that the ice bucket be
emptied periodically to insure fresh ice.
• Sometimes the cubes may appear cloudy. This is cause of no concern and has
nothing to do with the taste or chemical make-up of the water.
• The front grill should be kept free of dust and lint to permit free airflow.
• This unit should be defrosted approximately every 4-6 weeks or when frost on the ice maker walls is
excessive or ¼” thick. To defrost, turn the unit off, remove cubes and keep door open at least two
inches.
Installing the Safety Door Latch (Optional)
Affix the safety door latch to the unit by attaching the
assembly to the unit using the screws included (see
diagram).
Remove the plastic hole covers from the top left hand side
of the unit.
Attach the safety latch arm to the unit by inserting the two
(2) flat head screws in the top two (2) screw holes on the
top left hand side of the unit.
Remove the plastic hole cover from the top left hand side
of the door and insert the safety pin.
Adjust the latch by moving either one or both flat screws used on the top left hand of the unit
until latch locks firmly.
SKETCH 2
LATCH
PIN


