


0
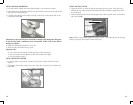
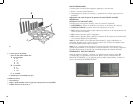
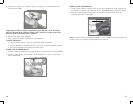
12. Now, use your ruler or the paper ruler provided to measure the overhang
molding height, placing your ruler vertically against the underside of the
cabinet behind the overhang molding. This number determines the number of
spacers you need, using a number of spacers equal to the overhang molding
height. For example, a 1” overhang molding would use 2, ½” spacers on each
of the rear holes(K).
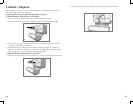
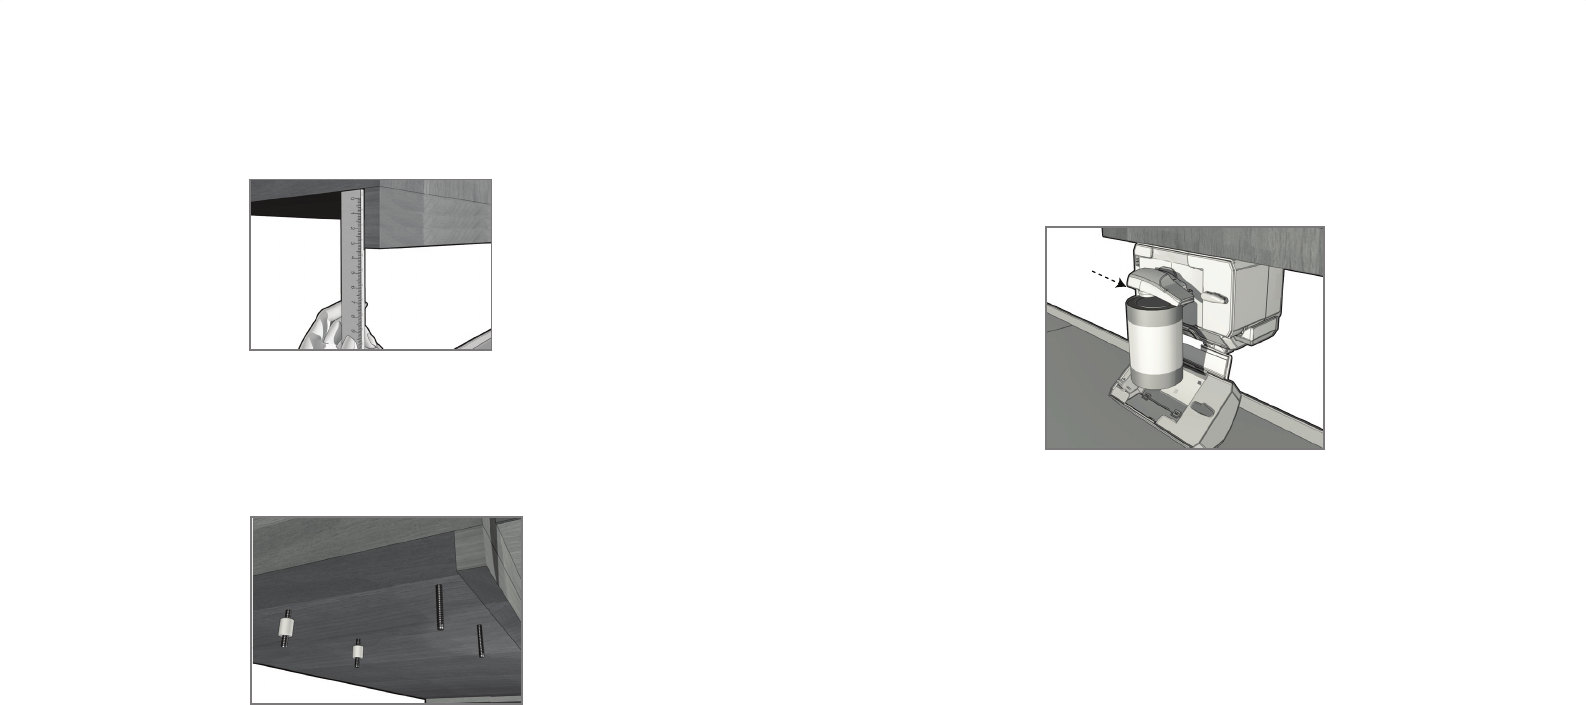
13. Drop one of your screws through each of the washers covering the holes in the
cabinet, from inside the cabinet down.
Note: To determine which screws to use, you must have enough of the screw
exposed underneath the cabinet to properly thread the screw into the nut.
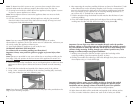
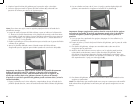
14. Place the appropriate number of spacers determined in step 12 on both of the
rear screws to ensure the appliance will be even (L).
Note:If the height of your overhang molding is too tall to be accommodated by
the number of spacers provided, you may call, toll-free, at 1-800-231-9786 to
order additional spacers at no charge.
Note: For spacer installation, you may require assistance in mounting in order to
hold spacers in place while securing the appliance at the same time. If assistance
is not available, use a small clamp to hold the spacers in place while you position
the appliance.
15. Once spacers are set, hold appliance up and tighten screws to secure. Screw
from inside the cabinet down.
Note: Always tighten screws to ensure the appliance does not move or shake
during operation.
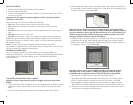
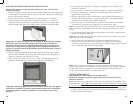
16. Pull out cord from cord storage behind appliance and plug into standard
electrical outlet. Extra cord can be fed back into storage or hung over cord
management hook behind unit (seeillustrationF).
Note: If you are connecting this appliance to the receptacle of another
†SpaceMaker™ appliance such as the toaster oven or coffeemaker, make sure you
can easily unplug the appliance following use.
17. Your †SpaceMaker™ appliance is now ready for use!
L
K
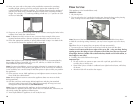
HowtoUse
This appliance is for household use only.
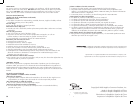
OPENINGACAN
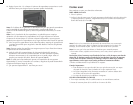
1. Lift piercing lever.
2. Tip can so that the rim is under the locating post, then push down on the piercing
lever, making sure the cutter blade is inside the rim of the can (M).
Note:Because of the hands-free feature, it is not necessary to hold the lever down
or hold the can during cutting. However, you may have to support very tall or heavy
cans.
Tip: When the can is opened, the can opener will stop automatically.
3. To remove the can, hold it with one hand and raise the lever with the other.
Caution:Avoidcontactwiththecutedgesofthecanorlids—theyaresharp.During
openingprocess,thedesignofyourcanopenerwillrolltherimofthecantoprevent
sharpedges;however,handlewithcautionandalwayshandlecutlidwithcaution,as
theseedgesarenotrolled.
4. Carefully discard the lid from the magnet.
ImportantTips:
• Do not use this can opener to open cans with a pull tab, peel-off foil seal,
or rolling key or rimless cans.
• Open frozen juices or foods in cardboard cans right from the freezer, while they
are frozen.
• Aluminum lids will not stick to the magnet.
M