


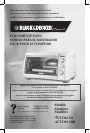

How to Use
This product is for household use only.
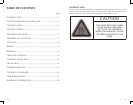
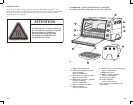
Important: The oven top and side surfaces get hot.
GETTING STARTED
• Remove packing materials and any stickers.
• Remove the slide rack, broil rack and bake pan/drip tray from oven.
• Wash in sudsy water, rinse and dry with a cloth or paper towel.
• Replace the slide rack in the oven.
• Select a location for the unit. Do not place unit under cabinets or too close to the wall to
allow heat to ow without damaging counter space.
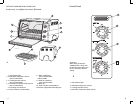
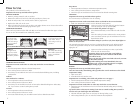
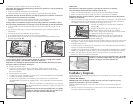
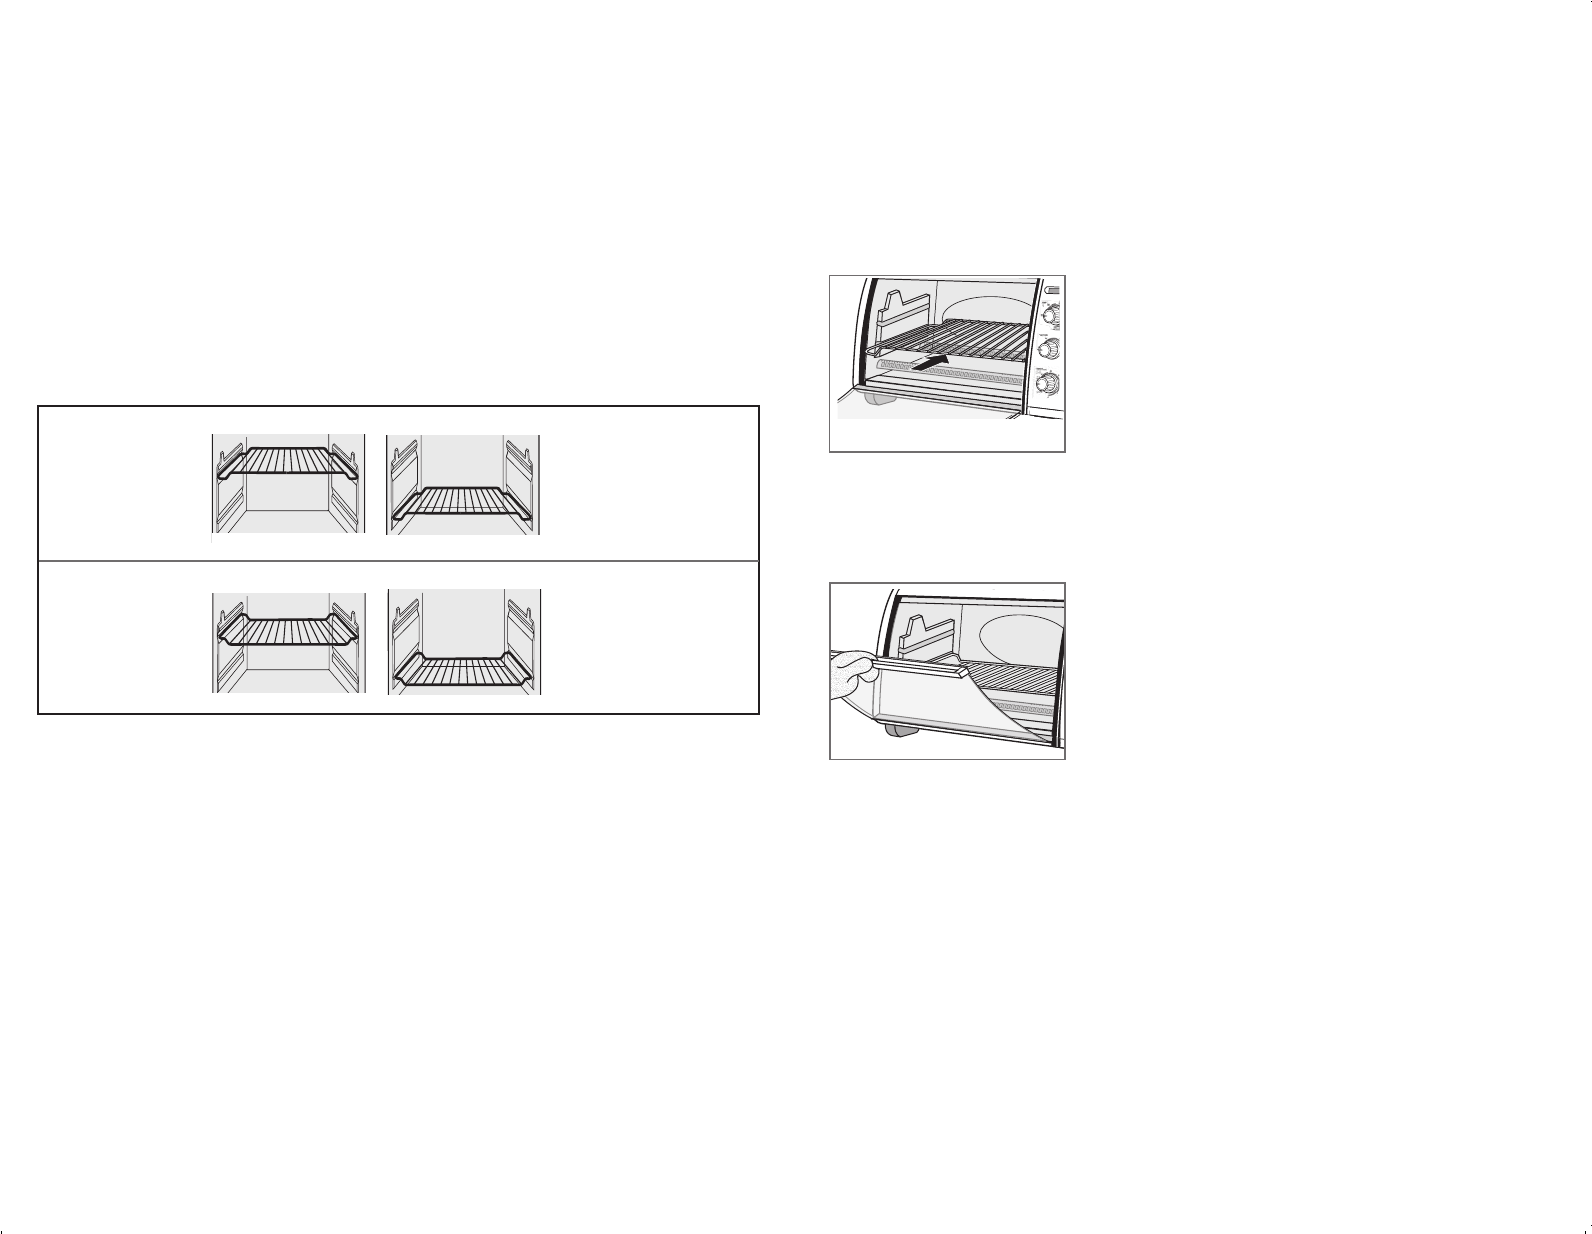
SLIDE RACK POSITIONS
There are four positions for the slide rack (C). It can be inserted in either the upper or lower
slot. It can also be inverted for two additional positions.
OVERVIEW OF FUNCTIONS
Important: You must set the timer or select Stay On for the oven to function.
To Bake
1. Turn the temperature selector to desired temperature.
2. Turn cooking function selector to Bake.
3. Turn timer past 20 and then turn back or forward to desired baking time, including
preheat time.
To Broil
Note: Preheat for 5 minutes.
1. Turn temperature selector to Broil/Toast.
2. Turn cooking function selector to Broil.
3. Turn timer pass 20 and then turn back or forward to desired broiling time. Select Stay
On, if you want to control cooking time yourself.
To Toast
1. Turn temperature selector to Broil/Toast.
2. Turn cooking function selector to Toast.
3. Turn toast shade selector pass 20 and then turn back to desired toast shade.
Position 1
Use upper slots
along oven walls.
Insert rack using a
rack-up position.
Position 3
Use lower slots along
oven walls. Insert
rack using a rack-up
position.
Position 2
Use upper slots
along oven walls.
Insert rack using a
rack-down position.
Position 4
Use lower slots along
oven walls. Insert rack
using a rack-down
position.
C
7
Keep Warm
1. Turn temperature selector to minimum temperature (Min).
2. Turn cooking function selector to Keep Warm.
3. Turn timer pass 20 and then turn back or forward to desired warming time.
TOASTING
Important: The oven top and side surfaces get hot.
It is not necessary to preheat the oven for toasting.
Important: You must set the toast shade selector as desired for the oven to function.
1. Make sure temperature selector is set to the Broil/Toast position.
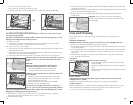
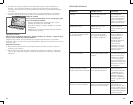
2. Open oven door. Insert the slide rack into the bottom
rack-slot using the rack-up position (D).
Note: See slide rack position 3 on page 7.
3. Place the bread directly on the slide rack and close the
door.
4. Turn the cooking function selector to the Toast position.
5. Turn toast shade selector pass 20 and then turn back to
desired toast shade.
Note: For best results, select the medium setting for your rst cycle, then adjust lighter or
darker to suit your taste.
The ON indicator light comes on and stays on during the toasting cycle. When toasting
is done, the signal bell sounds, the oven automatically shuts off and the ON indicator
light goes off.
6. Open oven door and using oven mitt or pot holder,
slide out rack to remove toast.
Important: Always use an oven mitt or pot holder to
remove food from the oven as the door and the slide
rack will be hot (E).
Note: You must turn off the toast shade selector if you want
to discontinue toasting.
Tip: When making more toast immediately after one
toasting cycle, set the toast shade selector to a slightly
lighter setting to get the same results.
BAKING
Important: The oven top and side surfaces get hot.
Note: For best results, when baking, always preheat the oven for 8 minutes at the desired
temperature setting.
1. Open oven door.
2. Insert the slide rack into the oven.
Important: For even baking, select slide rack position 2 or 3 on page 7.
3. Turn the temperature selector to the desired temperature setting.
4. Turn cooking function selector to Bake.
Important: You must set the timer or select Stay On for the oven to function.
5. Turn timer pass 20 and then turn back or forward to desired baking time, including
preheat time.
Tip: Set the timer to the Stay On setting if you want to control cooking time yourself or
need to cook your food longer than 60 minutes.
• The ON indicator light comes on and stays on during baking cycle.
• The heating elements cycle on and off to maintain the temperature.
D
E
8
Important:
Not recommended for baking or broiling.