


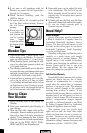
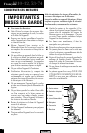
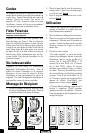

Blender Jar Assembly
1. Before first use, wash all parts except the
base. Put the gasket on top of the Blade
Assembly.
2. Place the Blade Assembly into the Jar
Base and turn the Jar Base clockwise until
tight.
Figure A
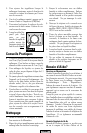
3. Place the Jar firmly onto the Unit Base.
Figure B
How to Use
1. Be sure the unit is “off” and plug the cord
into a standard electrical outlet.
2. Place the food to be blended into the Jar.
3. Put the Lid on the Jar before beginning. Be sure
that the Lid Cap is in place. When crushing ice
or hard foods, keep one hand on the Lid.
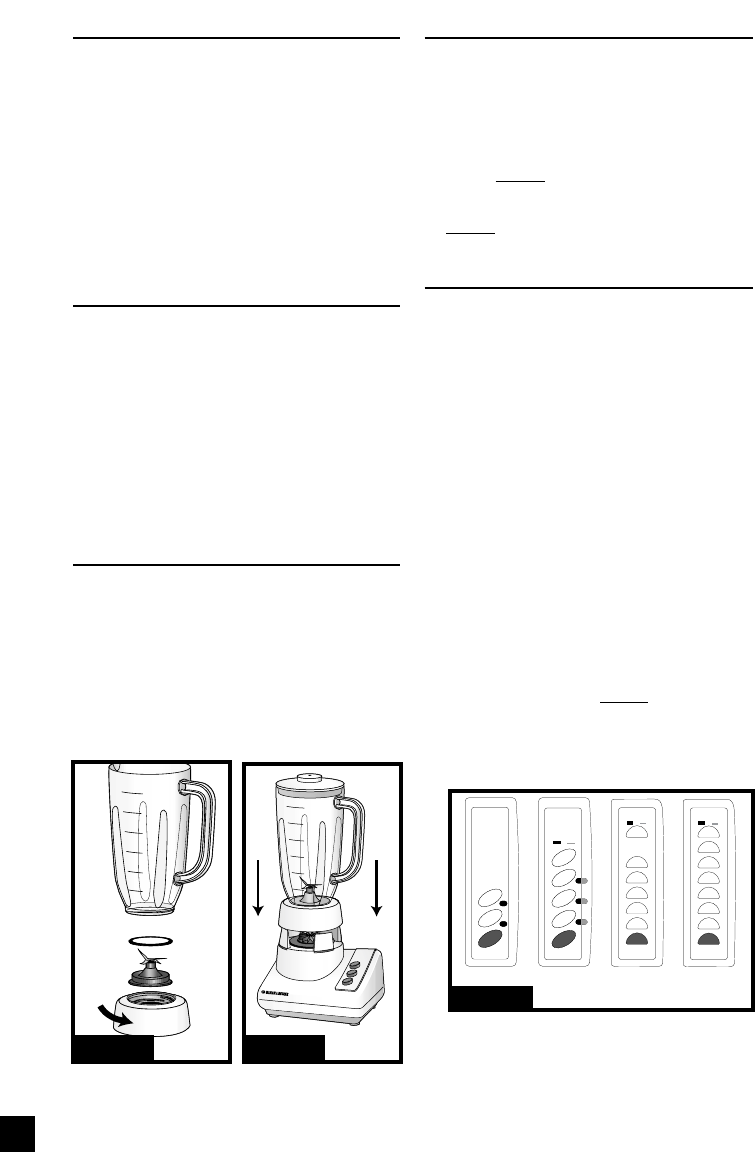
4. Select the desired speed setting:
• In general, use lower positions for gentle
blending, chopping, and grinding; in 6 speed
(IB73/IB74 Series), 10-speed (IB10 Series),
or 12-speed (IB12 Series) models use mid-
range positions for mixing, beating, and
creaming. In all models use higher settings
for heavy-duty blending such as liquefying
or pureeing fruits. In 6, 10, or 12-speed
models, press the Low/High button then,
press the appropriate speed level for blend-
ing at higher settings. Figure C
• For quick blending tasks, press the Pulse
button for a few seconds, then release. Use
Pulse for best results when crushing ice.
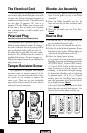
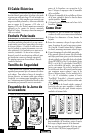
The Electrical Cord
The cord length of this appliance was select-
ed to reduce safety hazards that may occur with
a longer cord. If more cord length is needed, an
extension cord may be used. It should be rated
not less than 10 amperes, 120 volts or 6
amperes, 220 volts. When using a longer cord,
be sure that it does not drape over a working
area or dangle where it could be pulled on or
ripped over.
Polarized Plug
(North American/Central American Models Only)
This appliance has a polarized plug—one
blade is wider than the other. To reduce
the risk of electric shock, this plug will fit
into a polarized outlet only one way. If
the plug does not fit fully into the outlet,
reverse it. If it still does not fit, contact a
qualified electrician. Do not attempt to
defeat this safety feature by modifying the
plug in any way.
Tamper-Resistent Screw
This appliance is equipped with tamper-
resistant screws to prevent removal of the
outer cover. To reduce the risk of fire or elec-
tric shock, do not attempt to remove the
outer cover. There are no user serviceable
parts inside. Repair should be done only by
authorized service personnel.
1 1/4
1
3/4
1/2
1 1/2
1 1/4
1
3/4
1/2
1 1/2
1/4
1/4
Figure A
1 1/4
1
3/4
1/2
1 1/2
1 1/4
1
3/4
1/2
1 1/2
1/4
1/4
Figure B
3
6
1
7
8
9
10
2
3
4
5
LOW
HIGH
OFF / PULSE
ICE CRUSHING
7
1
8
9
10
11
12
2
3
4
5
6
LOW
HIGH
OFF / PULSE
ICE CRUSHING
25
4
HIGH
LOW
36
1
OFF / PULSE
ICE CRUSHING
25
4
36
1
1
1
2
OFF
PULSE
ICE CRUSHING
1
2
Figure C
IB53/IB54 IB73/IB74 IB10 IB12
Cover