OPERATION
6
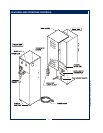
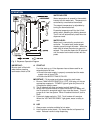
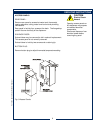
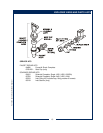
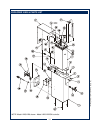
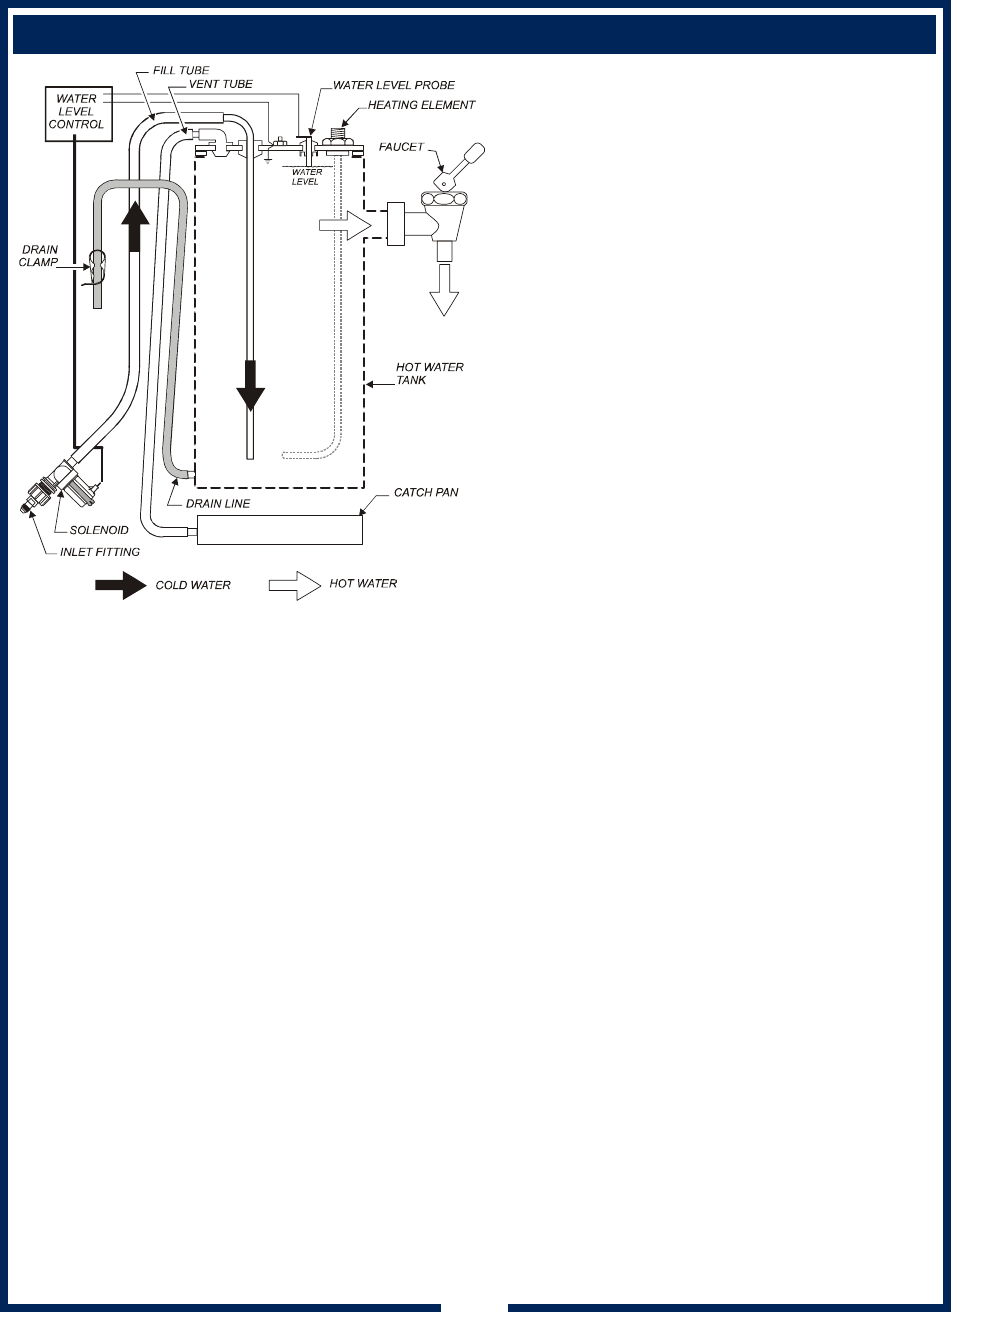
Fig. 3 Dispenser Operation Diagram
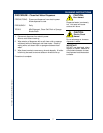
A. START-UP
For initial start-up, or if the dispenser has not been used for an
extended period of time:
♦ Be sure the water supply is properly connected and the water
supply valve is turned ON.
♦ Be sure the WATER TANK IS FILLED.
IMPORTANT: Fill the water tank before energizing tank heater
1. Be sure TANK HEATER SWITCH is "OFF", then plug unit into an
appropriate receptacle. "POWER" light will glow any time unit is
connected to electric power.
2. The fill solenoid will open and water tank will begin filling.
3. When the fill solenoid shuts off, open the faucet. Run water until
the fill solenoid is energized again, then close the faucet. This will
purge all air from the system. When fill solenoid shuts off, tank is
filled.
4. Press tank heater switch to "ON". Tank heaters will energize.
When the "HOT WATER READY" light glows, water is ready to
use.
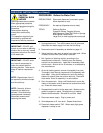
B. USE
1. Always use a container suitable for hot water.
2. Hold container under faucet. Pull faucet handle to dispense hot
water. Release handle to stop dispensing.
IMPORTANT:
Be sure tank is filled with
water before pressing
tank heater switch to ON.
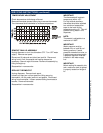
WATER HEATER
Water temperature is sensed by thermobulb
inserted into the water tank. Temperature is
controlled by a mechanical thermostat.
The setpoint temperature is adjustable by
turning the thermostat shaft.
Excessive temperature will trip the hi-limit
safety switch, disabling the heating element.
The hi-limit will automatically reset when the
dispenser cools.
WATER LEVEL
Water level is controlled by an electronic
controller. The water level probe senses
chassis ground through the water. When the
water level is below the probe no ground is
sensed. The controller opens the fill solenoid
until the water level makes contact with the
probe.
712 76580 Owners Manual Hot Water Dispenser


