6 720 607 440
14
Appliance details
2.11 Electrical connections
The 250 SXO requires an electrical power supply from
a 120VAC 60Hz circuit and must be properly
grounded.
A means for switching off the 120VAC power supply
must be provided.
The heater is wired as shown in the wiring diagram
(chapter 6, Fig. 29).
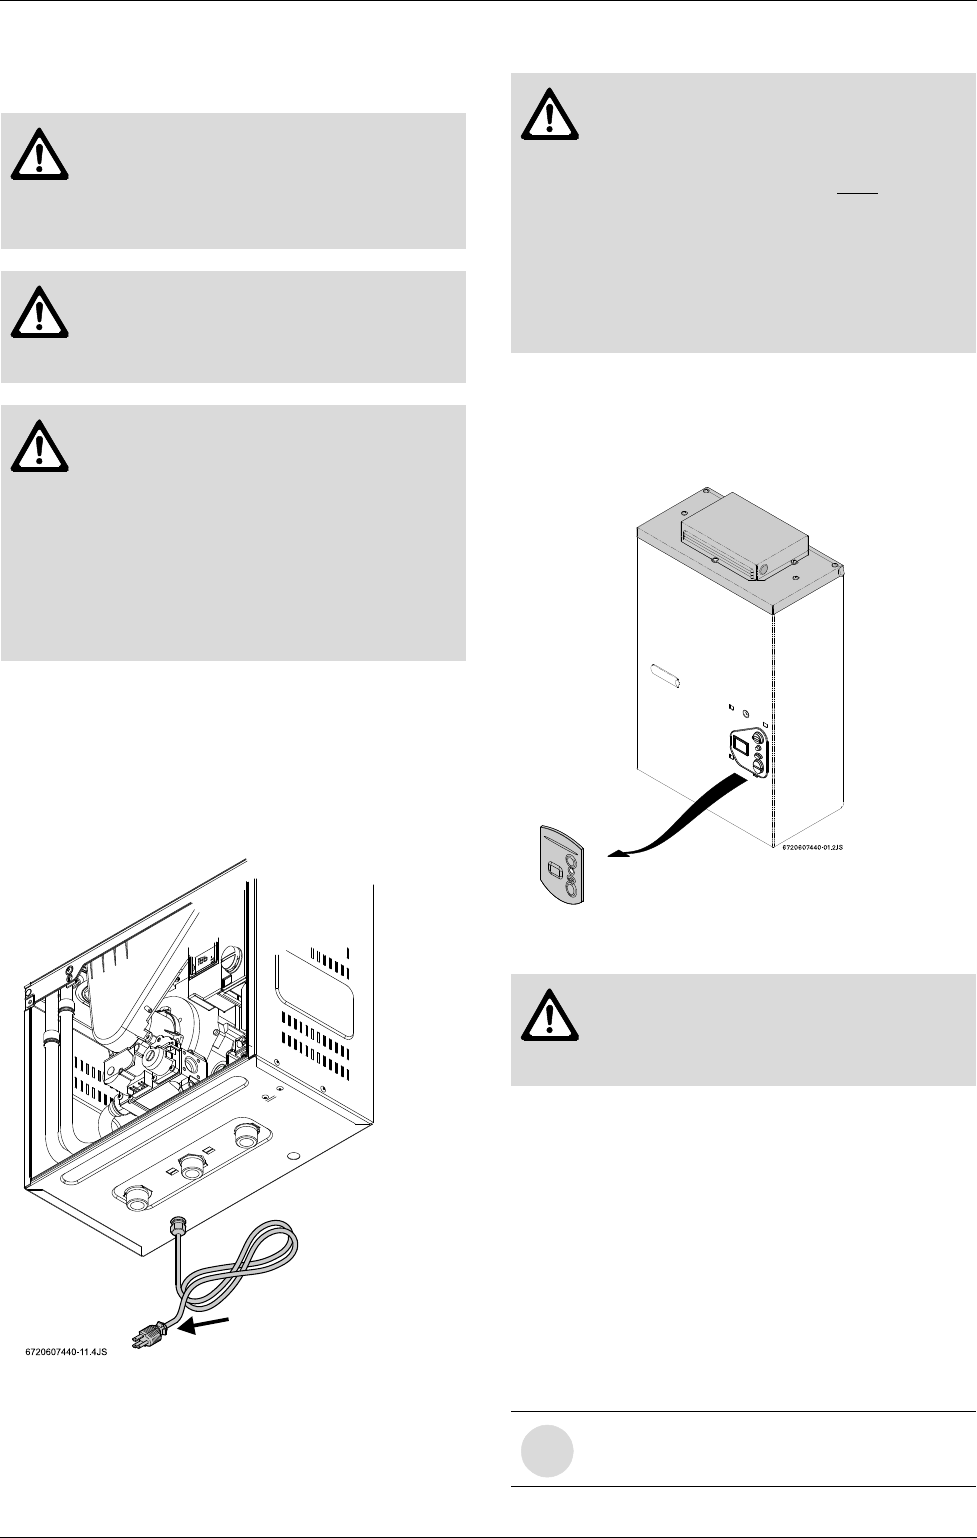
Fig. 17
2.12 Operating instructions
B Remove the control cover shield to access the
controls of the water heater.
Fig. 18
B Before proceeding with the operation of the heater
make sure that the system is filled with water.
B Turn off power supply to heater.
B Open the cold water inlet supply to the heater fully.
B Open a hot water faucet to permit the water to fill the
heater and the piping and to eliminate the air trapped
in the system.
B Close the hot water faucet after the water flows freely
and all the air has escaped from the system. Turn on
power supply to heater. The water heater is now
ready to operate.
Warning: Confirm that the water
heater is appropriately grounded and
that the installation meets all electrical
codes. Outdoor electrical outlets have
special requirements.
Warning: For safety reasons,
disconnect the power supply to the
heater before any service or testing is
performed.
Warning: This heater must be
electrically grounded in accordance
with the most recent edition of the
National Electrical Code. NFPA 70. In
Canada, all electrical wiring to the
heater should be in accordance with
local codes and the Canadian Electrical
Code, CSA C22.1 Part 1. Do not rely
on the gas or water piping to ground the
metal parts of the heater.
Appliance electrical
power supply
Warning: The heater is equipped with
freeze prevention equipment that will
operate and prevent freezing of the
water in the heater to 5°F with no wind
chill. Electrical power must be
maintained to the heater to allow this to
function. WARNING: Proper
insulation of the water lines below
the heater is required if below
freezing temperatures, below 32°F,
are ever anticipated.
Warning: The control cover must be
replaced after the initial operation
begins, and must be in place at all
times.
i
NOTE: A default temperature setting of
122 F will appear on the display screen.


