34
H
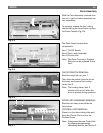
Facia Assembly
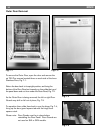
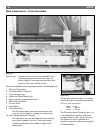
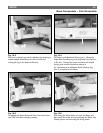
Fig. 9-2 Fig. 9-3
Fig. 9-1
IMPORTANT SERVICE NOTE:
The Facia Assembly cannot be
removed unless the Outer Door is
removed first.
See section 4, Fig. 7-1.
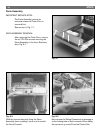
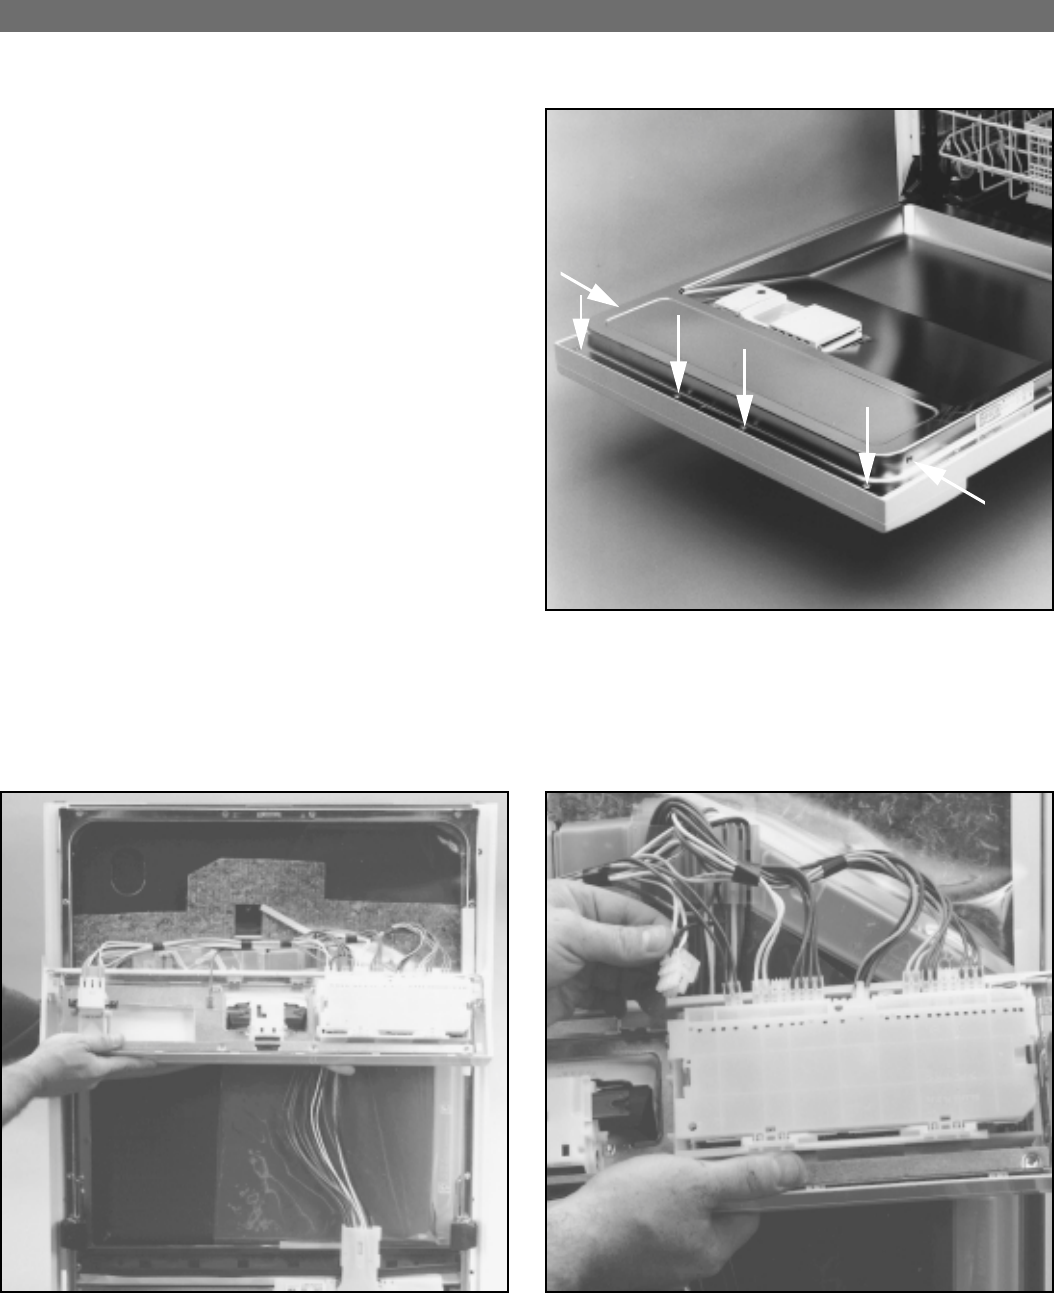
FACIA ASSEMBLY REMOVAL:
After removing the Outer Door, remove
the six T-20 Torx screws securing the
Facia Assembly to the Inner Stainless
door, Fig. 9-1.
With the screws removed, bring the Facia
Assembly down cradling it so as not to scratch
the Facia Console.
Now remove the Wiring Connectors by pressing in
on the locking tabs of each connector, then sliding
the connector up and off from the Control Unit.


