


Page 26
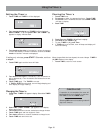
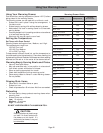
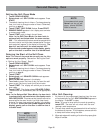
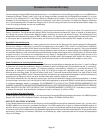
Setting the Self-Clean Mode
1. Touch COOKING MODE.
2. Rotate knob until SELF CLEAN mode appears. Press
START.
3. The default cleaning time is 4 hours. To change cleaning
time, turn knob to change number of hours. Otherwise,
continue to step 4.
4. Touch START. SELF CLEAN flashes. Press START.
5. REMOVE RACKS appears in the display as a reminder
to remove oven racks.
6. Touch START again to begin the self clean.
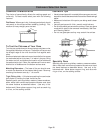
Note: In the Self Clean Mode, the door latch is
automatically activated when the oven reaches
350°.
This ensures that the door cannot be opened while
the oven interior is at high clean temperatures.The door
lock symbol will appear in the display at this point. The
door will not lock until the oven reaches 450°.
When the lock symbol appears in the display, gently
pull on the door to confirm that it is locked close.
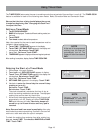
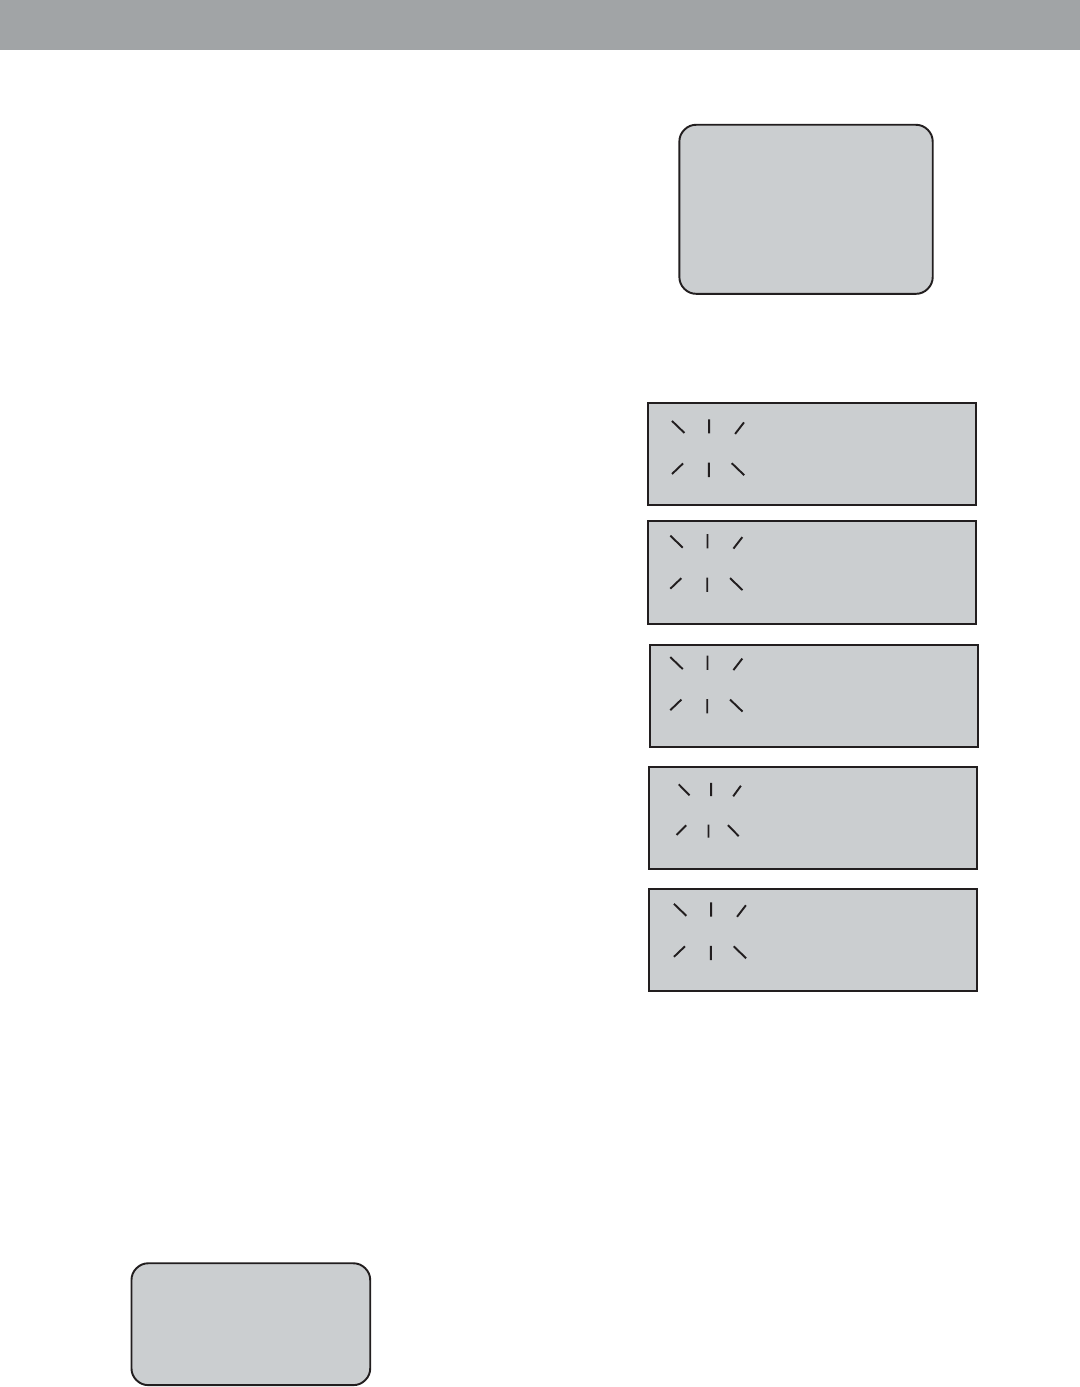
Delaying the Start of the Self-Clean
Note: The time of day must be correctly set for this
option to work properly. See section “Setting the Clock”
in “Setting Up Your Range”, Page 5.
1. Touch COOKING MODE.
2. Rotate knob until SELF CLEAN mode appears. Press
START.
3. The default cleaning time is 4 hours. To change cleaning
time, turn knob to change number of hours. Otherwise,
continue to step 4.
4. Touch START.
5. Rotate knob until DELAYED CLEAN mode appears.
Press START.
6. SELF CLEAN END appears in the display.
7. Turn knob to enter the time of day you want the self-
clean to end: Set hours, touch time, set minutes.
8. Touch START. The display will remind you to remove
oven racks.
9. Touch START. The display shows DELAYED CLEAN.
The self-clean will automatically start at the appropriate
time.
Note: In the Delayed Self Clean Mode, the door latch
is automatically activated when the display reads
DELAYED CLEAN.
This ensures that the door cannot be
opened while the oven interior is at high clean temp-
eratures.The door lock symbol will appear in the display
at this point. When the lock symbol appears in the
display, gently pull on the door to confirm that it
is locked close.
Care and Cleaning - Oven
The oven lights do not
operate in the Self
Clean mode.
NOTE
If door does not lock, press
Cancel and do not self-
clean; phone 800/944-
2904 for service.
NOTE
33
33
3
SELF CLEANSELF CLEAN
SELF CLEANSELF CLEAN
SELF CLEAN
DELADELA
DELADELA
DELA
YED CLEANYED CLEAN
YED CLEANYED CLEAN
YED CLEAN
REMOREMO
REMOREMO
REMO
VE RAVE RA
VE RAVE RA
VE RA
CC
CC
C
KSKS
KSKS
KS
5: 505: 50
5: 505: 50
5: 50
5: 505: 50
5: 505: 50
5: 50
4: 004: 00
4: 004: 00
4: 00
3: 003: 00
3: 003: 00
3: 00
3: 003: 00
3: 003: 00
3: 00
SELF CLEANSELF CLEAN
SELF CLEANSELF CLEAN
SELF CLEAN
SELF CLEANSELF CLEAN
SELF CLEANSELF CLEAN
SELF CLEAN
SELF CLEANSELF CLEAN
SELF CLEANSELF CLEAN
SELF CLEAN
SELF CLEAN ENDSELF CLEAN END
SELF CLEAN ENDSELF CLEAN END
SELF CLEAN END
SET CLEAN TIMESET CLEAN TIME
SET CLEAN TIMESET CLEAN TIME
SET CLEAN TIME
SELF CLEANSELF CLEAN
SELF CLEANSELF CLEAN
SELF CLEAN
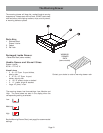
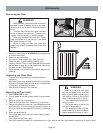
After Self-Cleaning:
1. At the end of the programmed cleaning time, the oven
will automatically turn off. SELF CLEAN END appears in
the display. Press OFF to clear.
Note: To cancel or stop while the mode is operating,
touch OFF. The door will not unlock until the oven
reaches a safe temperature
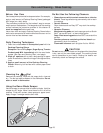
2. The self-clean mode may produce ash which will settle in
the bottom of the oven. If this happens, remove ash with
a damp cloth before using the oven.
3. Wipe rack edges with cooking oil to allow for proper glide.
Wipe off excess.