


8
Operating Instructions
Using the Bake Function
Use the baking function for cake mixes,
bread mixes, or light deserts.
Do not fill the cooking pot past the “max”
line with batter or below the “min.” line.
This could result in the mixture being
under cooked or burnt.
1. Prepare mixture in a separate bowl.
2. Lightly grease the inside of the
cooking pot.
3. Pour batter into the cooking pot and
place into the unit.
4. Plug the unit into the wall outlet.
5. Press down on the cover until it clicks
into place.
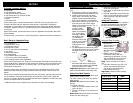
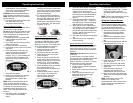
6. Press the function button four (4)
times until the arrow on the LCD
display is pointing to the bake
function. (Fig. 11) The numbers will
not flash on the LCD display. The
default time for the bake function is
50 minutes.
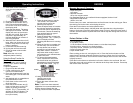
Fig. 12
Using the Slow Cook Function
Use the slow cook function for a
variety of meals that require a longer
cooking time. Do not fill the cooking
pot past the “max” line with food or
below the “min.” line. This could result
in the food boiling over or burning.
1. Prepare dish to be cooked.
3. Place food into the cooking pot
and place into the unit.
4. Plug the unit into the wall outlet.
5. Press down on the cover until it
clicks into place.
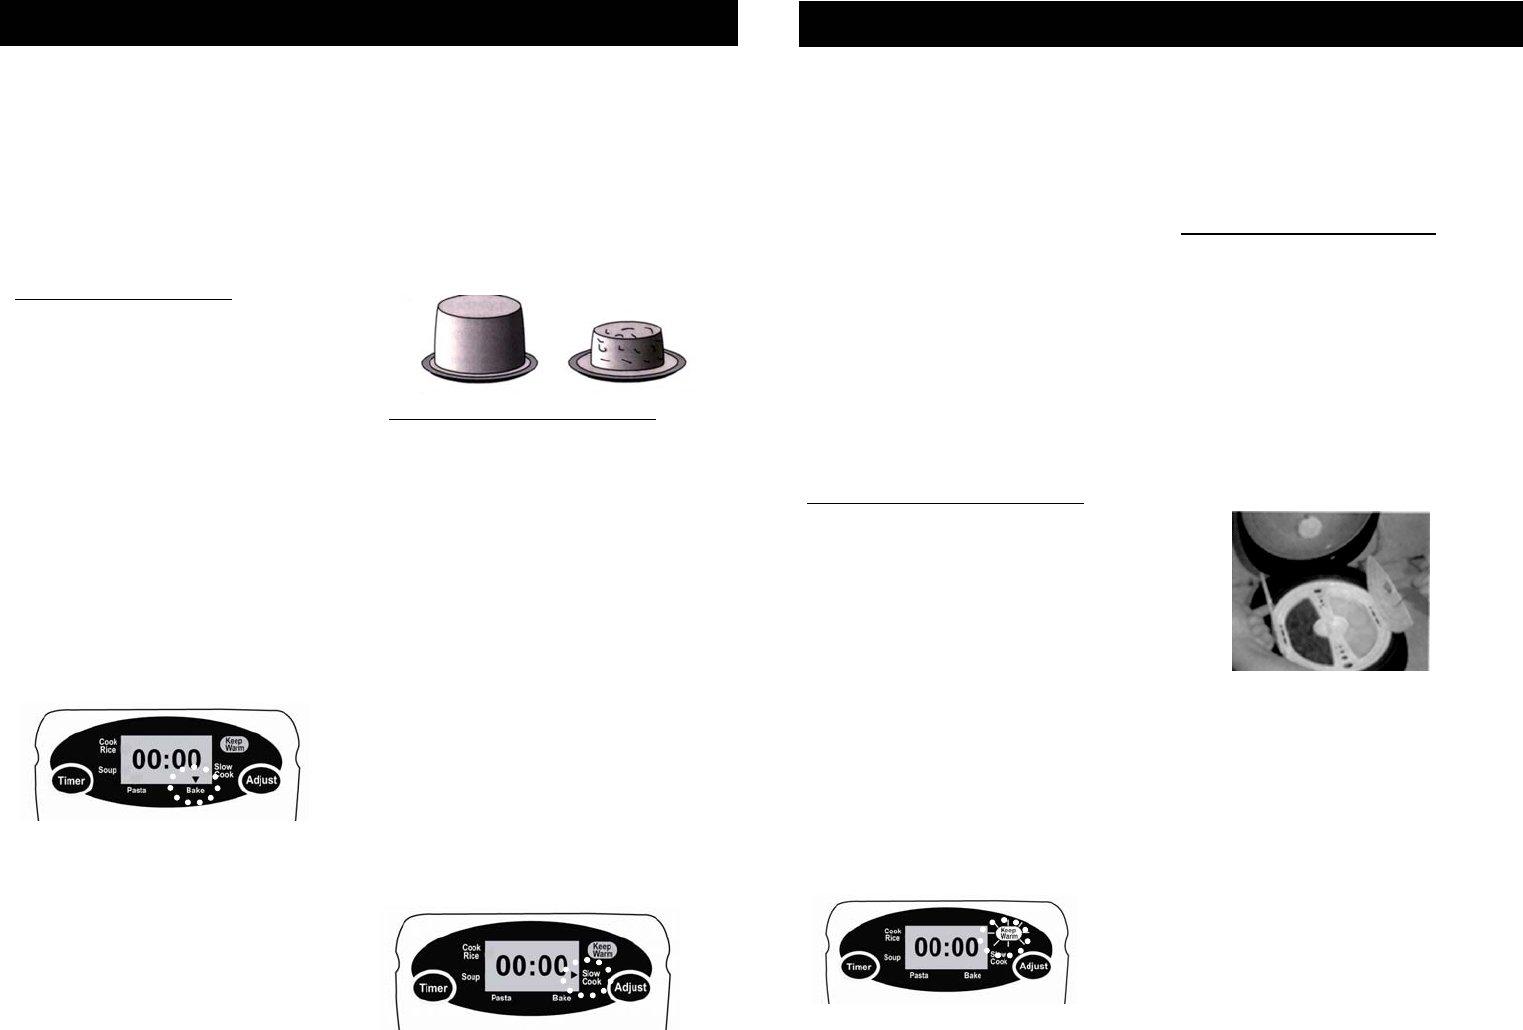
6. Press the function button five (5)
times until the arrow on the LCD
display is pointing to the slow cook
function. (Fig. 13) The numbers
“01” will flash on the LCD display.
7. Press the adjust button to increase
the number of hours. The
maximum hours that can be set is
four (4) hours.
8. Press the timer button to get the
“:00” to flash. This means the
minutes can be set for the
slow cook time required.
16.Place the handle back onto the
pasta/steamer insert and slowly
remove the insert allowing water to
drain as the insert is lifted up.
Caution: Remove the pasta/steamer
insert carefully to avoid burns or injury.
Note: Allow the unit to cool completely
before cleaning.
17.Empty the water collector after each
use. Allow the unit to cool
completely before cleaning.
10.Using pot holders remove the
cooking pot from the unit and allow
to cool for a minimum of 2 minutes
before removing the baked goods
from the cooking pot.
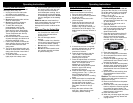
11.To remove the baked goods from
the cooking pot, place a plate over
the top of the cooking pot, holding
the plate and cooking pot, turn
upside down, and allow the cake to
fall onto the plate. Lift cooking pot
up gently. (Fig. 12)
7. Press the start button.
8. Allow the mix to bake for complete
baking cycle of 50 minutes to
ensure that cake is baked right
through.
Note: If the food being baked is not
done, re-select the bake function,
press start and cook for an additional
5 minutes. The unit will have to be
stopped manually when baking is
done. Time is not adjustable on this
function.
9. When the cycle is complete the
unit will beep. Press the stop
button.
Fig. 11
Fig. 13
Bake Selected
Slow Cook Selected
9
Operating InstructionsOperating Instructions
Using the Keep Warm Function
The keep warm function can be used to
keep foods that have been prepared
warm until ready for serving, or to keep
foods warm that have been prepared in
advance.
Important: Do not use this function to
cook food.
In most functions, once the cooking
process has been completed the unit will
automatically go to the keep warm
function after one (1) minute. To initiate
the keep warm function manually:
1. Plug unit into the wall outlet.
2. Fill the cooking pot with ingredients
to keep warm.
3. Press down on the cover until it clicks
into place.
4. Press the function button five (5)
times until the keep warm light
illuminates. (Fig. 14)
Fig. 15
9. Press the adjust button to increase
the minutes required for food being
cooked. The minutes can be
adjusted up to :59 minutes. Choose
the cooking time required based on
type of dish being prepared and
amount.
10. Press the start button to begin the
cooking process. The “:” (colon) on
the LCD display will flash indicating
that the timer is counting down.
11. When the function is complete the
unit will beep. One minute later if the
stop button has not been pressed
the unit will switch to the keep warm
function. After 6 hours the unit will
automatically shut off.
12. Press the stop button and unplug the
unit.
13. Allow the unit to cool completely
before cleaning.
Using the Poacher/Warmer
The poacher/warmer can be used
alone or when preparing other items
such as pasta or steamed vegetables.
To use the poacher/warmer the
pasta/steamer insert must be used:
1. Add required amount of water to
the cooking pot for food being
prepared in the pasta/steamer
insert.
2. Add food to be prepared into the
pasta/steamer insert and close
lids.
3. Place the poacher/warmer into the
pasta/steamer insert. (Fig. 15)
5. Press the start button to begin the
keep warm process. The “:” (colon)
on the LCD display will flash
indicating that the timer is counting
up.
Note: The unit will automatically shut off
after a 6 hour period has elapsed.
Fig. 14
Keep Warm Selected
4. Press down on the cover until it
clicks into place.
5. Plug the unit into the wall outlet.
6. Select the function required and
adjust time.
7. Press stop when cooking is
complete, insert handle into
pasta/steamer and remove food.
8. Remove plug from wall outlet and
allow unit to cool completely before
cleaning.
Note: If warming a sauce in the
warmer it can be left in the
poacher/warmer safely until the food
being cooked in the pasta/steamer
insert is complete.