


A beginner’s guide to slow cooking
9
In years gone by, food cooked in large pots, and
allowed to simmer for hours, was full of flavour,
moist and tender. The Breville Banquet Meal Maker
is designed to produce these same results, whilst
leaving you time to do other things, making it
perfect for today’s busy lifestyles.
Here is a guide to help simplify the process of slow
cooking, allowing you to obtain maximum satisfaction
from your Meal Maker:
It’s all in the timing
Always allow sufficient time for the food to cook. It
is almost impossible to overcook in the Meal Maker
particularly when using the Low Setting. Most of the
recipes contained within this book can be cooked on
the High or Low Settings, however the cooking times
will vary accordingly. Each recipe will give specific
instructions indicating the appropriate settings and
suggested cooking times.
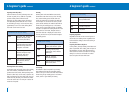
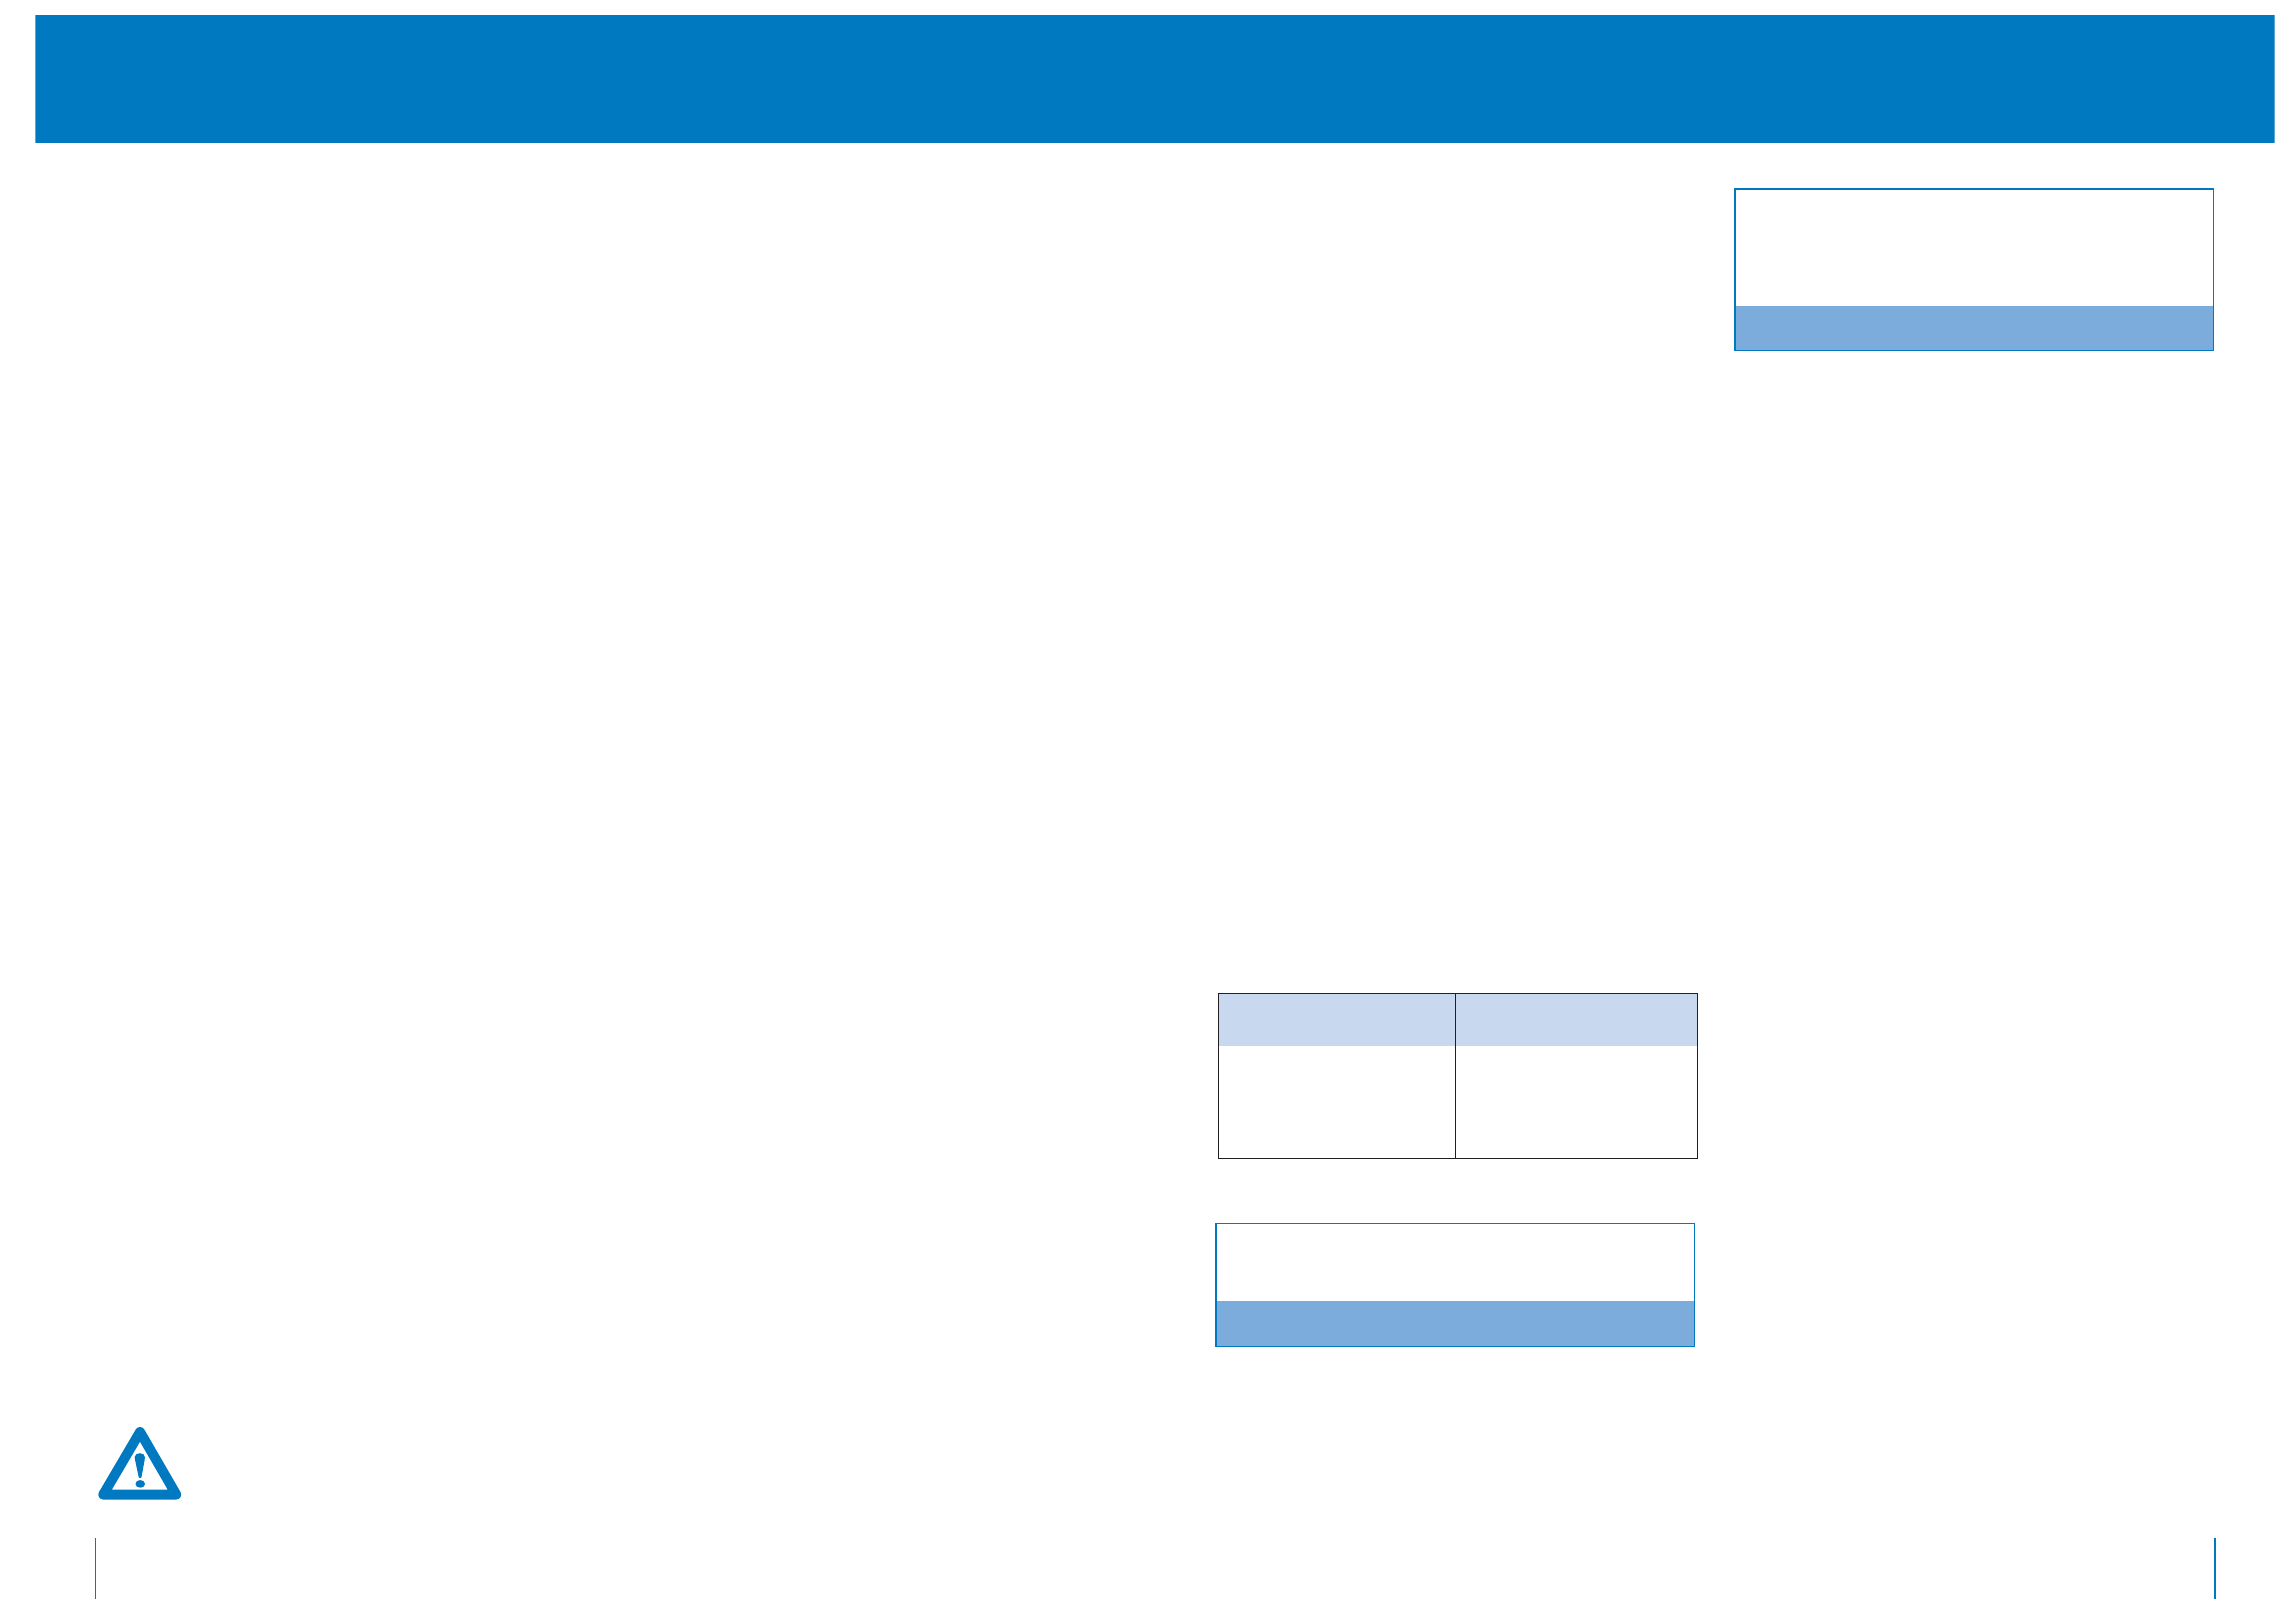
Adapting cooking times
Your favourite traditional recipes can be adapted
easily by halving the amount of liquid and increasing
the cooking time considerably. The following is a
guide to adjusting your favourite recipes:
These times are approximate. Times can vary
depending on ingredients and quantities in recipes.
Note
High humidity, altitude, cold tap water,
ingredients and minor fluctuations may slightly
affect the cooking times in the Meal Maker.
Note
Adapting liquid amounts
When food is cooking in your Meal Maker, most
moisture is retained. To allow for this when using
traditional recipes it is advisable to halve the liquid
content. However, after cooking if the liquid quantity
is excessive, remove the lid and operate the Meal
Maker on the High Setting for 30-45 minutes or
until the liquid reduces by the desired amount.
Alternatively, the liquid can be thickened by
adding a mixture of cornflour and water.
Stirring the food
Little or no stirring is required when using the Low
Setting. However, stirring the food when using the
High setting ensures even flavour distribution.
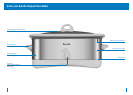
Operating your Breville Banquet Meal Maker
Before the first use
Before first use, remove all promotional labels and
packing materials. Wash the removable crockery bowl
and glass lid in hot, soapy water, rinse and
dry thoroughly. Wipe the inside and outside of the
stainless steel housing with a soft, damp cloth, then
dry thoroughly.
Operating instructions
1. Before placing the removable crockery bowl in
the stainless steel housing, ensure the exterior of
the bowl is clean. This will ensure proper contact
with the inner cooking surface. Insert the
removable crockery bowl into the stainless steel
housing, then place the prepared food into the
removable crockery bowl, ensuring denser foods
are spread evenly across the bottom of the bowl
and not heaped to one side. Place the glass lid
into position.
2. With the Temperature Control Dial turned to the
OFF position, insert the connector end of the
power cord into the appliance inlet, plug the
power cord into a 230/240V power outlet and
switch the power on at the power outlet.
3. Turn the Temperature Control Dial to the desired
setting, or as recommended in the recipe section.
4. When cooking is complete, turn the Temperature
Control Dial to the OFF position, switch off at the
power outlet, remove the power plug and then
the connector end from the appliance inlet.
Important
• Always use the Meal Maker on a dry, level surface.
• Never operate without food and liquid in the
removable crockery bowl.
• Never operate without the removable crockery bowl
positioned in the stainless steel housing.
• Always have the glass lid firmly in position on the
removable crockery bowl throughout the operation
of the appliance unless where stated in a recipe to
have it removed.
• Always use dry pot holders or oven mitts to remove
the removable crockery bowl when hot.
• Do not place the removable crockery bowl
when hot on any hot surface that may be
affected by heat.
Using the temperature control settings
Low setting
The Low setting gently simmers food for an extended
period of time without overcooking or burning. No
stirring is required when using this setting.
High setting
The High setting is used when cooking dried beans or
pulses and will cook food in half the time required
for the Low Setting. Some foods may boil when
cooked on the High Setting, so it may be necessary
to add extra liquid. This will depend on the recipe
and the amount of time in which it is cooked.
Occasional stirring of stews and casseroles will
improve the flavour distribution.
Keep Warm setting
The Keep Warm setting is used to keep cooked foods
at serving temperature. It is not a cooking setting and
should only be used after first cooking on the Low or
High setting. It is not recommended to keep food on
the Keep Warm setting for more than 4 hours.
8
Traditional Recipe Time
15-30 minutes
60 minutes
1-3 hours
Meal Maker Recipe Time
4-6 hours on Low Setting
6-8 hours on Low Setting
8-12 hours on Low Setting
ALWAYS LIFT AND REMOVE THE GLASS LID CAREFULLY AND ANGLED AWAY FROM
YOURSELF TO AVOID SCALDING FROM ESCAPING STEAM.