‘Auto ‘LIFT & LOOK™’’
Operating your Breville 4-Slice Smart Toaster™
7
The Breville 4-Slice Smart Toaster™ features
dual independent toast controls - two complete
sets of controls that allow each pair of slots to
work independently. Use the instructions
provided to independently set the two pairs of
slots to your individual preferences. For example,
you can toast bread in one pair of slots, while
simultaneously toasting bagels on another setting
in the second pair of slots.
Note
Before first use, remove any promotional stickers or
packaging material attached to your toaster
1. Insert the power plug into a 120 volt power outlet
then turn the power on. The ‘TOAST/CANCEL’
button will illuminate white for up to 30 seconds.
The LED’s on the toasting progress indicator will
illuminate one-by-one all the way to the right,
then turn off one-by-one until the selected
browning setting (indicated by the browning
control slide) is reached.
2. Place 1 slice of bread,half a bagel or half an
English muffin only, into each of the toasting
slots. Ensure they are not too large or too thick to
fit in the toasting slots.
3. Select the desired browning setting by adjusting
the browning control slide on the front of the
toaster.The browning settings range from ‘1’
(lightest) to ‘5’ (darkest). The LED’s on the
toasting progress indicator will illuminate
according to the selected setting.
When using the toaster for the first time, we
suggest toasting on the maximum setting without
bread. The toaster may emit a thin smoke or
distinct odor on initial use. This is normal and
not detrimental to the performance of the toaster.
Note
When using the toaster for the second time (this
time with bread), we suggested you initially toast
on setting ‘3’. For example, raisin toast and white
light-textured breads may require a lighter
setting, whilst heavier textured rye breads may
require a darker settings.
Note
4. To start the toasting cycle, press the
‘TOAST/CANCEL’ button which will illuminate red.
The bread will automatically lower into the
toasting slots. As the toasting cycle begins, the
toasting progress LED above the selected setting
will flash and start to count down, indicating how
long is left in the toasting cycle.
The toaster will revert to stand-by mode after 30
seconds if none of the buttons are pressed or the
browning control slide is not adjusted. The
‘TOAST/CANCEL’ button illumination and toasting
progress LED's will go out.
The toaster will re-activate, and the
‘TOAST/CANCEL’ button and LED’s will re-
illuminate when:
a) any of the buttons are pressed.
b) the browning control slide is moved.
c) the power at the power outlet is turned off
then on again.
Note
The Breville 4-Slice Smart Toaster™ features an
auto ‘LIFT & LOOK™’ button. This automatically
raises the bread carriage without canceling or
resetting the cycle. You can view toasting
progression during the toasting cycle and, if
necessary, cancel the cycle when the desired
toast color is achieved.
Note
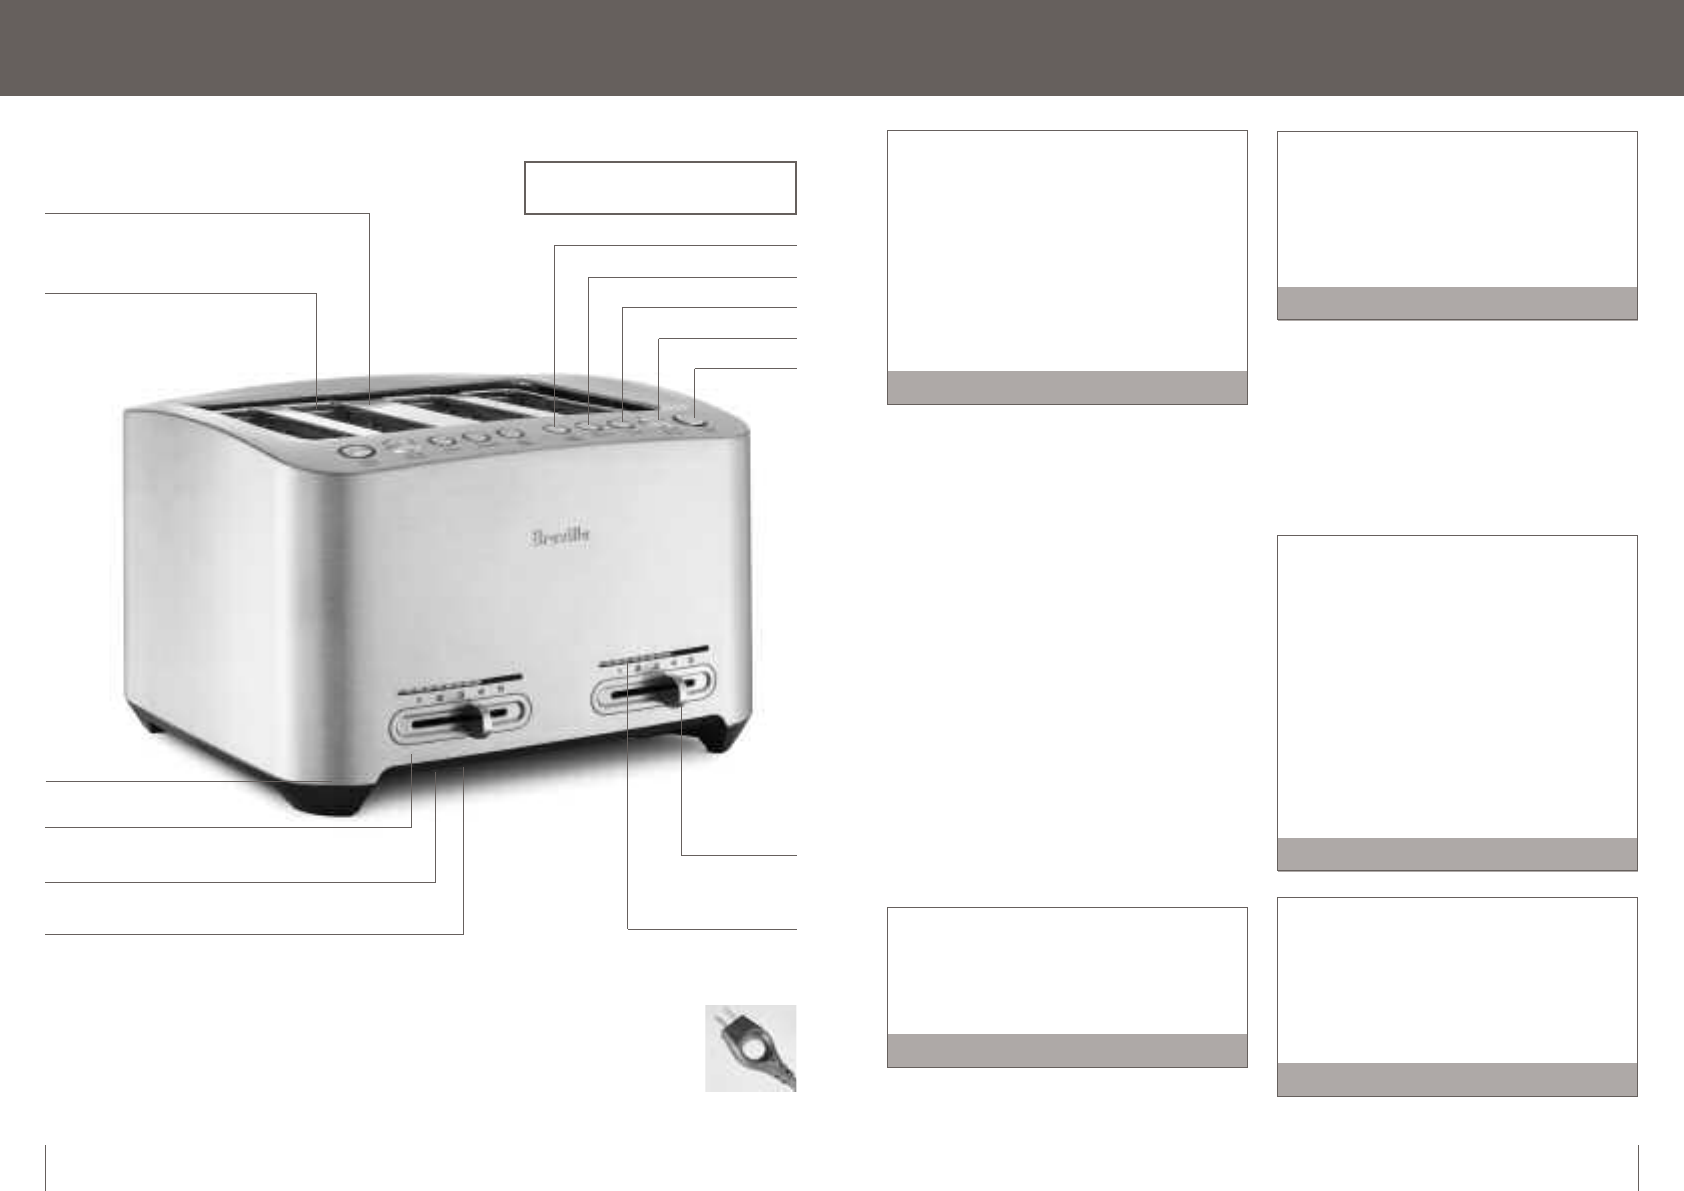
Know your Breville 4-Slice Smart Toaster
™
6
Slide out crumb tray
Intelligent auto lowering
‘TOAST/CANCEL’
‘BAGEL’
‘A BIT MORE™’
LED toasting
progress indicator
Variable browning
control slide – 5 settings
Brushed diecast body
1.5" wide by 5.5" deep slots
with self centering carriage
Toast ready sound alert
Cord storage
‘DEFROST’
Dual independent toast controls allow each
pair of slots to work independently
Features the unique Breville Assist Plug™
Easier to insert, easier to remove
Registered design


