MODELS 15WH • 15BL • 15SS • 15WT • 15TT
Page 4
In st al la tio n
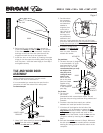
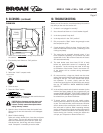
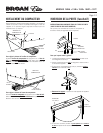
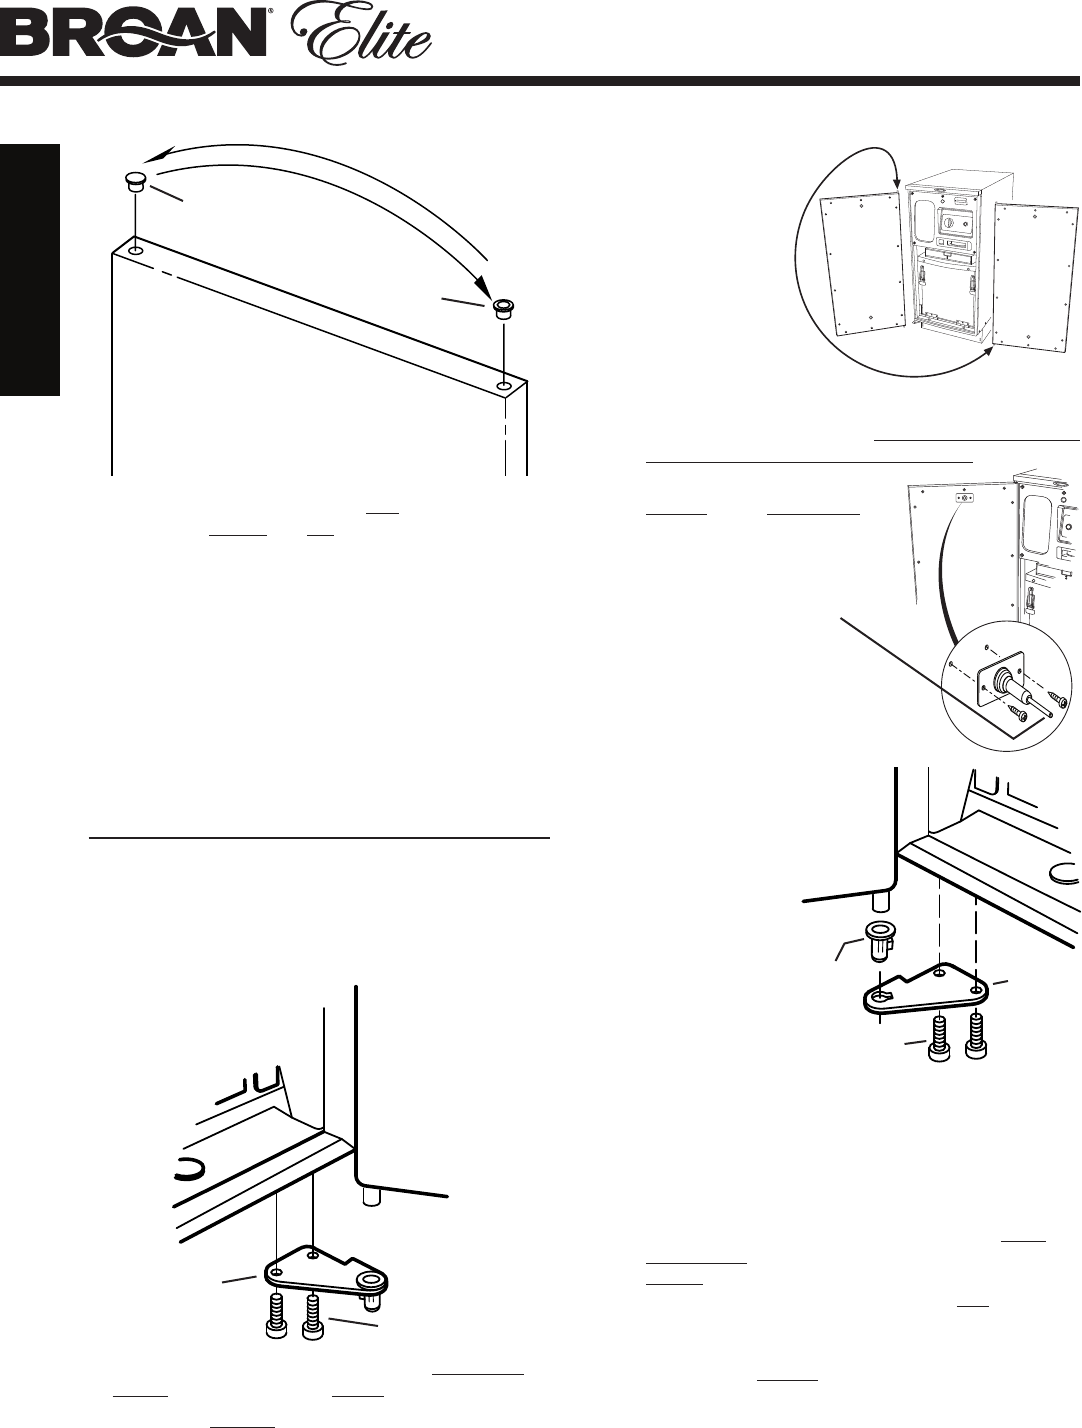
6. Being careful not to scratch the door, remove the
plastic door bushing and cap from the top and bottom
of the door using a small flat screwdriver. Install the
bushings on the side of the door panel that will be
hinged and install the cap on the opposite side.
7. Install the door on the cabinet by inserting the upper
hinge pin into the upper door bushing while moving the
door into place. Insert the lower hinge pin from Step 1
and tighten securely.
DOOR
BUSHING
CAP
TILE AND WOOD DOOR
ASSEMBLY
Use the following instructions if you have a trash
compactor with a tile or wood door kit.
It is recommended you remove the door pan from the
compactor to install the custom tile or wood panel.
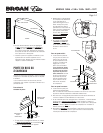
To remove door pan:
1. Use a 3/16” allen wrench to remove the lower hinge
bracket from the cabinet (2 screws).
2. Remove the door pan from the cabinet.
DOOR
PAN
LOWER HINGE
BRACKET
SCREWS
3. Consider where
the compactor
will be installed
and determine
whether to
hinge the door
on the left or
right side of the
cabinet. Since
the hinge pins
are permanently
attached to the
door pan, simply rotate the door pan until the hinge
pins are on the desired side. You may want to mark the
inside of the door pan to indicate the top.
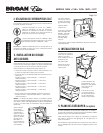
4. To prevent damage to the
actuator on the back of door,
remove the (2) screws that
hold it in place. Save the
actuator and screws.
For wood door:
5. The wood door pan is designed
to accommodate a ¾” thick
wood panel that is 14-7/8”
wide by 29-1\4” tall. It is
recommended that you verify
the height of the
door pan prior to
cutting the wood
panel to size.
Center the door
pan on the wood
panel and fasten
together using
hardware provided
in the compactor
parts bag.
For tile door:
5. The tile door
pan comes
preassembled with cement backer board. Tile and
grout the door pan using traditional tiling methods and
materials.
6. Purchase a door handle to match your cabinet
hardware and install per handle instructions.
7. If the door will be hinged on the left side of the
compactor, it will be necessary to reverse the lower
hinge bracket removed in Step 1. Remove the plastic
bushing from the hinge bracket and install on the
opposite side of the bracket. Install the door onto the
compactor cabinet by reversing the procedure from
Step 1.
8. Re-install the actuator removed in Step 4. Make sure
the door opens and closes smoothly with the actuator
entering and exiting the door interlock switch on the
compactor.
DOOR
SCREWS
LOWER
HINGE
BRACKET
BUSHING
BACK
OF
DOOR
ACTUATOR


