


MODELS 15XEWH • 15XEBL • 15XESS • 15XESSA
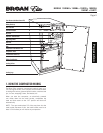
15XEWT • 15XETT
Page 6
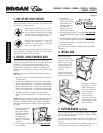
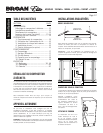
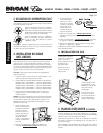
2. USE OF KEY LOCK SWITCH
The key lock switch on your compactor is provided for your
protection as a safety measure.
When the key lock switch is in the “OFF”
and “LOCK” positions, the compactor
will not operate. Remove the key to keep
children from operating the unit or to
prevent anyone from tampering with it.
When the key lock switch is in the “ON”
position, the compactor is ready for
operation. The key cannot be removed
when in the “ON” position.
NOTE: Opening the door during operation will stop the unit.
If the compactor is stopped during its cycle, it will always
move back UP when the door is closed.
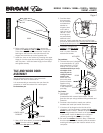
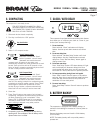
3. INSTALL ODOR CONTROL DISK
Your Compactor is equipped with an odor control disk
that will last up to six months when installed in the trash
compactor. The odor disk comes packaged in a foil
pouch and is activated once the pouch is opened. The
compactor has an electronic control that automatically
advances the odor disk every 30 days until 6 months have
expired.
Optional – You may write dates on the odor disk labels in
this manner:
• When pouch is opened, write the “Activation Date” on top of disk
in space provided.
• Write dates on the GREEN month indicator labels in this manner:
Month 1 Label “Advance Date” = 1 month from “Activation Date”
Month 2 Label “Advance Date” = 2 months from “Activation Date”
Month 3 Label “Advance Date” = 3 months from “Activation Date”
Month 4 Label “Advance Date” = 4 months from “Activation Date”
Month 5 Label “Advance Date” = 5 months from “Activation Date”
• Write date on the RED month indicator label in this manner:
Month 6 Label “Replacement Date” = 6 months from “Activation
Date”
Caution: The odor control disk contains material that may
cause moderate eye irritation. Avoid contact with eyes.
Harmful if swallowed. Wash skin or clothing thoroughly
with soap and water after handling. Do not reuse empty
foil pouch.
1. Remove the disk from
the foil envelope,
swing open the odor
disk door, and place
disk face down on
tray. Make sure
green label that says
“Month 1” faces odor
disk door.
2. Press “Reset” to start the timer. The odor status LED
will be GREEN.
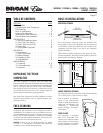
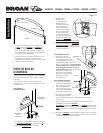
5. CUTTING BOARD (optional)
If your compactor will not be installed under a counter -
you can order an optional cutting board, Model 15TCBB,
from your Broan Distributor.
The cutting board rests on the top of the compactor, and
features non-marring rubber feet and a gravy groove on
the top.
To keep your wood cutting board from warping, wash with a
mild detergent and apply a thin coat of mineral oil.
P r e p a r a ti o n
Odor Status LED
3. The disk will
advance to the next
month after 30 days
have passed or by
pressing “Advance”.
Once the disk
advances, the next
30 day period begins.
4. At the conclusion of the 5
th
month the odor status LED
will FLASH GREEN to signal the disk is on its last
month.
5. At the conclusion of the 6
th
month the odor status LED
will turn RED to signal the disk must be replaced.
6. Discard the used disk in the trash, insert a new disk
and press “Reset”.
Odor disk, Model 15TCOD, is available from your Broan
Distributor.
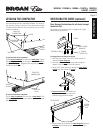
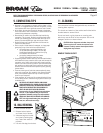
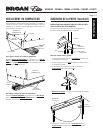
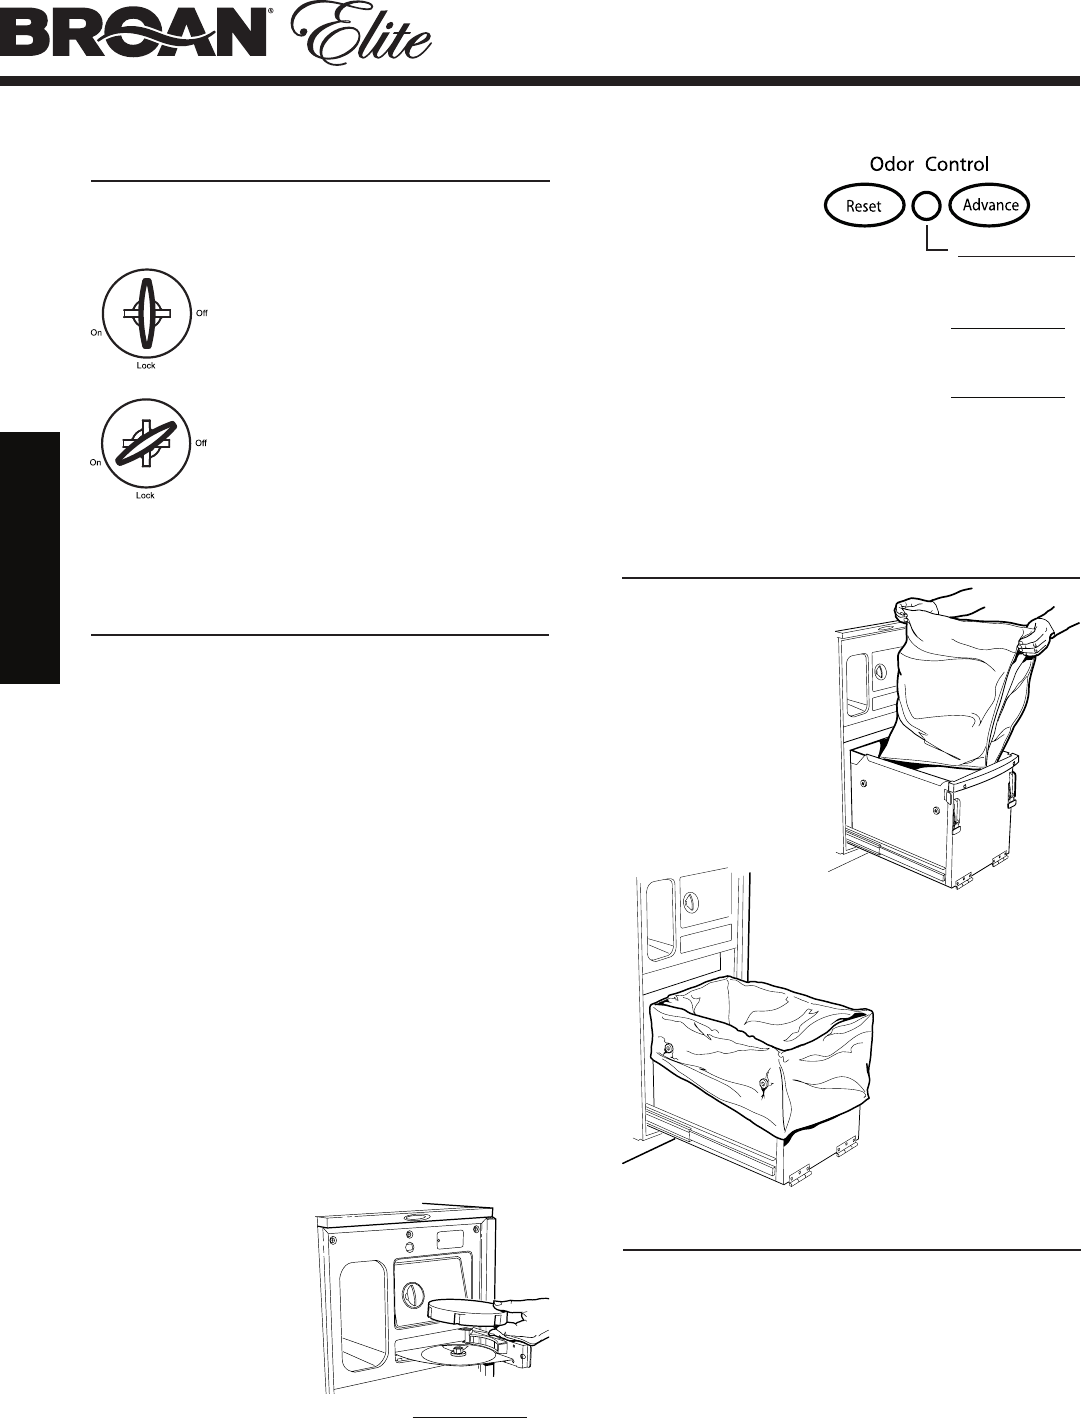
4. INSTALL BAG
With the door open
and the trash bucket
extended to the furthest
position, place a bag
into the bucket. Fold
the bag over the top
rim of the bucket, on
all sides.
Press the bag into all
corners of the bucket
and smooth the bottom.
Smooth and shape the
bag carefully - this will
prevent the bag from
being torn by the ram
during compaction.
Secure the bag
in place over the
2 buttons on each side
of the bucket. The bag
has prepunched slots
for this purpose.