


23
SERVICE (cont.)
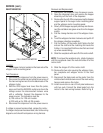
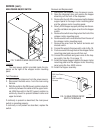
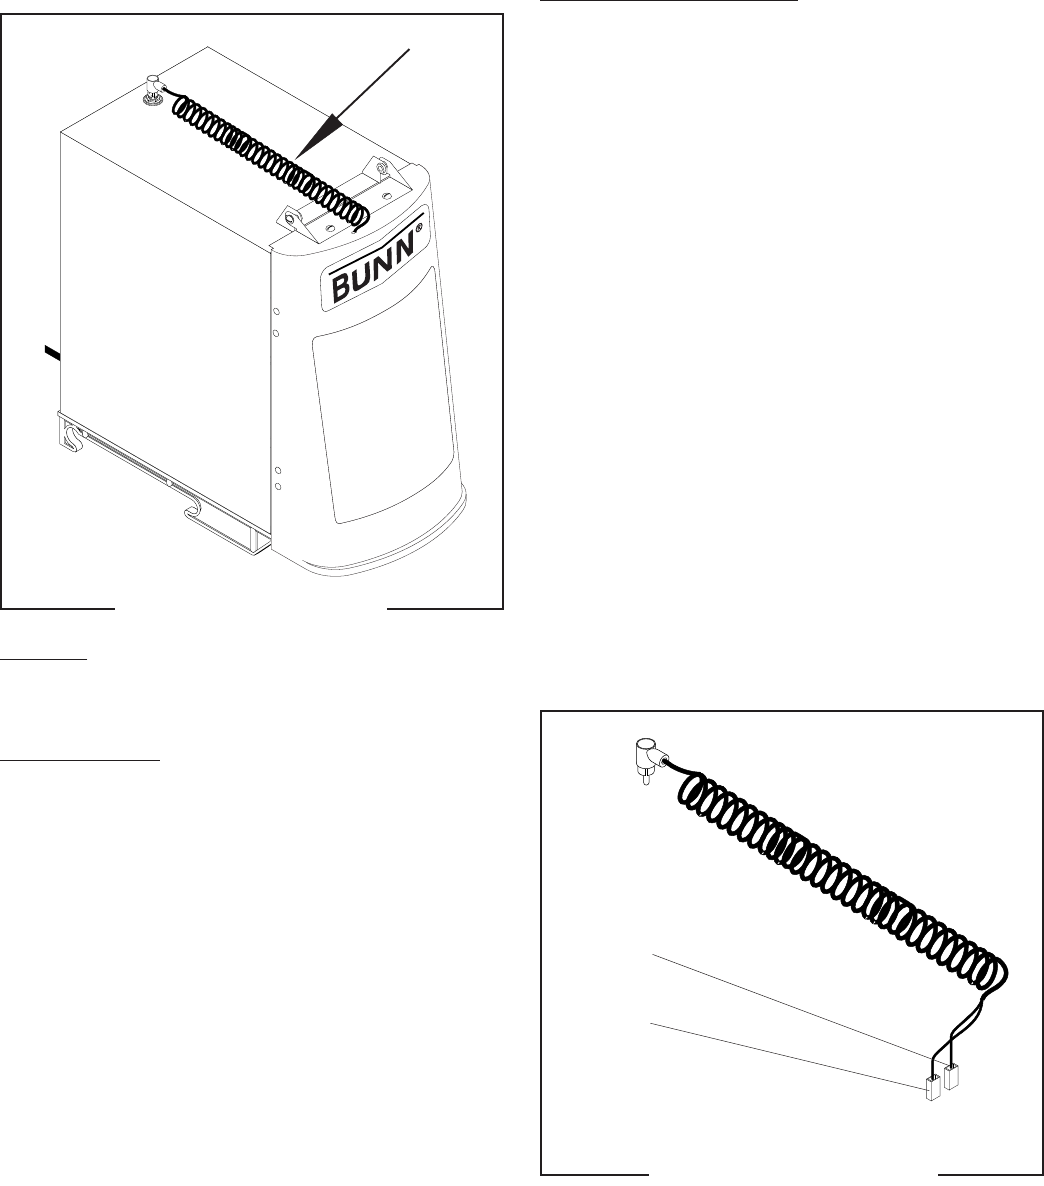
LAMP CORD ASSEMBLY
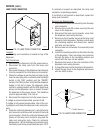
FIG. 17 LAMP CORD ASSY
P1891
Location:
The lamp cord assembly is located in the top of the
dispenser.
Test Procedures:
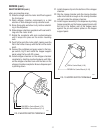
1. Disconnect the dispenser from the power source.
2. Unplug the lamp cord assembly from lamp cord
connector assembly.
3. Check for continuity across the tip of the cord
assembly and the housing. Continuity must not be
present when the lamp is removed.
If continuity is present as described, the cord assem-
bly is operating properly.
If continuity is not present as described, replace the
cord assembly.
Removal and Replacement:
1. Disconnect the lamp cord assembly from the lamp
cord connector assembly in the top of the dis-
penser.
2. Open the dispenser door and remove the five screws
securing the rear cover to the door.
3. Disconnect the lamp cord assembly from the lamp
holder/socket assembly and set the rear panel
aside.
4. Cut the terminals off of the lamp cord assembly.
5. Remove lamp cord assembly from the door assem-
bly and discard.
6. Push new lamp cord wires through the holes on the
top of the door assembly.
7. Strip the wires from the new lamp cord approxi-
mately .281".
8. Using the two terminals supplied, crimp the new
terminals to the lamp cord assembly and connect
them to the lamp holder/socket assembly wires.
9. Reinstall the rear panel to the door assembly.
10. Close the door.
11. Plug-in the new lamp cord assembly to the lamp
cord connector assembly on top of the dispenser.
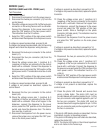
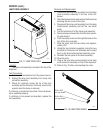
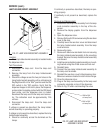
12. Refer to Fig. 18 when reconnecting the wires.
FIG. 18 LAMP CORD WIRES
P1926
BLK to WHI
at Lamp Holder
BLK to BLK
at Lamp Holder
29793 061599