6
CLEANING
RECOMMENDED DAILY CLEANING AND MAINTENANCE TIPS
This should be done in conjunction with the recommended weekly cleaning of your ULTRA-2 machine.
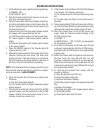
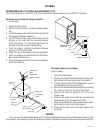
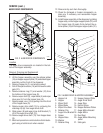
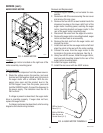
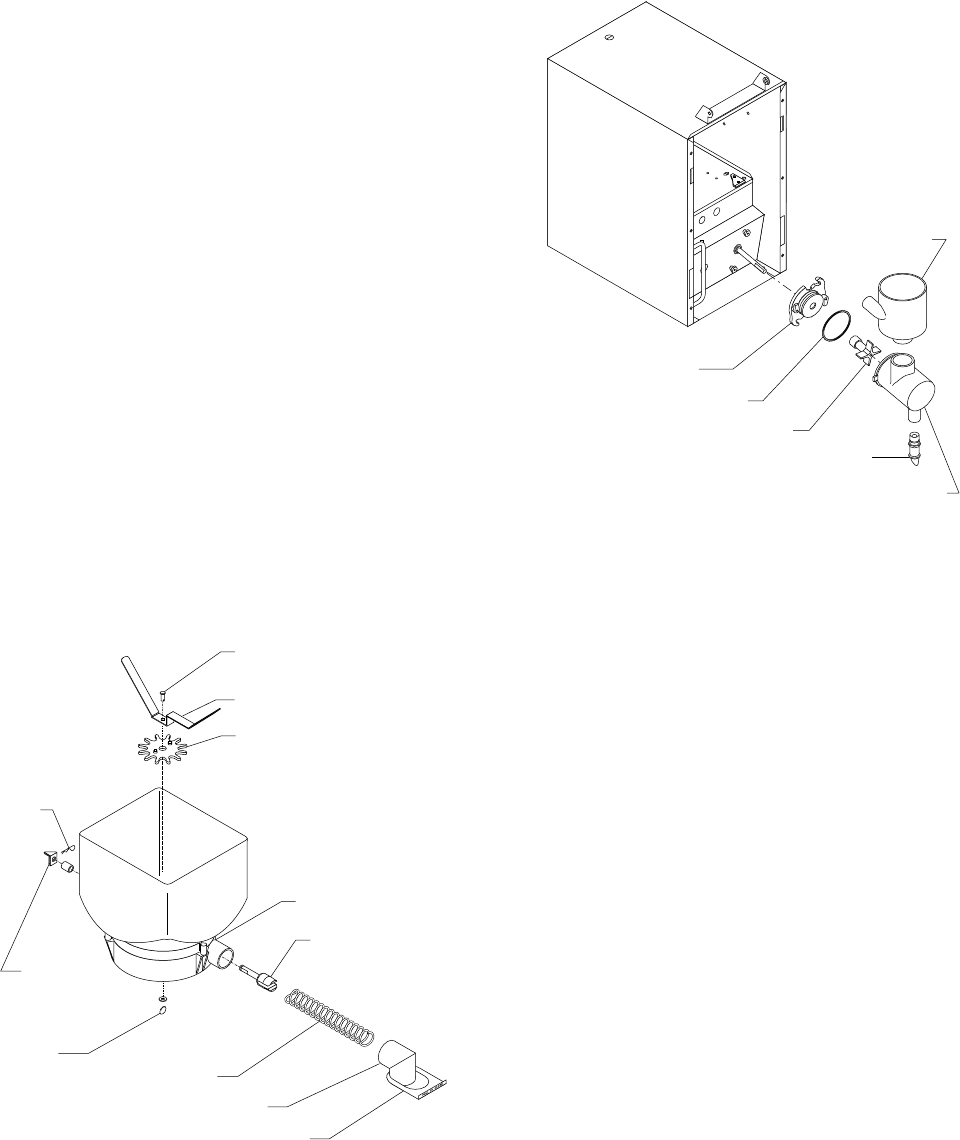
Removing and cleaning the whipper chamber
(once a day):
1. Open the cabinet door.
2. Pull the mixing chamber out of the whipper cham-
ber.
3. Twist the whipper chamber clockwise and pull it off
the whipper chamber receptacle.
4. Pull the frother off the motor shaft. Notice the flat
keyway on the shaft and the matching keyway
inside the frother. It is important that these two
keyways are lined up when reassembling.
5. Twist the whipper chamber receptacle clockwise
and pull it off the motor shaft.
6. Slip the O-ring off the whipper chamber receptacle.
7. Wash components in a mild solution of dish deter-
gent using a bristle brush.
8. Rinse thoroughly and allow to dry before reinstall-
ing in the machine.
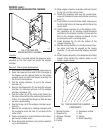
Thorough cleaning of the hopper
(once a week):
1. Open the cabinet door.
2. Remove the hopper/base assembly from the cabi-
net, remove the cover and empty the contents.
3. Pull the ejector elbow off the hopper base; remove
the slide gate from the ejector elbow.
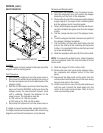
4. Remove the wiper blade and drive gear by removing
the retaining ring from the wiper blade shaft.
5. Remove the auger by pulling it out of the front
hopper base.
6. Remove the auger drive shaft by removing the
retaining clip from the auger drive shaft.
7. Wash components in a mild solution of dish deter-
gent using a bristle brush when needed.
8. Rinse and dry each item thoroughly before reas-
sembling.
NOTICE
The cleaning instructions noted above are for nondairy sugar based food products. When dispensing any other
food product, the cleaning cycle for the whipping chamber assembly and ejector elbow must be performed daily.
Ejector Elbow
Auger
Auger Drive
Shaft
Auger Drive
Bracket
Retaining
Clip
Retaining
Ring
Wiper Blade
Shaft
Wiper Blade
Wiper Drive Gear
Hopper Base
Slide Gate
Mixing Chamber
Whipper Chamber
Frother
Dispense Tip
Whipper Chamber
Receptacle
O-ring
29793.1 021202


