5
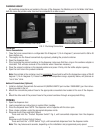
NOTE- At least 18 inches (457 mm) of an FDA approved flexible beverage tubing, such as reinforced braided
polyethylene, before the dispenser will facilitate movement to clean the countertop. It can be purchased direct
from BUNN-O-MATIC (part number 34325.10_ _ [see Illustrated Parts Catalog for complete part number.])
BUNN-O-MATIC does not recommend the use of saddle valves to install the dispenser. The size and shape of the
hole(s) made in the supply line(s) by saddle valves may restrict water flow.
Note- A water strainer (Bunn-O-Matic part number 23720.1000) should be installed in line, prior to the flex-
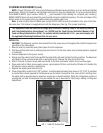
ible water line. This strainer is supplied loose with the dispenser. (See Fig. 2 for proper locations)
This equipment must be installed to comply with the Basic Plumbing Code of the Building Officials
and Code Administrators International, Inc. (BOCA) and the Food Service Sanitation Manual of the
Food and Drug Administration (FDA). For models installed outside the U.S.A., you must comply with
the applicable Plumbing/Sanitation Code for your area.
INITIAL FILL
CAUTION: The dispenser must be disconnected from the power source throughout the initial fill except when
specified in the instructions.
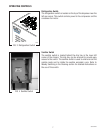
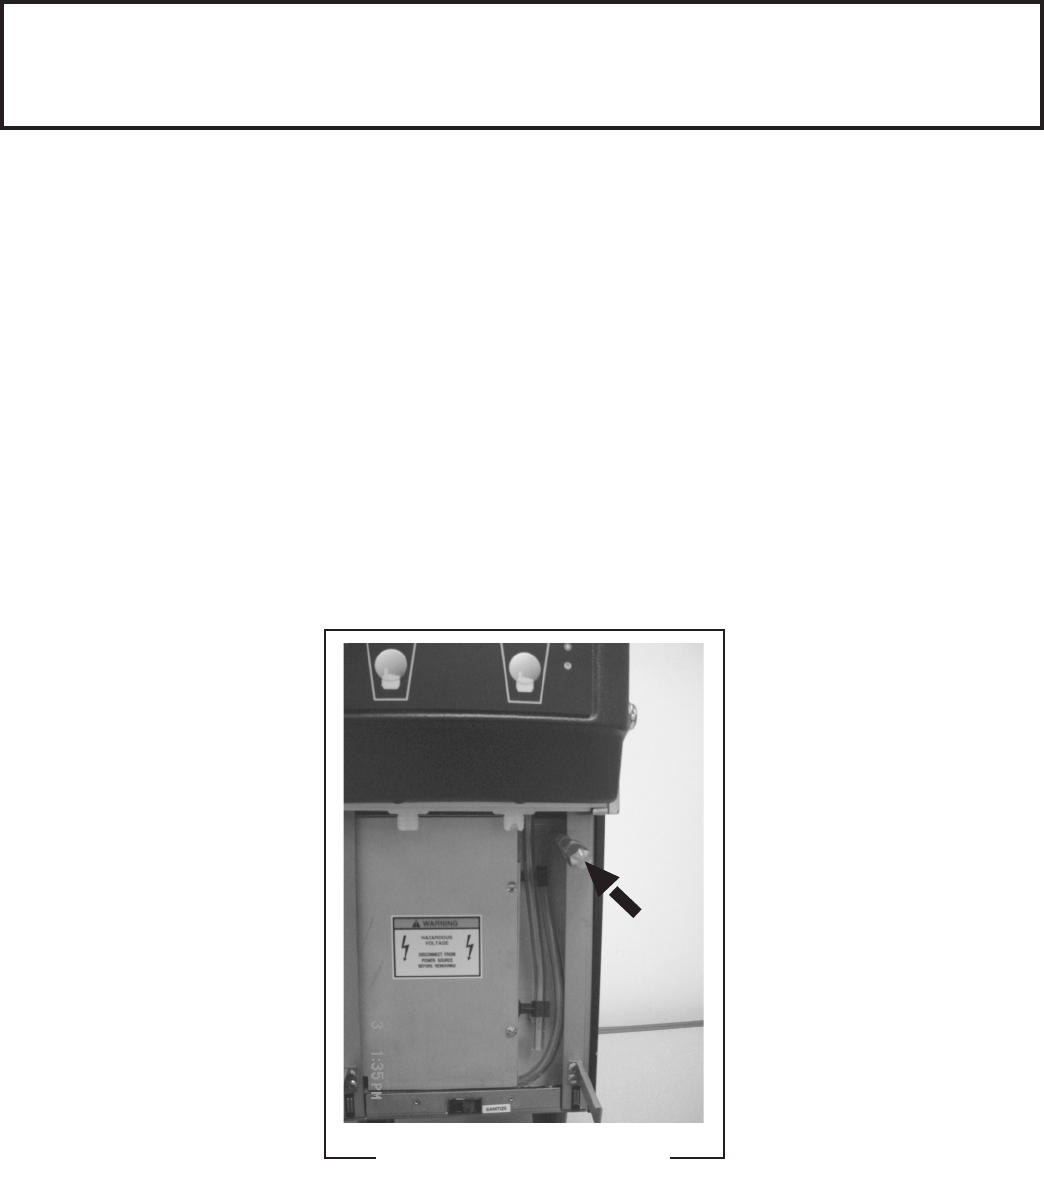
1. Remove drip tray assembly and splash panel from the dispenser.
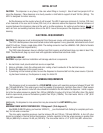
2. Pull the overflow tube from its retaining clip and connect it to the main water source (black gasket is supplied
in install kit).
3. Connect dispenser to the power source.
4. Slowly open the water shut off valve and fill the water bath until water trickles from the overflow. The dispenser
will beep for three seconds when bath is approaching full. Reduce the flow rate at this time.
5. After 3 minutes of power, slowly add more water to the tank until water trickles from overflow again.
6. Once water bath is filled, remove water source, cap dispenser fill line, and store the fill tube in it’s holder (the
fill tube can now be used as a sight glass).
7. Replace the splash panel and drip tray.
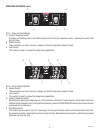
8. Place refrigeration switch to the “ON” position. It will take approximately three hours at 75° F (24° C) ambient
to create the ice bank required for full dispenser performance. During this time, some further trickling from
the water bath is expected due to expansion caused by ice bank formation. While the refrigeration system is
creating the ice bank, the dispenser may be readied for use as described in Plumbing, Loading, Priming and
Adjustment.
PLUMBING REQUIREMENTS (cont)
FIG 1 Initial Fill Connection
P2655
38310 010406


