23
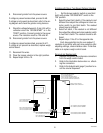
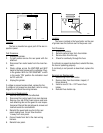
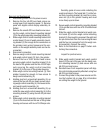
L.E.D
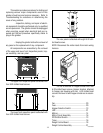
The L.E.D is located on the front of the grinder
just above hopper selector switch.
Test Procedure:
1. Unplug the grinder.
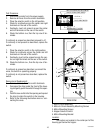
2. Remove the wire nuts from both sets of wires.
3. With a voltmeter set to read DC volts. Attach the
positive (+) lead to the black and pink wires and
the negative (-) lead to the gray wires.
4. Connect grinder to the power supply.
5. Initiate a grind cycle. Voltage should be approxi-
mately 2 volts DC.
If the voltage is present as described the L.E.D. is
operating properly.
If the voltage is not present as described proceed to
#6.
6. After initiating a grind cycle in step #5 the volt-
age was approximately 5 volts DC. Replace the
L.E.D. If the voltage is approximately 0 volts re-
fer to wiring diagrams and check the wiring har-
ness.
Removal and Replacement:
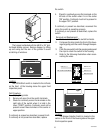
1. Remove upper front inspection panel.
2. Disconnect PNK and GRY wires from L.E.D.
3. Using a 5/16" open end wrench remove nut on
back of front housing securing L.E.D. Remove
L.E.D and discard.
4. Install new L.E.D through front of grinder hous-
ing and secure with nut.
5. Connect PNK and GRY wires from L.E.D. Refer
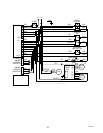
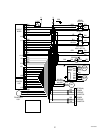
to wiring diagram on pages 24 & 25.
Location:
P749
SERVICE (cont.)
00718.0000
01593.0000
P941
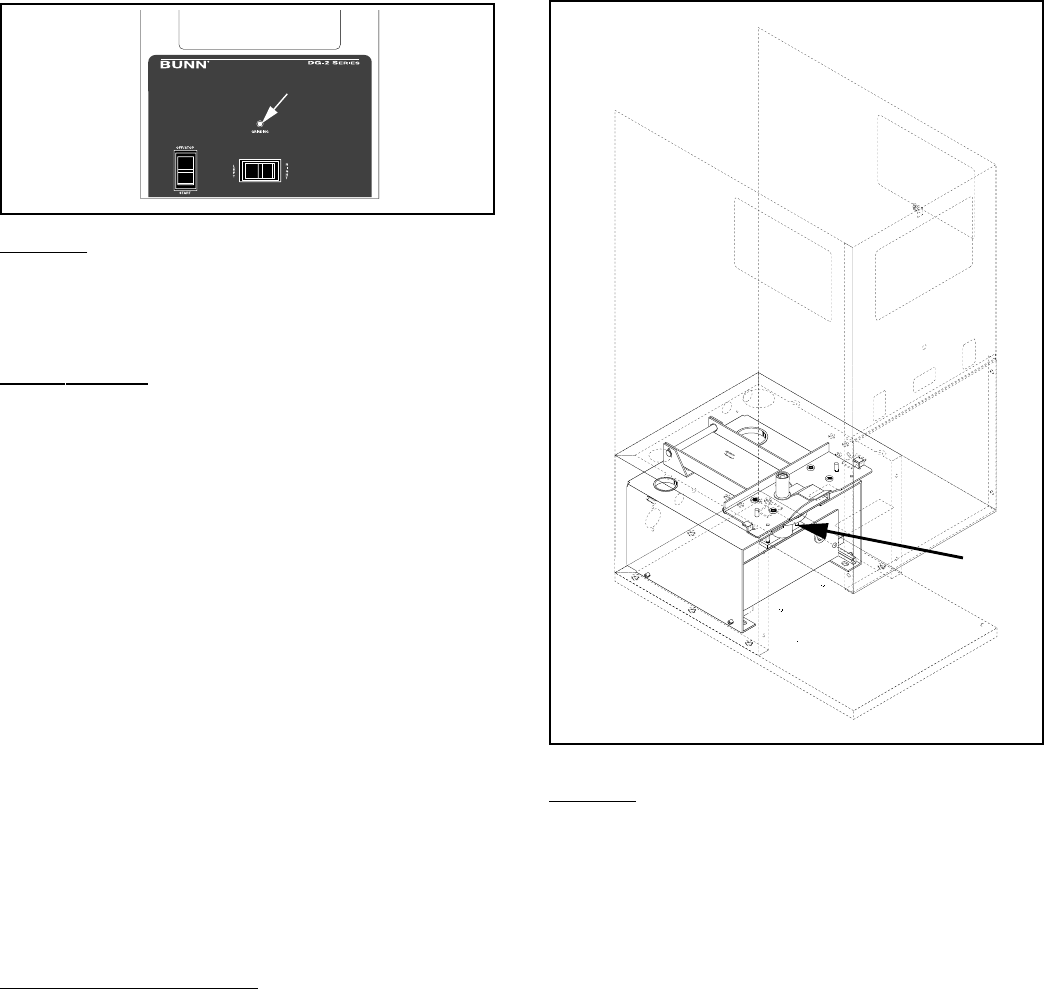
Location:
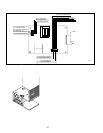
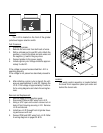
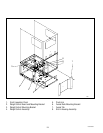
The weigh control assembly is located behind
the lower front inspection panel just under and
behind the funnel rails.
Weigh Control Assembly - WDG-2
10854 030300


