


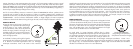
REGULAR MODE
This mode does not provide any degree of elevation or compensated distance,
but instead, line of sight distance only. The
will still appear below the line
of sight numeric display, but there will not be any information displayed in this
secondary numeric display.
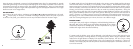
ACTIVE LASER
Crosshairs surrounding the aiming circle ( )indicate that the laser is being
transmitted. Once a range has been acquired, you can release the power button.
The crosshairs surrounding the circle will disappear once the power button has
been released (i.e. the laser is no longer being transmitted).
SELECTIVE TARGETING™ MODES (Standard SCAN, BullsEye, and Brush)
The selective targeting modes allow you to adjust the performance parameters of the unit to suit your
specific situation and environment. To move from one targeting mode to another, press the POWER button
once to turn on the unit. While looking through the eyepiece, press the MODE button and quickly release.
Each of these targeting modes will operate with any of the BOW, RIFLE, or REGULAR ARC (Angle Range
Compensation) modes. The different targeting modes available and mode indicators are listed below:
Standard with Automatic SCAN (LCD Indicator – none) This setting allows most targets to
be distanced up to 1500 yards. Used for moderately reflective targets that are
typical of most distancing situations. The minimum distance in the standard mode
is 5 yards. To use the Automatic SCAN feature, simply hold down on the POWER
button for approximately 3 seconds and move the rangefinder from object to
object while leaving the POWER button depressed. Automatic SCAN will allow
the range to be continuously updated as multiple objects are targeted.
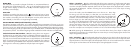
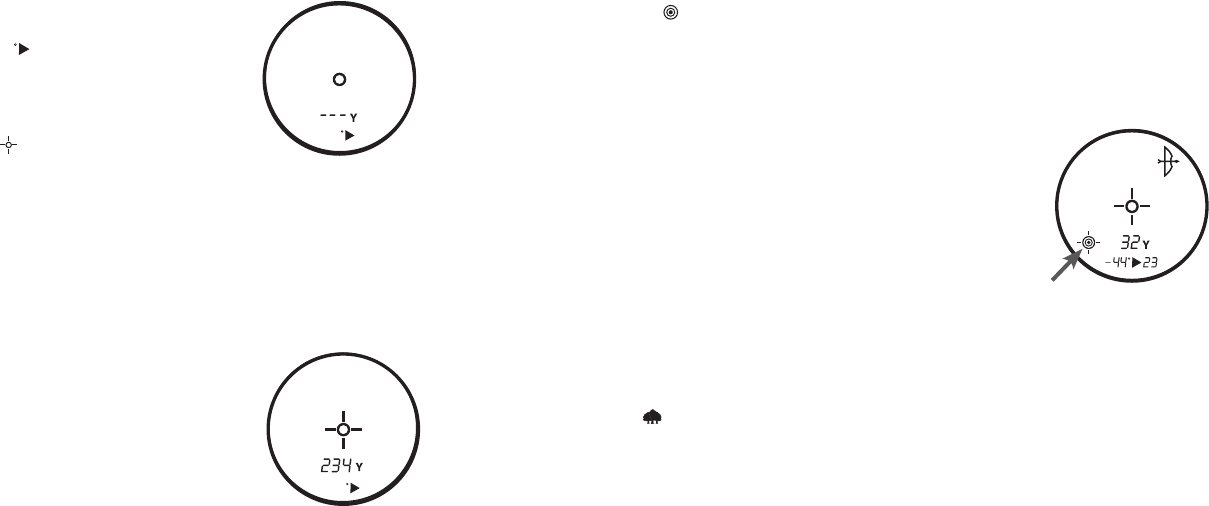
BullsEye™ (LCD Indicator - ) This advanced mode allows easy acquisition of small targets and game
without inadvertently getting distances to background targets that have stronger signal strength. When
more than one object has been acquired, distance of the closer object will be displayed and a crosshair
will surround the BullsEye™ indicator informing the user that distance to the closer object is being
displayed in the LCD.
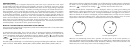
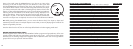
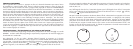
Once in this mode, press the POWER button to turn the unit on. Next, align
the aiming circle onto the object (i.e. deer) that you want distance to. Next,
press and hold the POWER button and move the laser slowly over the deer until
crosshairs surround the BullsEye indicator. If the laser beam recognized more
than one object (i.e. deer and background trees), distance of the closer object
(i.e. deer) will be displayed and crosshairs will surround the BullsEye indicator
informing the user that distance to the closer object is being displayed in the
LCD (as seen below). There may be times when only the laser beam only sees
one object in its path. In this case, the distance will be displayed, but because
more than one object was not acquired, crosshairs will not surround the BullsEye indicator.
TIP: While pressing the POWER button, you can move the device slowly from object to object and
intentionally force the laser to hit multiple objects to ensure that you are only displaying the closest of the
objects recognized by the laser.
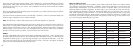
Brush™ (LCD Indicator - ) This advanced mode allows objects such as brush and tree branches to be
ignored so that distance only to background objects are displayed. When more than one object has been
acquired, distance of the further object will be displayed and a circle will surround the Brush™ indicator
informing the user that distance of the farthest object is being displayed in the LCD.
Regular Mode
10 11