Step 3: Assemble Fascia Brackets
Parts Required:
Note:
(1) Main Grill Unit
(1) Left Fascia Bracket
(1) Right Fascia Bracket
(4) #10 x 1/2” Bolts
(4) #10 Lock Nuts
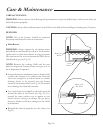
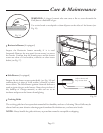
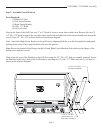
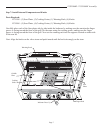
Prop up the front of the Grill Unit on a 2” or 3” block of wood or some other similar item. Remove the two (2)
1/4”-20 x 3/8” bolts located at the top-right corner on the left and right side of the base assembly and loosen the
two (2) front 1/4”-20 x 3/8” bolts as shown in the adjacent diagram.
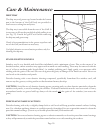
Next: Attach the Right Fascia Bracket to the grill base by aligning the holes over the loosened bolts and gently
pushing down on the Fascia until the bolts settle into the grooves.
Ensure the bottom of the flanges on the Left and Right Fascia Brackets slides between the flange of the
bottom cover and the console.
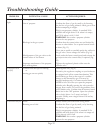
Then secure the rear of the Brackets to the Grill Unit using the 1/4”-20 x 3/8” bolt you initially removed. Secure
the Brackets to the lower-front of the Grill Body by inserting two (2) #10 x 1/2” Bolts and two (2) #10 nuts as
shown in the adjacent diagram.
Page 3
VCS3506BI / VCS5006BI Assembly
1/4-20 x 3/8” Bolt
(already assembled)
1/4-20 x 3/8” Bolt
(remove half way
from base assembly)
Fig. 3
#10 Bolts


