


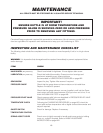

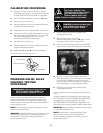

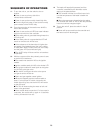

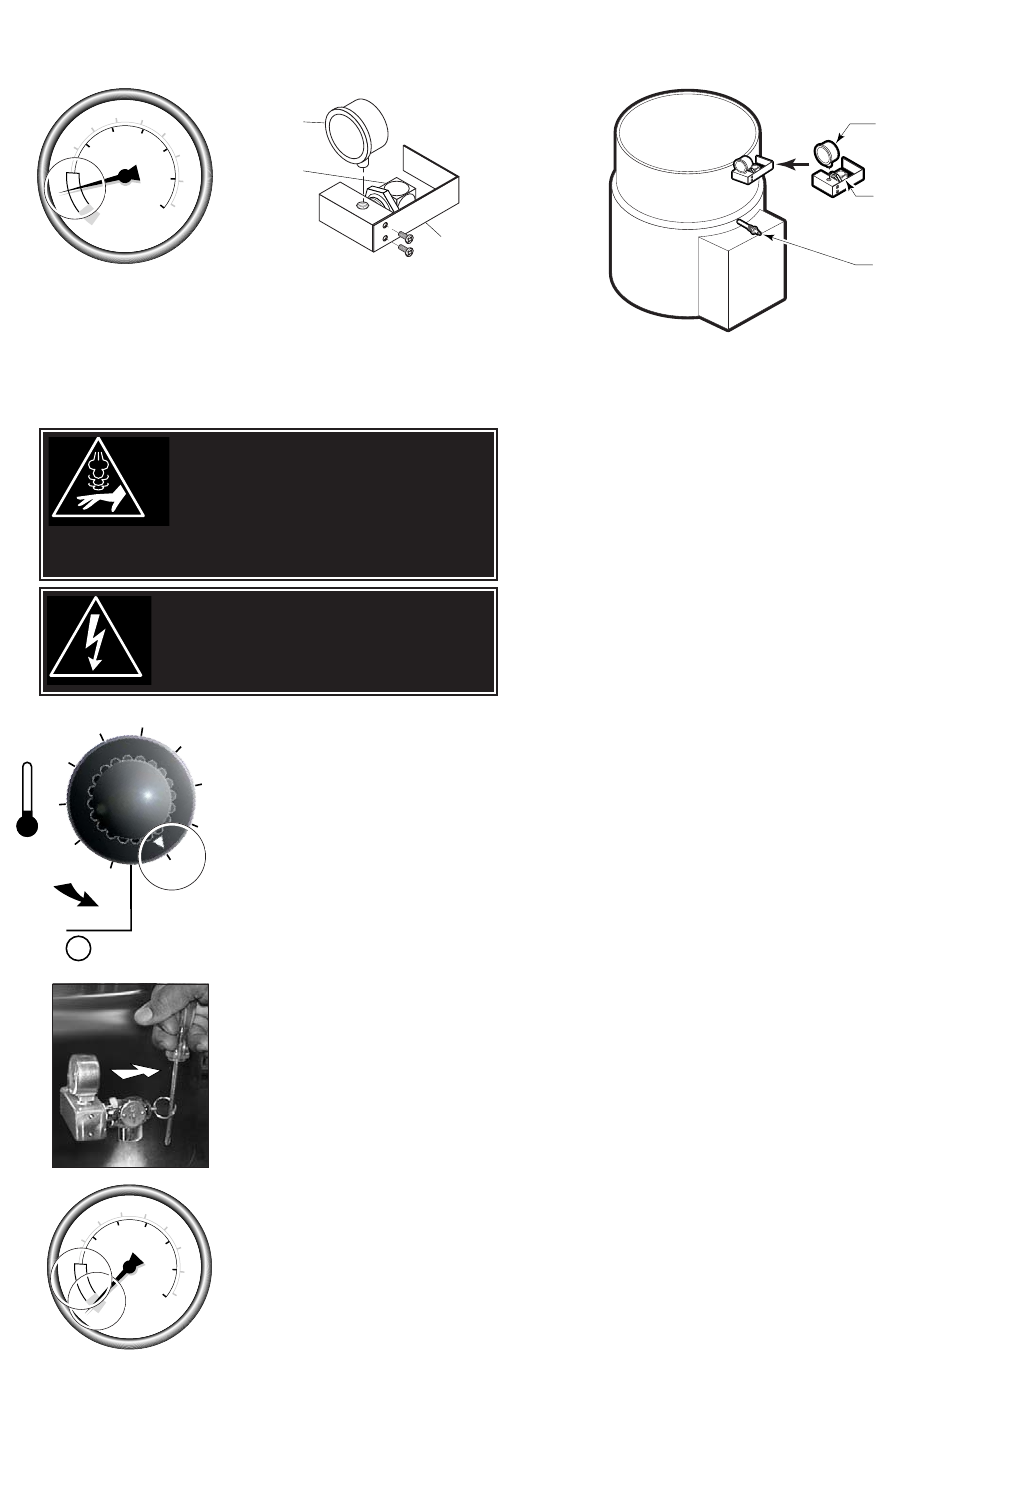
KETTLE VENTING
INSTRUCTIONS
1. Remove guard bracket from
pressure relief valve/gauge
assembly.
2.
Set On-Off Switch/Temperature
Control to to "10" (Max.),
heat the empty kettle until unit
cycles off.
3. Vent kettle by pulling safety
valve ring 8-10 times in short
2-3 second blasts with a 5
second interval between pulls.
NOTE: If unit cycles ON, stop
venting and wait for kettle to
cycle OFF before continuing.
4.
Set On-Off Switch/Temperature
Control to to "0" (Max.). Add
cold water to kettle until its
surface temperature is below
100°F. The pressure gauge
needle should be in the green
zone, indicating a vacuum in
the kettle’s jacket.
5. Replace guard bracket from
pressure relief valve/gauge
assembly.
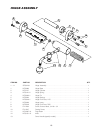
2
3
5
6
7
8
9
1
4
10
OFF
50
0
100
150
200
250
300
350
400
40
50
60
0
10
20
30
psi
kPa
V
E
N
T
A
I
R
50
0
100
150
200
250
300
350
400
40
50
60
0
10
20
30
psi
kPa
V
E
N
T
A
I
R
26
Guard
Bracket
Pressure
Gauge
Pressure
Relief
Valve
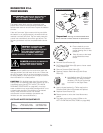
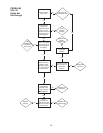
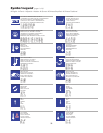
The following venting procedure
should be followed when the
Vacuum/Pressure Gauge needle
is in the "VENT AIR" zone:
NOTE: Check for and eliminate leaks prior to venting
(See REPAIRING LEAKS IN STEAM JACKETED KETTLE
FITTINGS on page #27).
DANGER: PRESSURE RELIEF
VALVE WILL EXHAUST HIGH
TEMPERATURE STEAM. CONTACT
WITH SKIN COULD RESULT IN
SERIOUS BURNS. KEEP FACE,
HANDS AND BODY CLEAR OF DISCHARGE.
DANGER: WORKING ON MACHINES
WITH POWER COULD RESULT IN
SEVERE ELECTRICAL SHOCK.
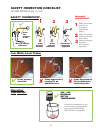
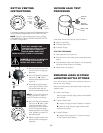
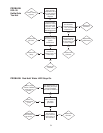
VACUUM LEAK TEST
PROCEDURE
If the kettle will not hold vacuum, test for leaks at:
A. Water Level Probe.
B. Pressure Relief Valve.
C. Pressure Gauge.
LEAK TEST PROCEDURE:
1. Heat kettle until unit cycles off.
2. Shut off power to the kettle at the fused disconnect
switch.
3. Spread Bubble Type Leak Detector over suspected
areas and watch closely for bubbles.
4. Repair areas as required.
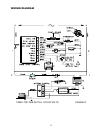
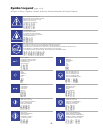
REPAIRING LEAKS IN STEAM
JACKETED KETTLE FITTINGS
If unit will not hold a vacuum the most likely cause is a
leak at one of the fittings.
Often, the easiest way to eliminate a leak is reseal the
suspect areas.
1. Water Level Probe
Remove,clean threads, apply teflon thread sealant
and reinstall.
2. Pressure Relief Valve
A/ Inspect for signs of leaks. Replace if required.
B/ Remove, clean threads, apply teflon thread
sealant and reinstall.
3. Pressure Gauge
A/ Inspect face of gauge. If it contains moisture
on the inside of face replace.
Pressure
Relief Valve
Pressure
Gauge
Water Level
Probe