


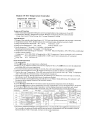

UNIT LEG AND CASTER (optional) INSTALLATION
Make sure to follow diagrams to properly install the units adjustable legs or optional casters!!!
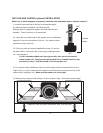
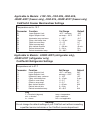
1) Install the provided nut to the leg, to the desired height.
(for optional caster installation, start with step #2)
Skipping step #1 might bend support rails and make the unit
unstable. This will void any or all warranties.
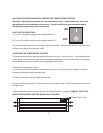
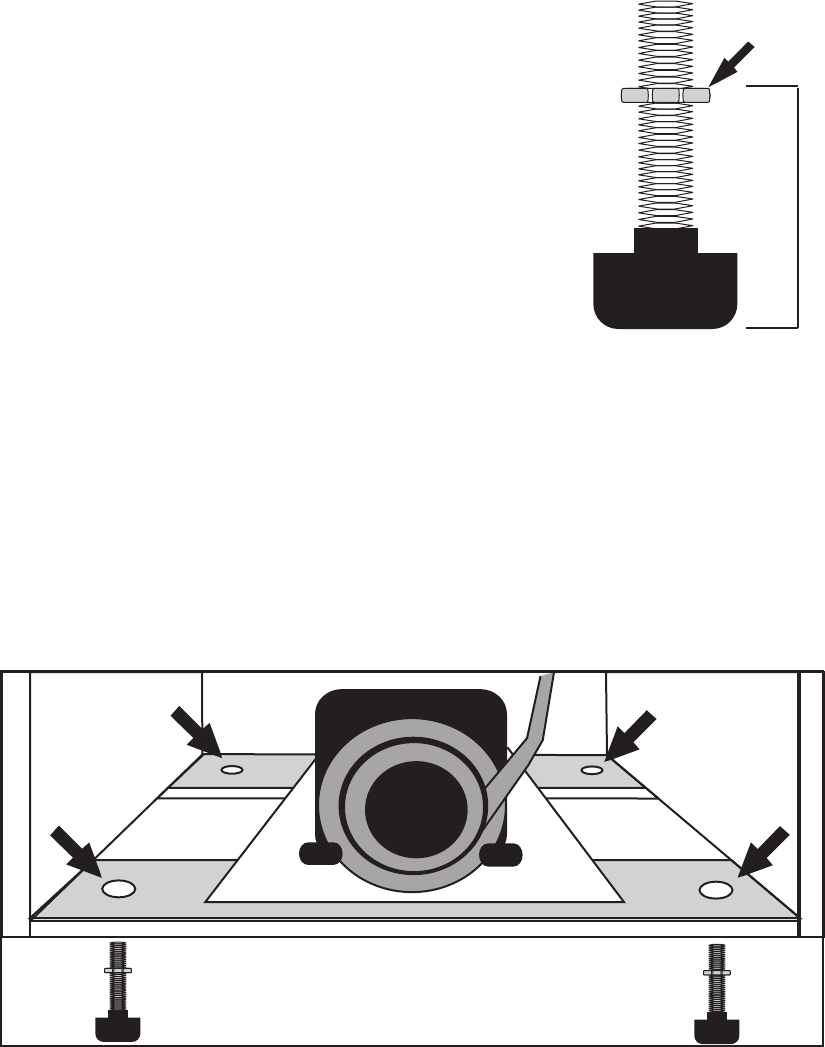
2) Locate the pre-drilled holes in the support rails, as outlined by
diagram A, found on the bottom of the unit. (for optional caster
installation, skip to step #4)
3) Put the leg (with nut already installed from step #1) into the
pre-drilled holes. Secure the top of the leg by installing another
nut. See diagram A.
NUT
LEG
Desired
Height
If a nut is already welded onto the support rails, then you do not need to
install another nut. Simply screw the leg (with the nut installed onto the leg
previously in step 1) into the welded nut on the support rail.
4) For optional caster installation, either screw the caster bolt into the welded nut on the
support rails, or, put the caster bolts through the pre-drilled holes and secure the top of the
caster bolt by installing a nut. Make sure that caster nut is very tight.
5) Make sure to properly install all legs. All units require 4 legs. (J3 models require 6 legs)
Diagram A (view of bottom compressor area, from the back)
-4-